Capture a Procedure with a HoloLens 2 or Trimble XR10 Device
Additional Resources
See the following topics for more information about Vuforia Capture for HoloLens 2 and Trimble XR10 devices:
Capture a Procedure
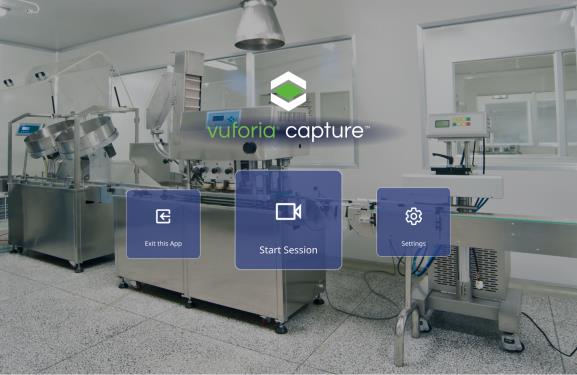
1. Open Vuforia Capture on your device.
2. If you’re not already signed in, you will be prompted to do so.
3. Once you’ve successfully signed in, tap or say “Start session.”
|
|
Recording begins very shortly after you say, “Start session,” so be sure that you’re ready to start your procedure.
|
4. You’ll see a spinner around the pause button in the capture menu when recording begins and the step indicator at the bottom of the menu..

Begin performing the first step in your procedure, and keep in mind that everything you see while capturing the procedure will be recorded as a video clip for each step.
5. Continue performing your procedure using the “Next step” command or button ( ) to create new steps.
) to create new steps.|
|
Don’t forget to use the actions during your session for a better user experience:
• Use the “Place location” command or button in the Capture menu to mark important locations in your procedure. This will help guide the user through the environment in which they will be viewing and carrying out the procedure.
• Use the “Take photo” command or button in the Capture menu to take a first-person perspective photo that will be saved to the step in your procedure. This will provide a still frame photo from the environment which can be viewed while carrying out the procedure.
|
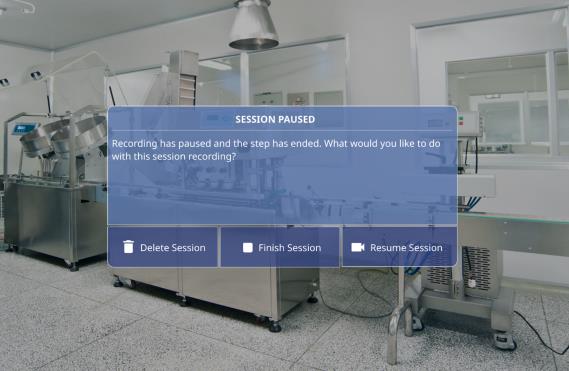
6. Once you’ve completed your procedure and are ready to save your capture session, tap the pause button in the capture menu or say, “Pause.”
7. From the pause menu, say “Finish session.” Alternatively, you can also delete or resume the session.
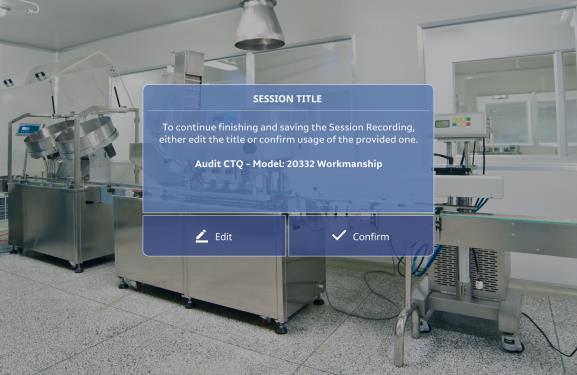
8. Once you select Finish Session, you’ll be prompted with an option to edit the title of the Capture. Tap Edit.
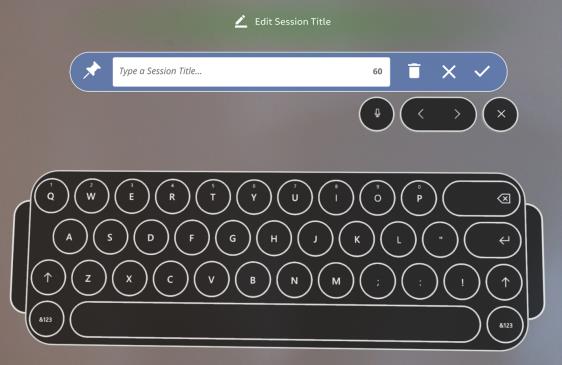
9. You’ll then see the Edit Session Title window which allows you to preview the title. You can edit the title using the keyboard or voice dictation (available from the system keyboard). Once you are finished editing the title, tap the check mark ( ) to proceed.
10. You should now see the updated title on the Session Title window. Select Confirm to save the Capture.
11. The Saving Session window is displayed to show the save progress. Once it’s complete, the Session Saved confirmation window appears.
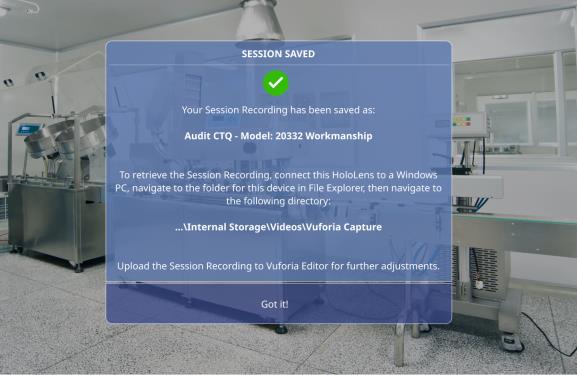
12. Now, you’re ready to upload your Capture file to your computer and start editing in Vuforia Editor. For more information about accessing your Capture folder and uploading it to Vuforia Editor, see Captures.