Place Area Target location Markers
Use Area Target location markers to specify places in the environment where the user should be performing certain tasks. For information about best practices, see Best Practices.
|
|
You must be signed in to Vuforia Capture to save your Area Target location markers.
|
1. When you’re ready to add an Area Target location marker to your step, say, “Place location.” Or, you can use the place Area Target location button ( ) in the capture menu.
2. You should see a ring hover over the physical surface; the ring acts as a target for your Area Target location marker. Once it’s in the desired place, use an air-tap gesture or say, “Save location.”
|
|
Remember, the ring’s position during the placement of an Area Target location marker is determined by your head pose.
|

|
|
You can cancel placing an Area Target location marker using the “X.”
|
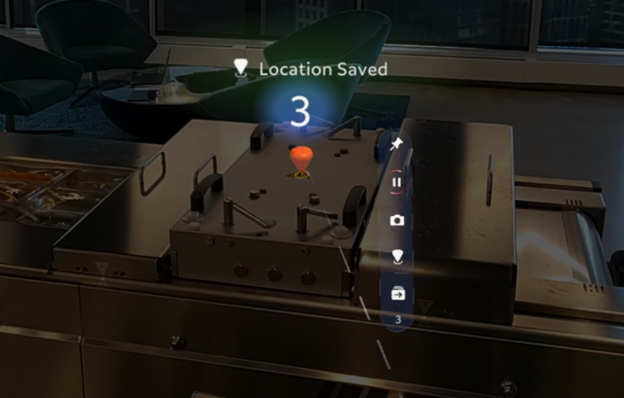
3. Once you place and save the Area Target location, you should see an Area Target location marker appear.
|
|
Don’t forget if you place your Area Target location marker in an undesired Area Target location, you can use the “Place Location” voice command or hit the place Area Target location button to move the Area Target location marker to a new position.
|
Additionally, any future steps will also be associated to the Area Target location until another Area Target location is placed. During procedure playback, step information will be displayed where the Area Target location was placed.
For information on updating Area Target location markers, see Update Location Markers.