Steps to Install Creo+
After ensuring the prerequisites to install Creo+ on your computer, complete the following steps:
1. Step 1: Accept the invitation to the Creo+ Portal.
a. An Administrator sends you an invitation to the PTC Admin Center via email with an activation link.
b. Click the Activate Now link in the email.
c. Log in to the PTC Admin Center to see the services that you have access to.
d. Click Open on the Creo+ box to open the Creo+ Portal.

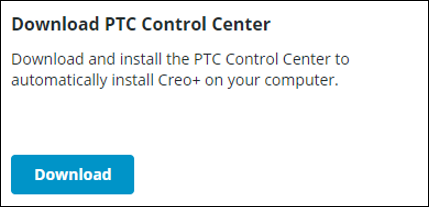
2. Step 2: Download and install the PTC Control Center
a. From the Home page of the Creo+ Portal, click Download on the Download PTC Control Center box to download the install file ptccontrolcenter.msi.
The install file ptccontrolcenter.msi is downloaded to the Downloads folder on your computer.
b. Double-click ptccontrolcenter.msi to start the installation of the PTC Control Center on your computer.
c. Log in to connect to the Creo+ portal, to authenticate your login details.
d. The PTC Control Center is installed on your computer and displays in the system tray of your computer with this icon— .
.

3. Step 3: Use the PTC Control Center to install Creo+ on your computer.
a. After you successfully install the PTC Control Center, it automatically downloads and installs Creo+ on your computer.
Creo+ is installed in three stages:
a. Stage 1—Creo+ Base Installation: Once the base installation is complete, a user can start Creo+.
b. Stage 2—Installation of Additional Creo+ Components: Additional files that are required for Creo+ to be fully functional are installed during this stage.
c. Stage 3—On-Demand Installation: When a user attempts to use an application in Creo+ for the first time, the module is downloaded and installed.
b. Windows notifications inform you of the status of the download and installation.
c. When the base installation is complete, you can start Creo+.
Workaround for Engineering Notebook Updates
When you try to use the Engineering Notebook for the first time, it is automatically downloaded if you have an Engineering Notebook license and you can then start using it from Creo+.
However, during Creo+ updates, the updates to Engineering Notebook require a workaround in order to function correctly. If you have a local installation of PTC Mathcad Prime as well as Creo+ and an on-demand installation of Engineering Notebook.After a Creo+ update, carry out the following steps in order to install the latest version of Engineering Notebook:
1. Close and save all your work.
2. Exit Creo+ and the PTC Control Center.
3. Uninstall the PTC Control Center which removes both the PTC Control Center as well as Creo+ from your computer.
5. Launch Creo+ and do an on-demand installation of the Engineering Notebook in order to install the latest version of the Engineering Notebook.