Starting and Monitoring Automated Provisioning
After you create and configure a Zinc enterprise application and define AD sync filtering scope and attribute mappings in the Azure Portal, you can start automated user and group provisioning. When you start provisioning, the process begins immediately, but can take some time depending on data volume. While synchronization is in progress, notifications inform you of progress and any issues encountered. You can view progress details during sync, and full details after provisioning is complete. If errors occur or sync slows, you can update settings and restart full synchronization as needed.
To start automated provisioning:
1. In your Azure Portal, on your Dashboard, in the left pane, click Azure Active Directory, and then in your default directory view, click All Applications.
2. On the All Applications list, click your Zinc enterprise application, and then on the settings page, in the left pane, click Provisioning.
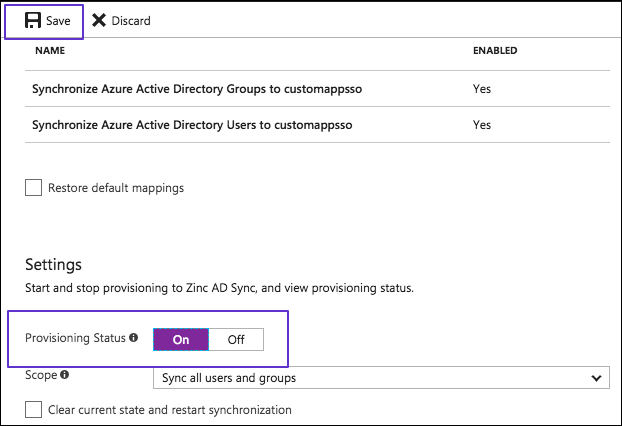
3. In the Settings section, in the Provisioning Status area, click On, and then in the top left corner, click Save.
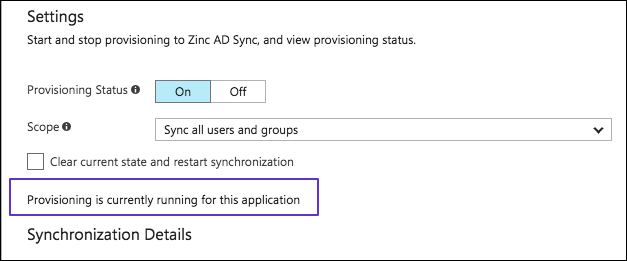
4. After synchronization begins, above the Synchronization Details section, monitor sync progress notifications, and if errors are found and sync stops, check sync details for issues.
5. Resolve errors as needed, and then select the Clear current state and restart synchronization check box and click Save.
|
|
If sync seems to slow down or stop, you can try restarting synchronization to improve data-transfer speed.
|
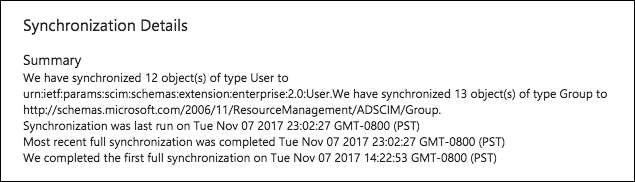
6. After sync is complete, check the Synchronization Details section for full information on what was synced, and verify that all users and groups appear correctly in your Admin Console.
For more information: