Configuring Email Notifications for Data Scans
Email notifications are always sent to users who trigger full scans after scans are successfully completed or fail. Any users, groups, and roles that are linked to Data Scanner records as subscribers also receive email notifications.
To configure email notifications for data scans:
1. In Max Admin, click System Management ( ) > , and then in the list view, open the currently active System Setting record.
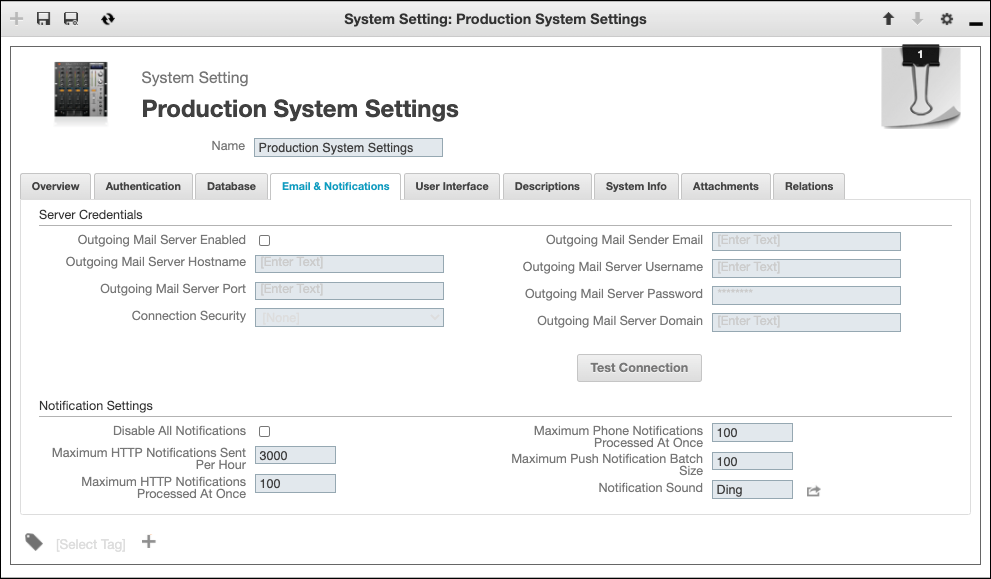
) > , and then in the list view, open the currently active System Setting record.2. On the record page, on the Email & Notifications tab, complete the fields as follows, and then click Test Connection.
|
Field
|
Value
|
||
|---|---|---|---|
|
Outgoing Mail Server Hostname
|
The hostname or IP address used to connect to the SMTP server for outgoing email.
|
||
|
Outgoing Mail Server Port
|
The port used to connect to the SMTP server for outgoing email.
|
||
|
Connection Security
|
The security protocol used for mail server connection. Available options are None, SSL/TLS, and STARTTLS.
|
||
|
Outgoing Mail Server Email
|
The sender email address used in email sent from the system.
|
||
|
Outgoing Mail Server Username
|
The username used for SMTP authentication when outgoing email is sent.
|
||
|
Outgoing Mail Server Password
|
The password used for SMTP authentication when sending outgoing email is sent.
|
||
|
Outgoing Mail Server Domain
|
The domain name used to connect to the SMTP server when emails are sent, for example, servicemax.com.
|
||
|
Outgoing Mail Server Enabled
|
Select this check box to enable Service Board to send outgoing email.
|
3. After you test the connection, if needed, adjust configuration values and re-test until successful, and then in the top left corner, click Save and Close ( ).
).
).4. In Max Admin, click System Management () > > , and then in the list view, click Data Scan Completed.
) > > , and then in the list view, click Data Scan Completed.5. On the record page, on the Sender and Recipients and Subject and Body tabs, update the fields to meet your organizational needs.
6. On the System Info tab, select the Active check box, and then in the top left corner, click Save and Close ().
).