Configuring Transactions
The application allows you to create transactions for objects used in workflow processes.
To create a transaction, perform the following steps.
1. Log in to Asset 360 with your credentials.
2. From the left navigation pane, click Service Process Manager > Transactions. It displays the transactions list.
3. Click New Transaction. The following screen is displayed.
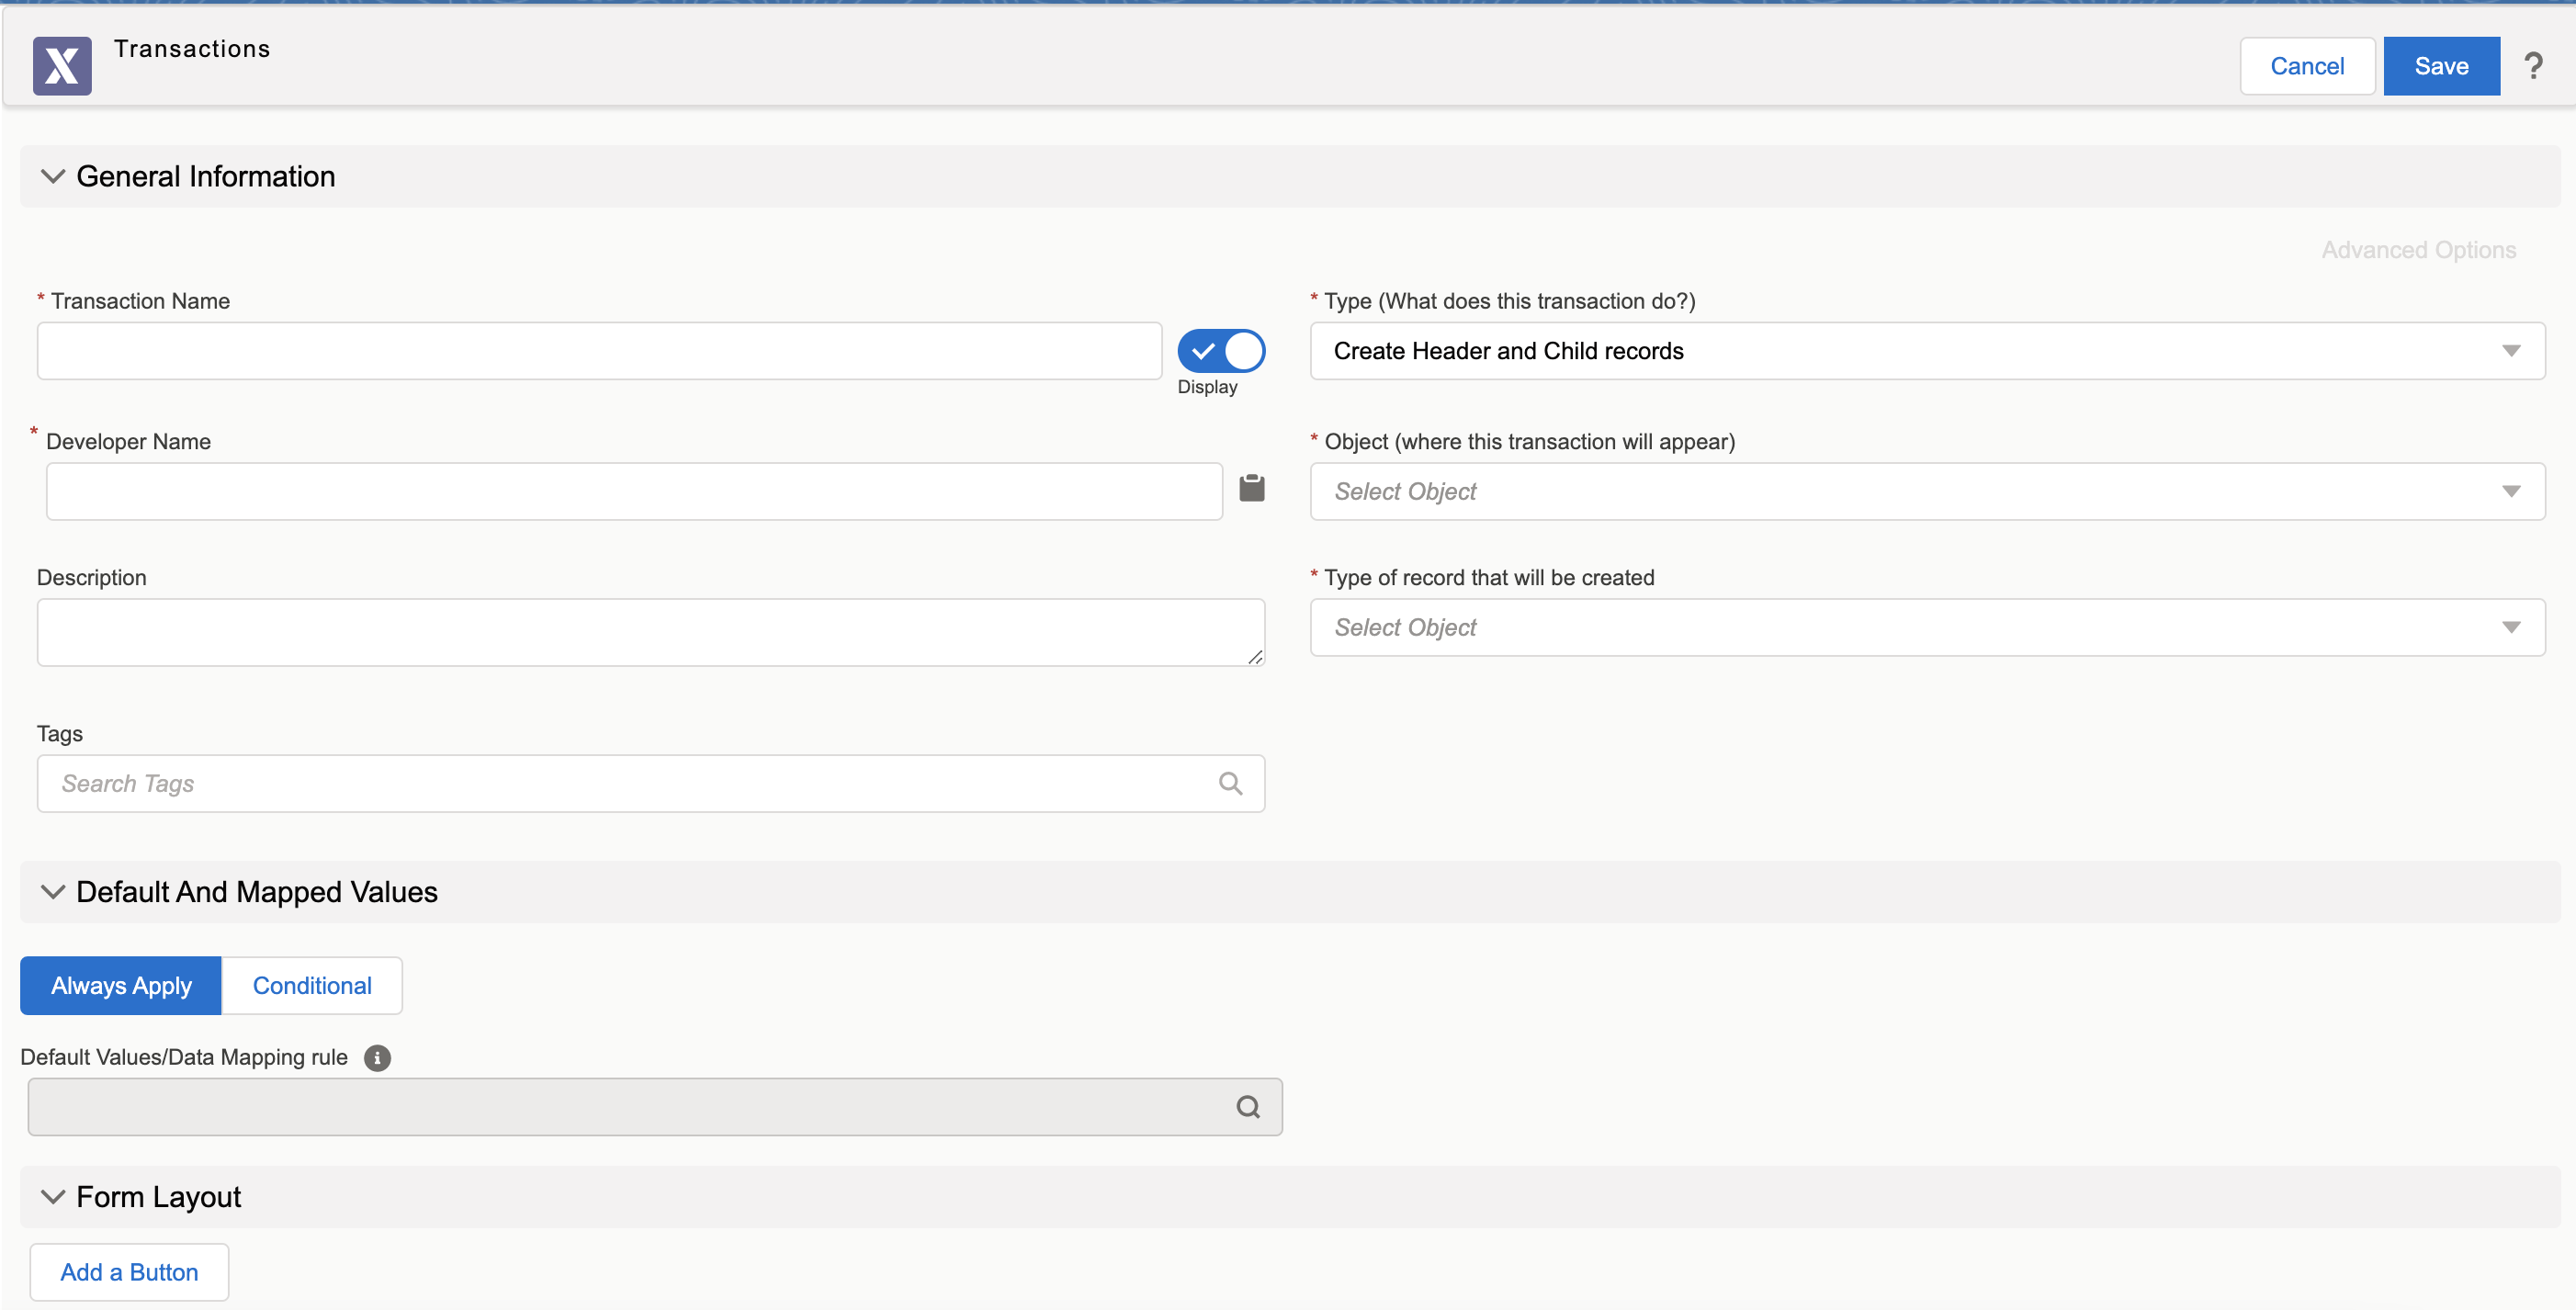
4. Provide the details for the fields as described in the following table.
|
Field Name
|
Field Description
|
||
|---|---|---|---|
|
Fields marked with * are mandatory.
|
|||
|
General Information
|
|||
|
Transaction Name*
|
Enter a title for the transaction.
|
||
|
Display Toggle Button
|
Click the toggle button to display the transaction in the Runtime. This toggle button is ON by default.
|
||
|
Developer Name*
|
The developer name is auto-populated from the Transaction Name field, similar to that of the Transaction Name. Edit it as required to make it unique.
|
||
|
Type*
|
Select a type for the transaction from the drop-down list. The following types of transactions are available:
• Create Header and Child Records
• Edit Header and Child Records
|
||
|
Object*
|
Select the object for which the transaction is created.
|
||
|
Type of record that will be created*
|
Select the type of record created from this transaction from the drop-down list.
|
||
|
Description
|
Enter a brief description of the transaction.
|
||
|
Tags
|
Enter the appropriate tag for the transaction.
|
||
|
Default and Mapped Values
|
|||
|
Always Apply: This mapping is applied to the Transaction record to populate field values.
|
|||
|
Default Values/ Data Mapping Rule
|
Select the default values from the available mappings. It also allows you to create a mapping for seeding the default values for the transaction.
|
||
|
Conditional Mapping: This mapping is applied to the Transaction record when a specific expression is met.
|
|||
|
When Expression is True
|
Select the expression from the list.
When this expression is met, a specific mapping is applied to the Transaction record to populate the values.
Click New Configuration to create the desired expression. You are redirected to a new browser tab to create an expression. Refer to the Create Expression section for more details.
|
||
|
Apply this Mapping
|
Select the object mapping from the available list.
The object mapping is applied to the Transaction record to populate the values.
Click New Configuration to create the desired object mapping. You are redirected to a new browser tab to create an object mapping. Refer to the Create Object Mapping section for more details.
|
||
|
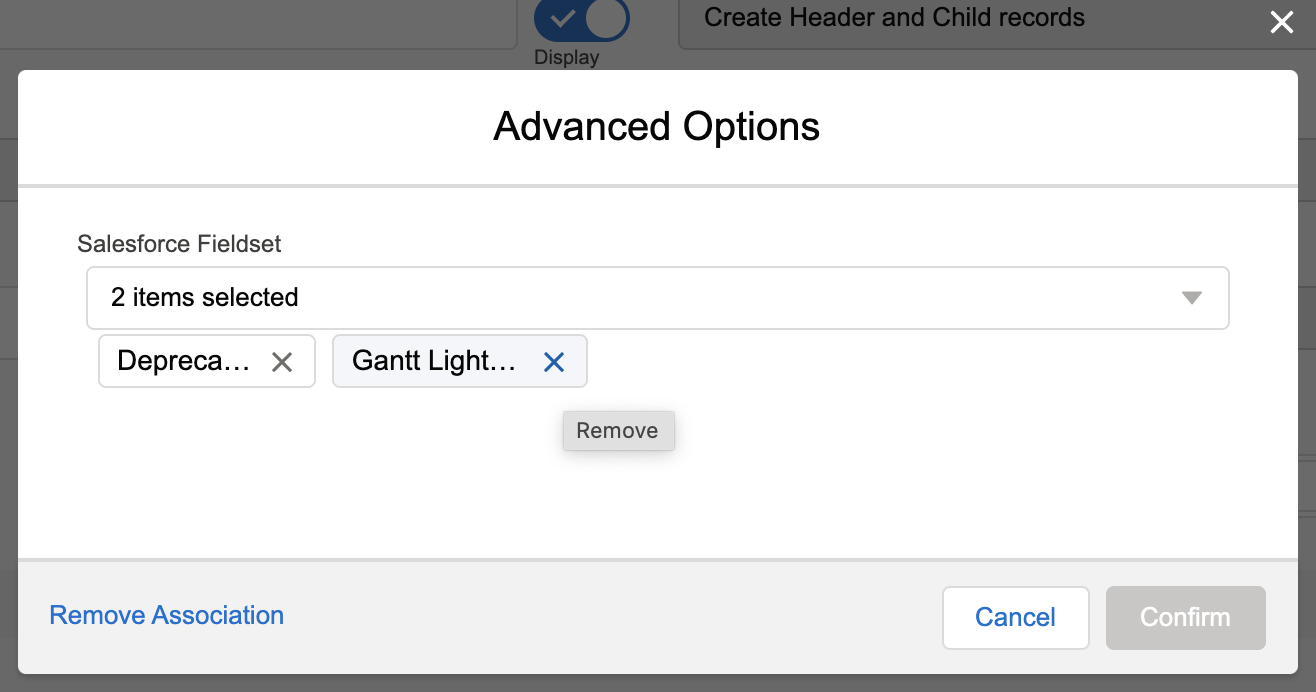
Advanced Options
|
Click the Advanced Options link to select the Salesforce Fieldsets for the transaction.
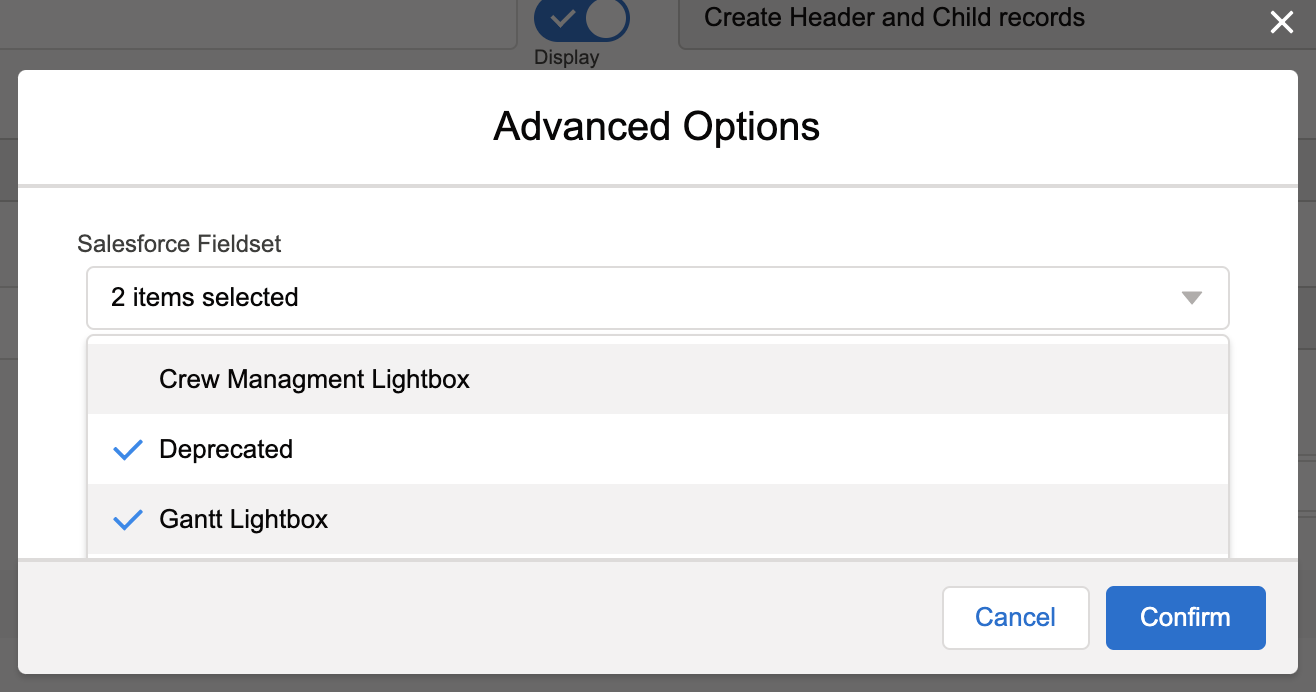 Select the Fieldset from the list and click Confirm. The query is triggered only for the fields available in the Fieldset and not on the fields available in the Page Layout.
|
||
|
Form Layout
|
|||
|
Add a Button
|
Click Add a Button in the Form Layout section to define buttons linked to Apex classes.
|
||
5. Provide the details for the fields as described in the following table:
|
Field Name
|
Field Description
|
||
|---|---|---|---|
|
Add fields to the object to start creating a form.
|
|||
|
Add a section
|
Add a section to the form and add fields to it.
|
||
|
Add a related list to the form.
|
6. Click Save. A confirmation message is displayed.
|
|
• The user is navigated back to the Transactions List page for the Edit type transaction, and the page is reloaded.
• Your user is navigated to the new transaction for the Create type transaction on the current page.
|