Create a Product State
Creating a product state allows you to set the starting position of your model so that it matches the physical object exactly at the start of the procedure.
|
|
Physical objects must not change state during the procedure, so make sure that the product state matches whatever state you want to start your procedure at exactly. For example, parts cannot be moved, removed, or added during the procedure.
|
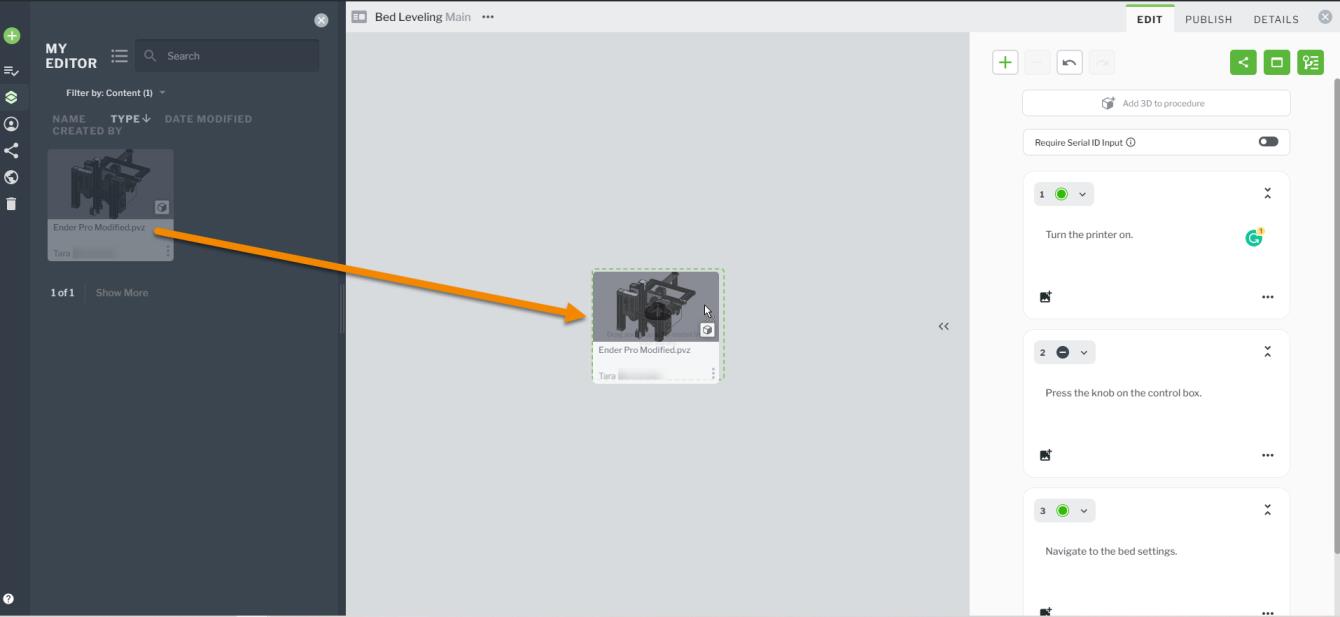
1. Add a 3D model to your procedure if it does not already contain one. You can add a 3D model by clicking Add 3D to procedure and then dragging and dropping a model from the asset library onto the 3D editor pane.
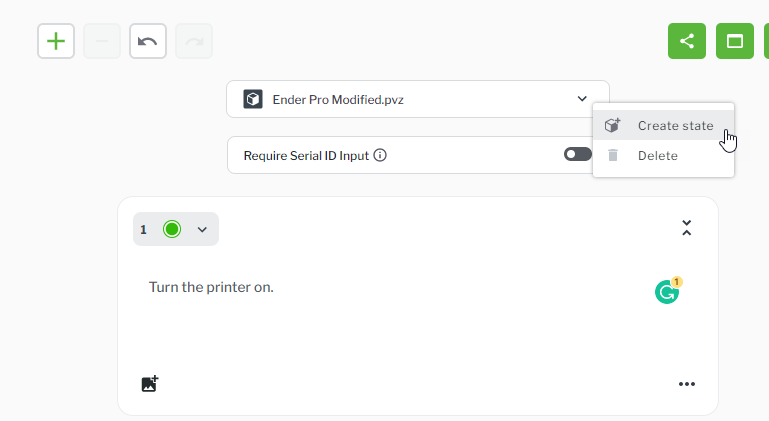
2. Once the model has fully loaded, click on the drop-down arrow next to the name of the CAD file, and select Create state.
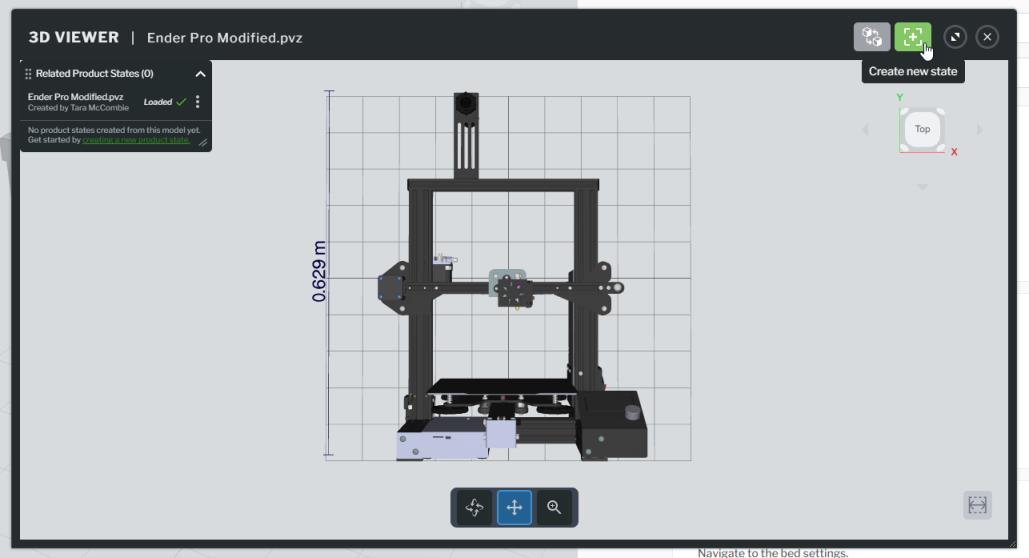
3. The
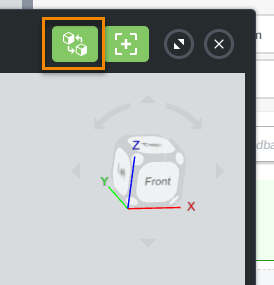
3D VIEWER opens. Click the create new state icon.
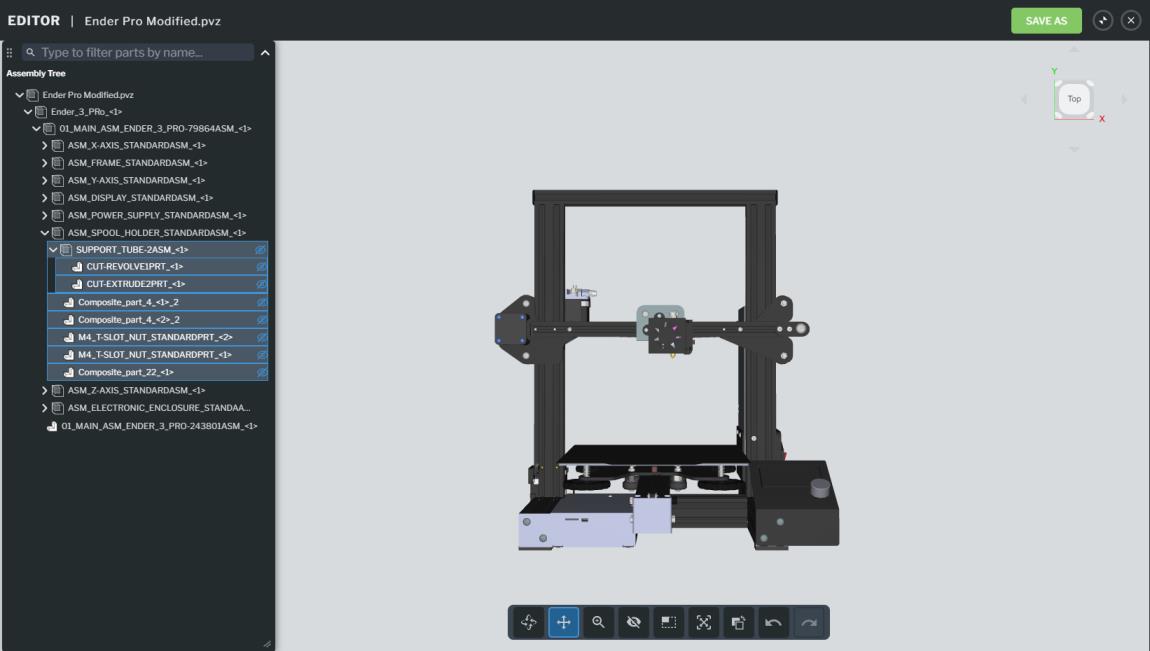
4. On the Editor window, use the toolbar at the bottom to create the new product state that will match the physical model. For example, if the user will not see the spool holder of the printer on the physical model, remove it from the 3D model in the Editor.
For more information about working with the 3D model to create the product state, see
Product State Editor.
5. Once you’ve got your model in the new state, click SAVE AS to create the new product state.
6. On the NEW PRODUCT STATE window, enter a name for the product state, and click CREATE.
| Saving the new product state may take some time depending on the size of the 3D model. |
7. The new product state will load in the 3D Editor. Click the Replace product state in procedure icon that is now enabled.
If later you find that the product state isn’t quite right, you can
replace it with another product state.
Once you have your new product state, you can add it to a step in your procedure by
adding a marker as a point of interest.