Defining Resource Lists
Dispatchers can create their own personalized Resource Lists in Service Board at any time, and cannot see personalized lists created by other users. To create predefined Resource Lists and configure sharing rights to grant access to dispatchers, you can use Max Designer.
To define Resource Lists:
1. In Max Designer, click Developer Tools ( ) > , and then in the left pane, search for and select Resource Lists.
) > , and then in the left pane, search for and select Resource Lists.2. In the left pane, click Records, and then in the list view, in the top left corner, click Create ( ).
).
).3. On the record page, complete the fields as follows, and then in the top left corner, click Save ( ).
).
).|
Field
|
Value
|
||
|---|---|---|---|
|
Name
|
The name you want to use for the Resource List.
|
||
|
Include in View
|
The Resources you want to include in the list. You can select Equipment, Technician, Crew, or all three types.
|
||
|
Show Inactive Resources/Crew
|
Select this check box to show all Resources, whether active or inactive.
|
||
|
List Type
|
Whether to include Service Teams or Territories in the view. By default, Service Team is selected.
|
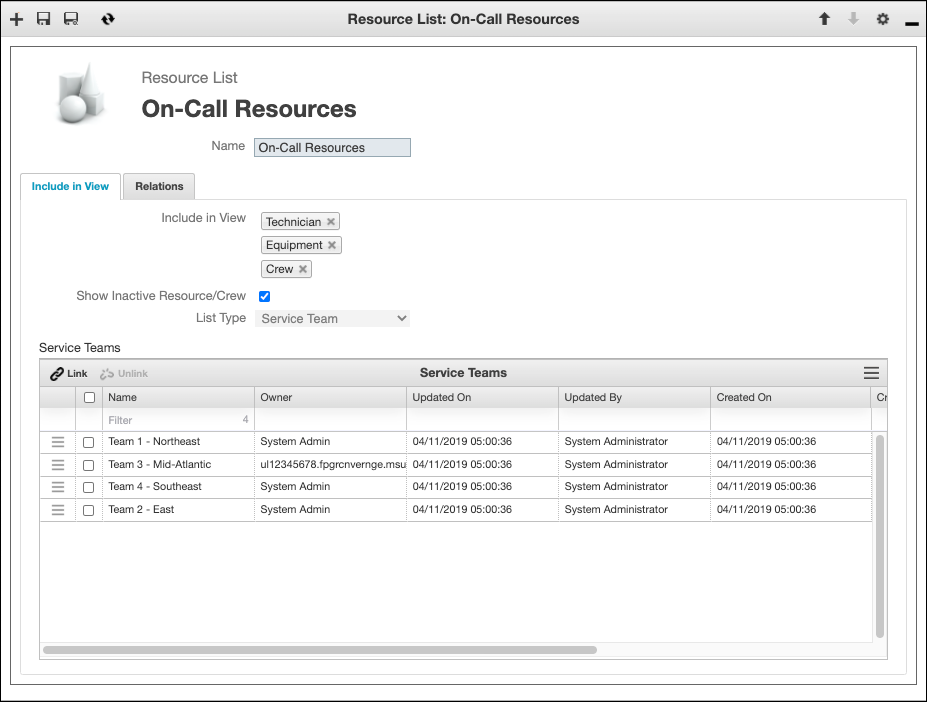
4. On the Include in View tab, in the Service Teams list, in the top left corner, click Link ( ).
).
).5. In the Link Related Service Teams list, select the check boxes for the Service Teams you want to include in the list view, and then in the top left corner, click Link Selected Records ().
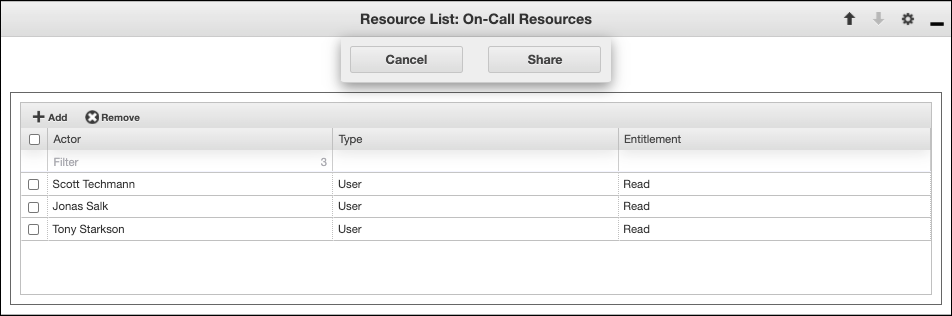
).6. In the top right corner, click Options ( ) > , and then in the list view, in the top left corner, click Add ().
) > , and then in the list view, in the top left corner, click Add ().7. In the Actor column, select the users or groups to whom you want to grant access to the Resource List, and then click Share.