Creating Partner Communities
To begin configuring partner authentication, you create and configure a community. You can also reconfigure an existing community.
To create partner communities:
1. On the Salesforce Setup page, in the left pane, in the Build section, under the Customize node, in the Digital Experiences subnode, click All Sites.
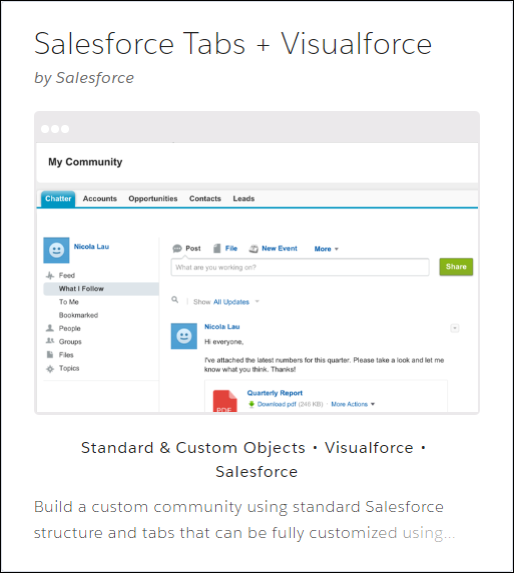
2. On the All Sites page, click New, and then on the Lightning Bolt template selection page, scroll down to the bottom and click Salesforce Tabs + VisualForce.

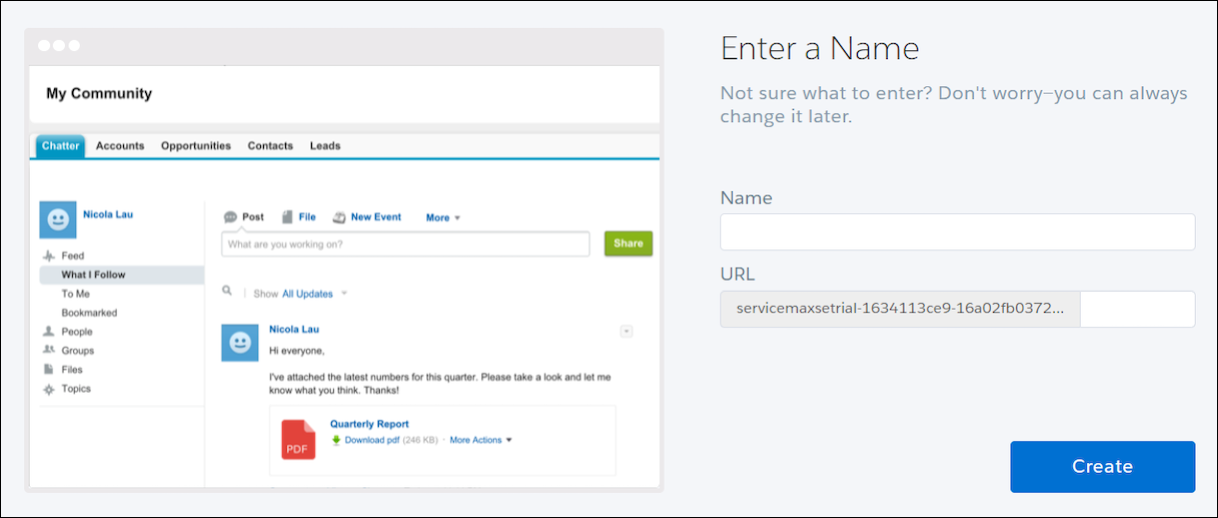
3. On the Salesforce Tabs + Visualforce page, click Get Started, and then in the Enter a Name area, specify a name and a URL for the new community and click Create.

4. On the Community Workspaces page, click Administration, and then in the left pane, click Members.
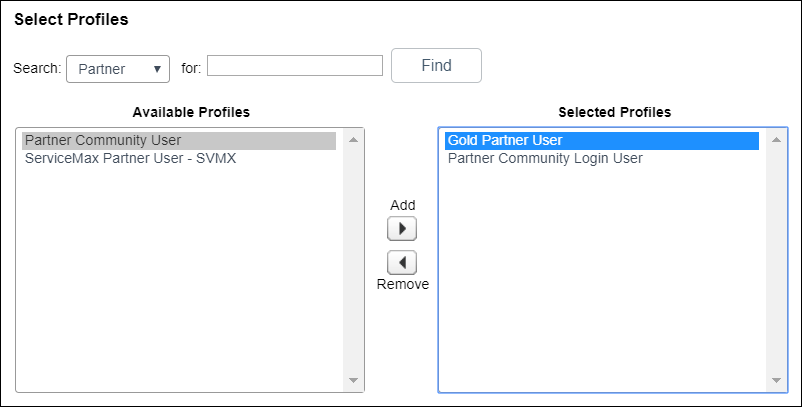
5. On the Members tab, in the Select Profiles area, select the profiles you want to assign as community members, and then click Save.

For more information: