Configuring Workflow Definitions
When a Job is dispatched to a technician in Service Board, an Appointment is created in the initial workflow state defined in the relevant workflow definition, and Job status changes to the next value in the flow. Workflow State Conversion records are automatically created when Job or Appointment workflow definitions are deployed. When an Appointment is redispatched to another technician, the previous Appointment Status value changes to Canceled, the Job status returns to its initial state, and a new Appointment is created. Handling of state changes for the previous Appointment is defined in the same Workflow State Conversion record. Job and Appointment records have Status fields, and are linked to default workflows and workflow definitions.
To configure Job and Appointment status, you must clone an existing Workflow Definition record. The current custodian change policy does not support direct modifications to out-of-the-box Workflow Definition records. When you clone an existing Workflow Definition record, all of its associated workflow states, workflow transitions, and user, role, and group-based access rights are cloned as well, along with its linked translation records.
By default, all users are authorized to execute workflow transitions, unless you configure user-based, role-based, or group-based access control. End users see only workflow transitions for Job and Appointment records as configured by the system administrator.
|
|
After you deploy a new Workflow Definition record for the Appointment object, all new Appointments use the new workflow. Existing Appointments use the previous Workflow Definition record version until completion. If technicians in your organization using ServiceMax Go use the Appointment status transition workflow to change Appointment status values, they must run a metadata update to download the new Workflow Definition record. Be aware that ServiceMax Go does not support multiple workflow definitions.
|
To configure workflow definitions:
1. In Max Designer, click Process Management ( ) > , and then in the list view, locate and click the Workflow Definition record you want to configure.
) > , and then in the list view, locate and click the Workflow Definition record you want to configure.2. On the record page, in the top right corner, click Options ( ) > , and then on the cloned Workflow Definition record page, in the Name field, update the workflow name and leave the Workflow field blank.
) > , and then on the cloned Workflow Definition record page, in the Name field, update the workflow name and leave the Workflow field blank.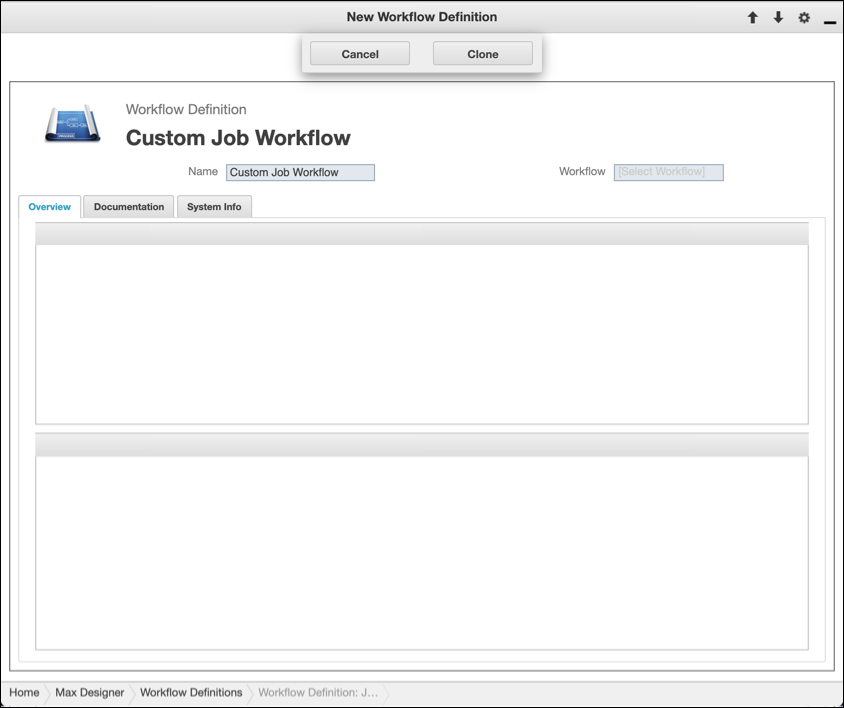
3. Click Clone, and then wait for all related workflow artifacts to be copied.
4. In the Related Workflow States via Parent Workflow Definition Field list, in the top left corner, click Edit ( ) to enter inline editing mode, and then click in any cell to update the associated field values per your organization's needs.
) to enter inline editing mode, and then click in any cell to update the associated field values per your organization's needs.5. In the top left corner, click Exit Edit () to exit inline editing mode and save your changes.
) to exit inline editing mode and save your changes.6. If needed, click any row to open the associated Workflow State record and make more changes or delete the state.
|
|
Workflow definitions cannot have more than one initial state. Appointment workflow definitions must have one cancel state, which can be named Canceled or Cancelled.
|
7. In the Related Workflow Transitions via Parent Workflow Definition Field list, in the top left corner, click Edit (), and then update field values and Workflow Transition records in the same manner as for workflow states.
), and then update field values and Workflow Transition records in the same manner as for workflow states.|
|
Transitions must start and end in states that belong to the same workflow definition, and cannot start in a final state. Job workflow definitions must have one Canceled state, and transitions to this state must be named Cancel.
|
8. To configure access control for individual Workflow Transitions, in the Related Workflow Transitions via Parent Workflow Definition Field list, click transition rows to open the associated records, and then in the Access Control tab, link or unlink the users, groups, or roles for which you want to configure access.
9. Click Development Actions ( ) > .
) > .
) > .