Configuring Real-Time Sync to Use Salesforce Schedule Field Values
During Salesforce-to-Service Board real-time sync, Resource field values in Appointment and Job records are compared. To ensure that all Jobs have Primary Resource Appointments, if the Resource assigned to an Appointment does not match the Resource field value in the corresponding Job record, the Appointment is set as the Primary Resource Appointment, and the Resource field in the Job record is updated to match that of the Appointment, and Job and Work Order status and scheduling information is updated accordingly. In cases where Jobs are assigned to multiple Resources, and Appointments assigned to nonprimary Resources are synced earlier than other Appointments assigned to the Resource specified in Job records, data issues can cause unexpected changes to Resource fields and their related fields in Job and Work Order records.
To address this scenario and ensure data accuracy during real-time sync, you must configure the Respect SFDC Schedule Fields setting, which is disabled by default. After you enable this setting, Resource, Scheduled Time, Status and Order Status field values in Job records are left unchanged during real-time sync of Salesforce or ServiceMax Work Order-related Event records to Appointment records on Service Board.
|
|
In cases where the Auto-Reset Resource/Crew When Job Returns to Initial Status setting is enabled, and the Respect SFDC Schedule Fields setting is disabled, when Status field values for Jobs are reset to initial values, the Schedule fields in the relevant Job records (for example, Resource, Crew, and Service Team) are cleared and left empty. The Scheduled Time field value is an exception, and is never reset when updates made in Salesforce are synced to Service Board.
|
To configure real-time sync to use Salesforce schedule field values:
1. In Max Admin, click Administration ( ) > , and then in the list view, click Respect SFDC Schedule Fields.
) > , and then in the list view, click Respect SFDC Schedule Fields.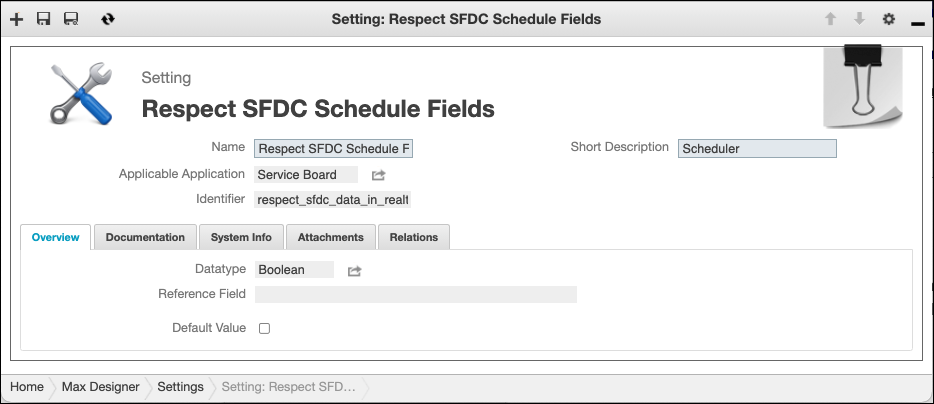
2. On the Overview tab, select the Default Value check box, and then in the top left corner, click Save and Close ( ).
).
).