Adding Wizards to Objects
The application allows you to create wizards for objects.
To create wizards for objects, perform the following steps:
1. Log in to Asset 360 with your credentials.
2. Click Service Process Manager > Wizards. It displays the list of objects.
3. Click Add Object. The Select Object pop-up screen is displayed.
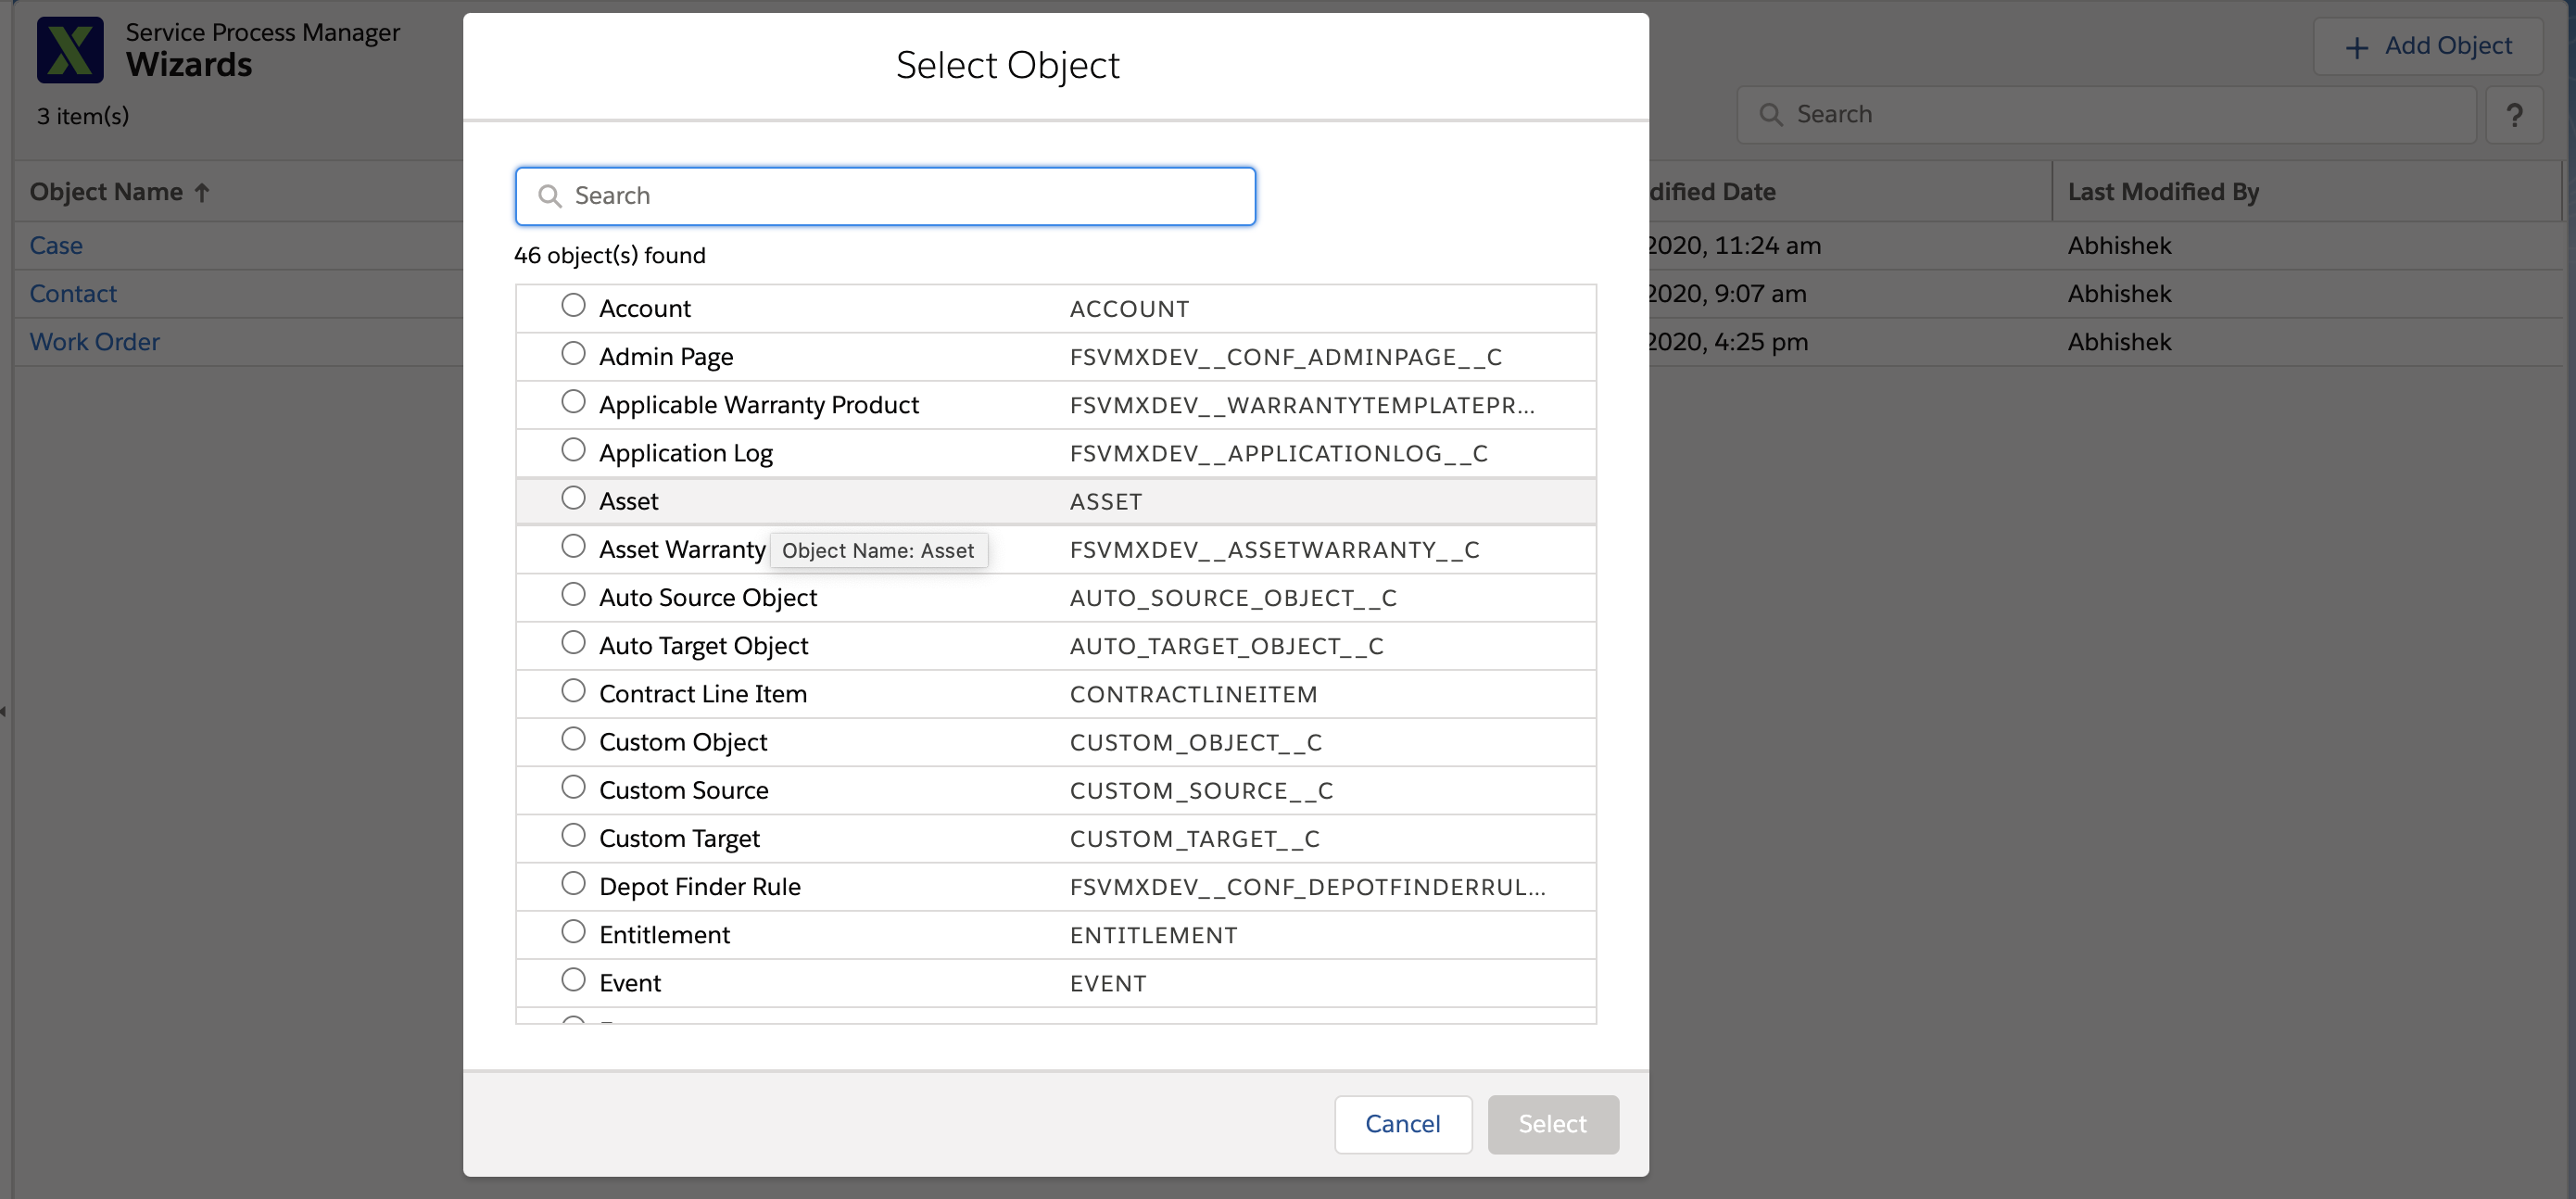
4. Select an object from the list you want to create wizards, then click Select. The Wizards screen is displayed for the object.
5. Click Add Wizard. The Wizard Properties pop-up screen is displayed.
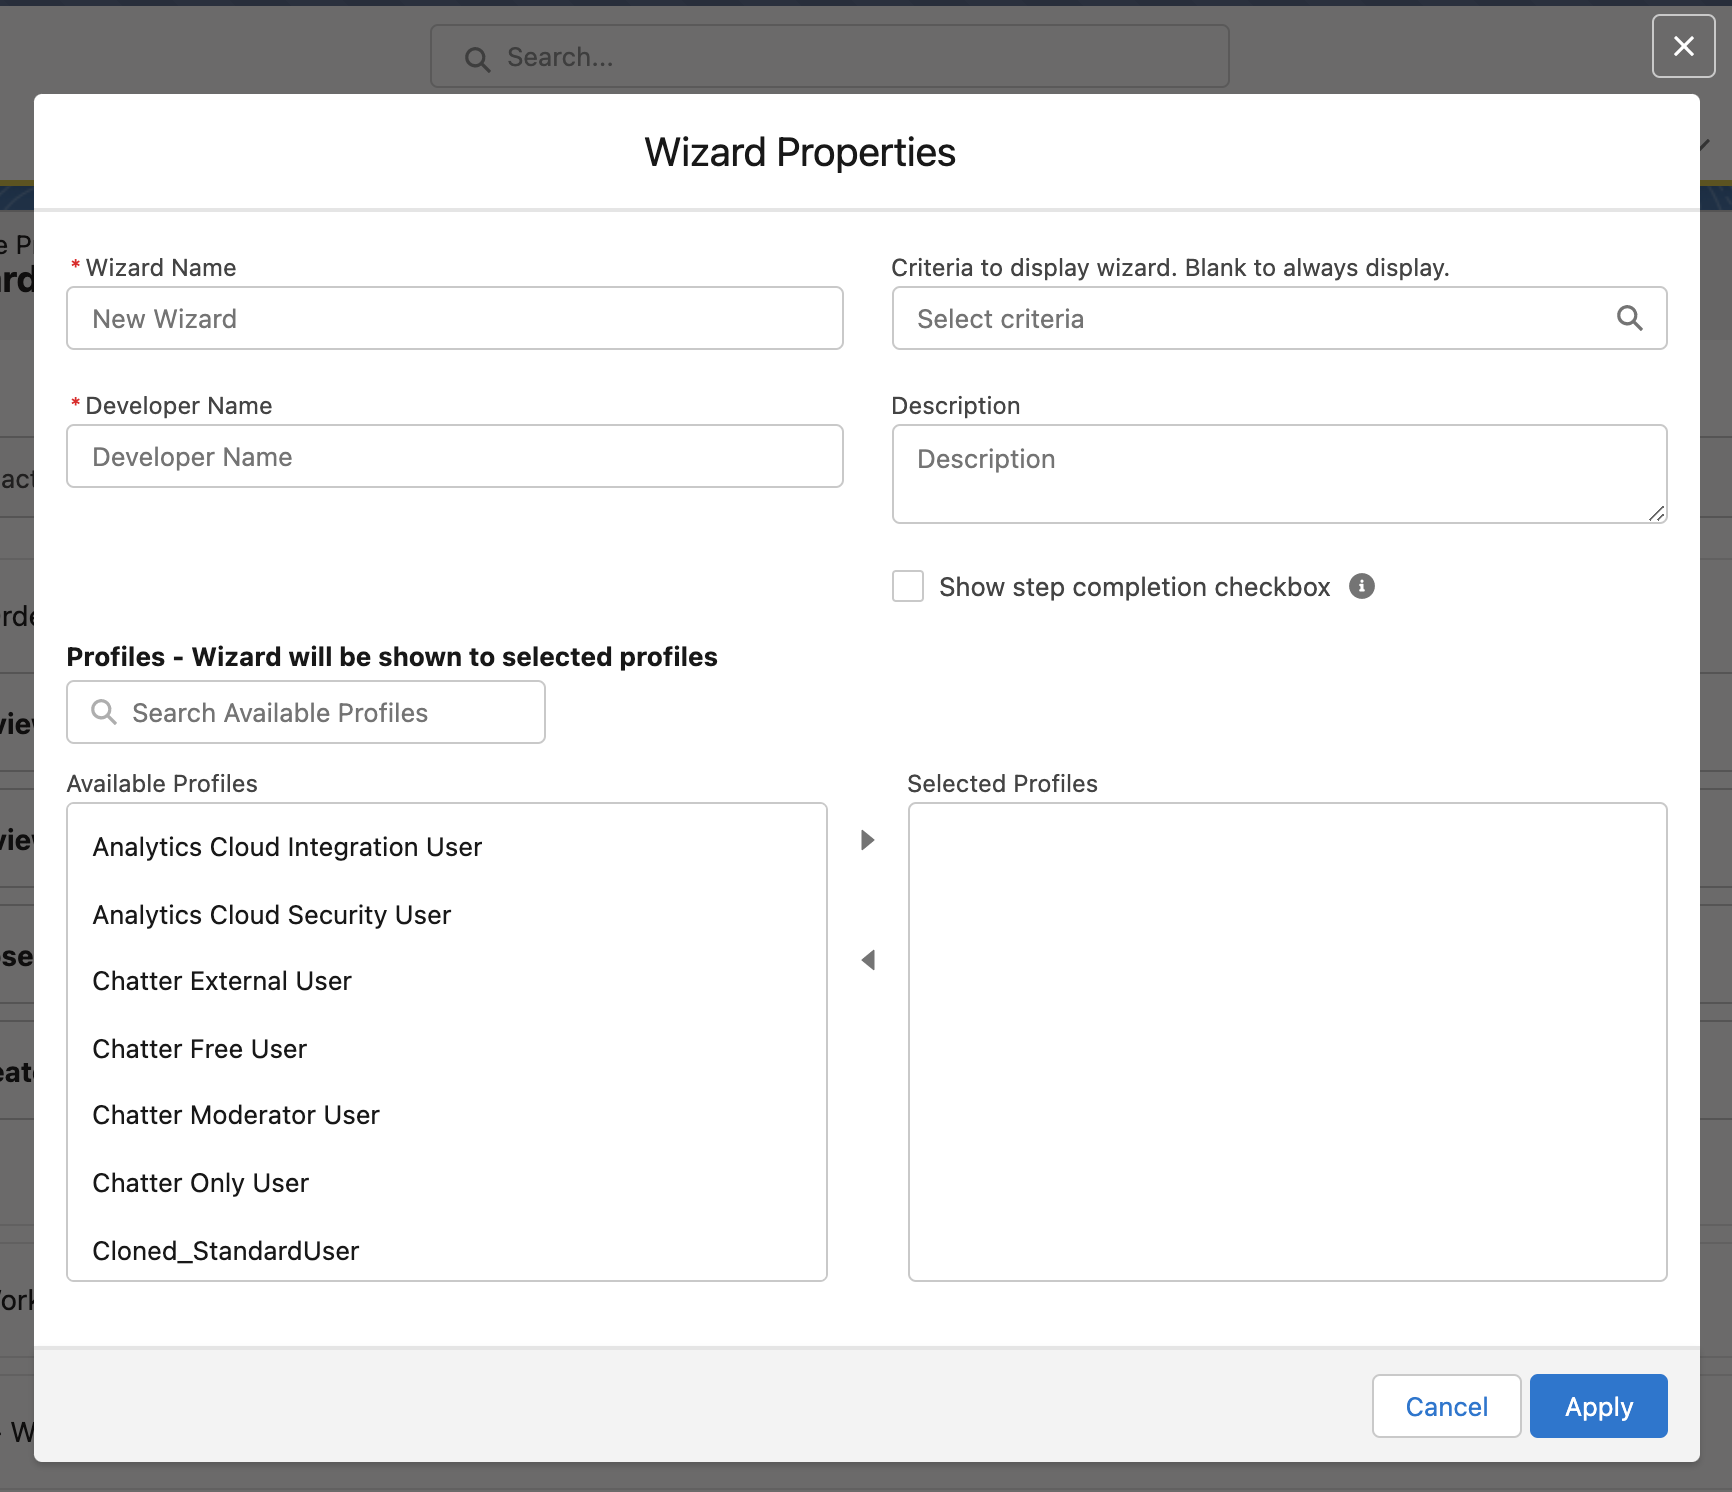
6. Provide the details as explained in the following table, then click Apply. The wizard is created for the object under the selected tab: Active or Inactive.
|
Field Name
|
Field Description
|
||
|---|---|---|---|
|
Fields marked with * are mandatory fields.
|
|||
|
Wizard Name*
|
Enter a title for the wizard.
|
||
|
Developer Name*
|
The developer name is auto-populated from the Wizard Name. Edit it as required. The Developer Name must be unique.
|
||
|
Criteria to display the wizard
|
Select an expression rule from the list to display the wizard.
|
||
|
Description
|
Enter a brief description of the wizard.
|
||
|
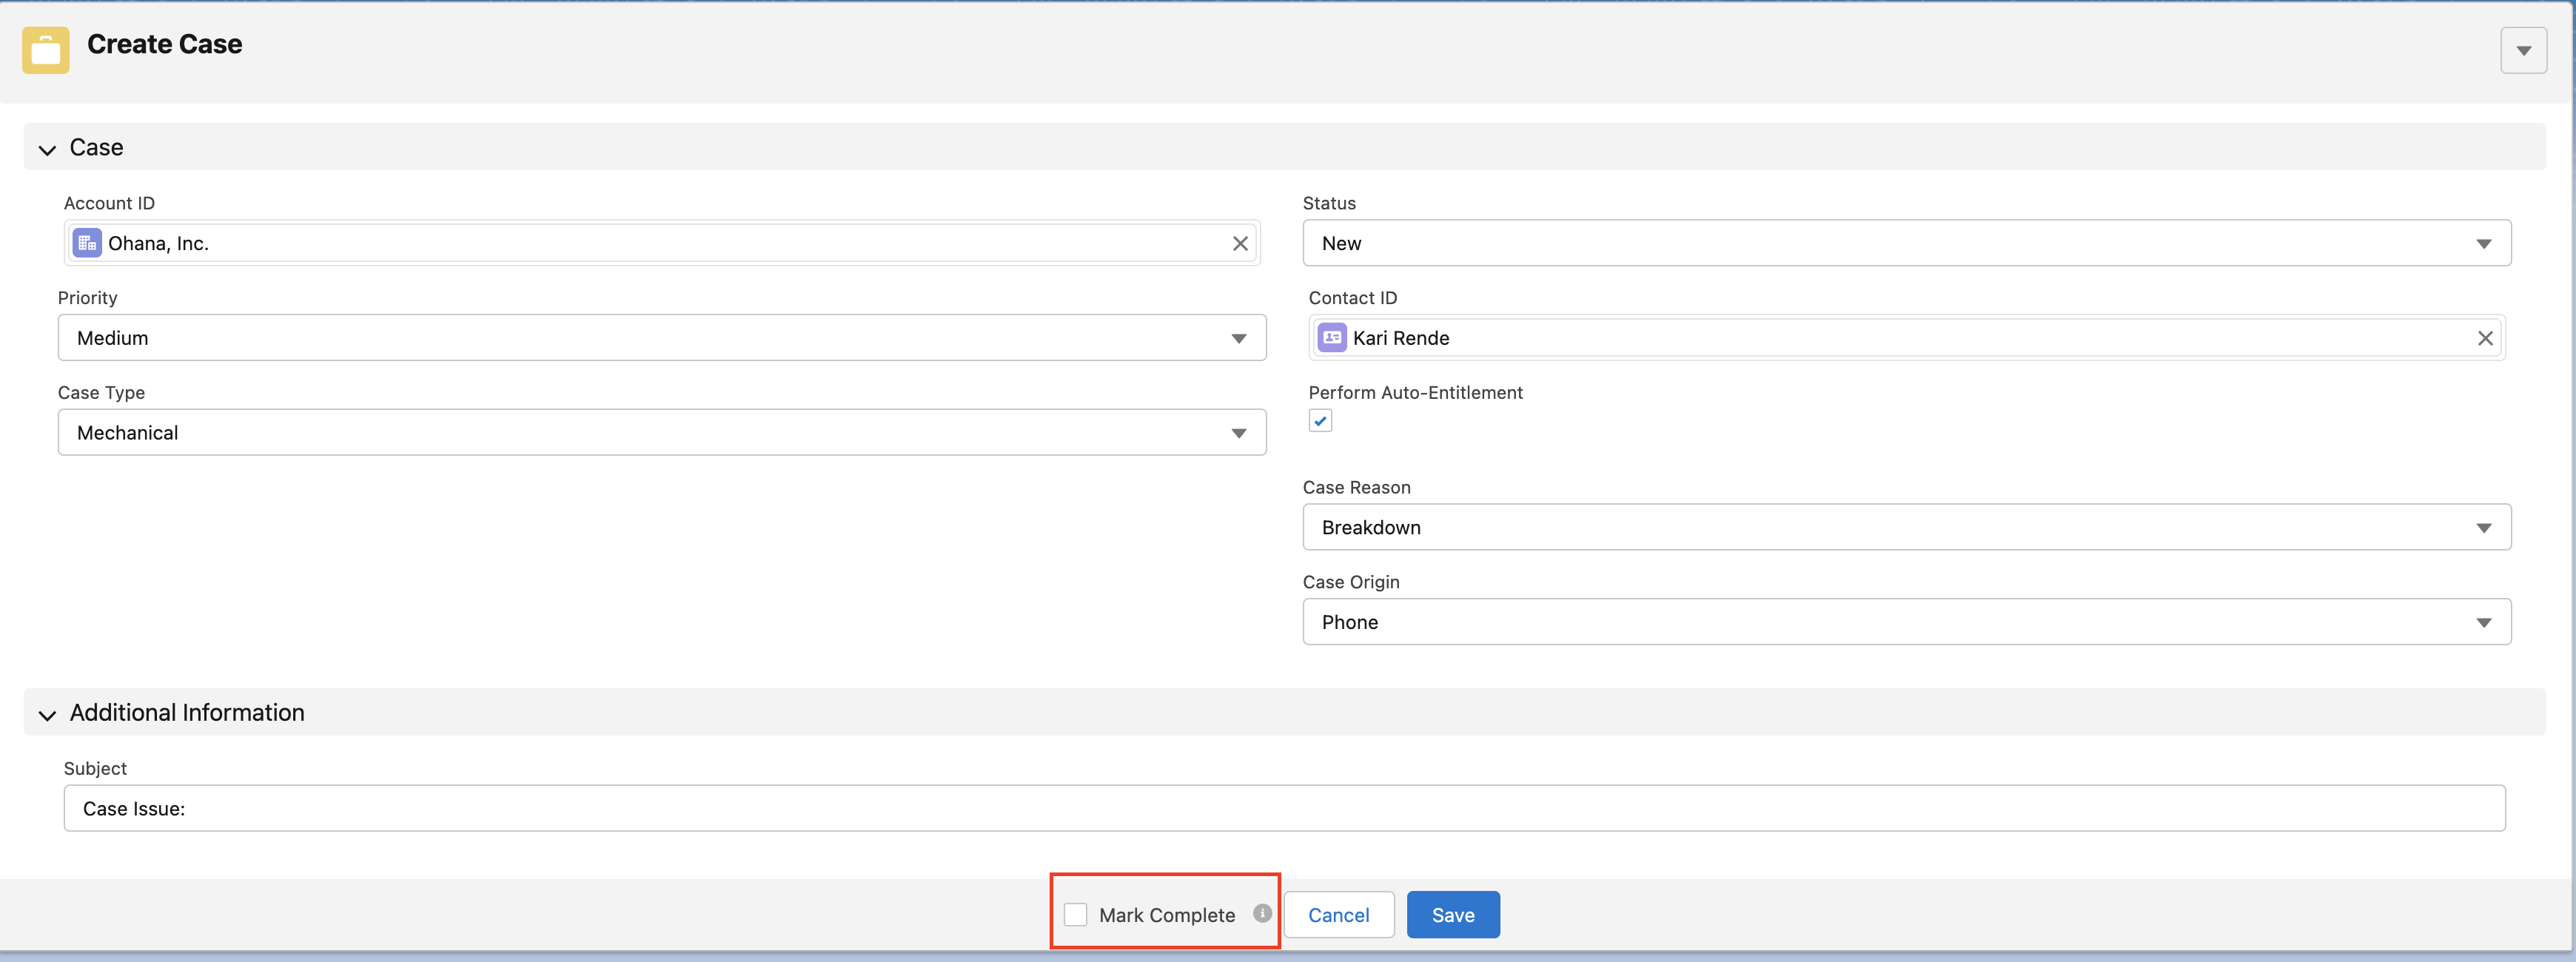
Show step completion checkbox
|
Click the checkbox to show a completion checkbox for your users against the wizard steps.
Your users can use this checkbox to indicate a wizard step as completed.
|
||
|
Profiles
|
Select the profiles if you want to display the wizard for selected profiles only. Refer to the following Selecting Profiles section for more details.
|
||
7. Click Save. The wizard is saved on the object.
|
|
• You need to create different wizards for the Community users and ensure that the component is certified to be launched in the Community.
• For Community users, add an appropriate sharing rule to enable access to read or read/write. For more details, refer to the Community Users Configuration page.
|
Selecting Profiles
To select profiles for the wizards, perform the following steps:
1. Select the profiles from the Available Profiles box.
|
|
• You can select and move multiple profiles by holding the control key in Windows or the command key in Mac.
• You can search for the required profiles by using the search box. Enter at least three characters to get the search result.
|
2. Click the arrow pointing toward the Selected Profiles box.
|
|
• To remove the profiles from the Selected Profiles box, click the arrow pointing toward the Available Profiles box.
• When you delete the profile from the backend, the profile is still displayed in the frame. It is because Salesforce caches the profile data.
|
3. Click Apply. The profiles are applied to the wizard.
Reference Topics