3D Editor Pane
|
|
Upon the release of the ability to set custom views, existing procedures with steps that contain 3D models will be updated with a default view based on the orientation and markers already defined for the step. Therefore, you’ll need to update the orientation of the model for each individual step. If you want to modify the new default view, use the custom view feature to set your own. For more information, see Refine a Custom Viewing Position for a Large Object.
|
1. To include and view a 3D model in your procedure, click ADD 3D TO PROCEDURE.
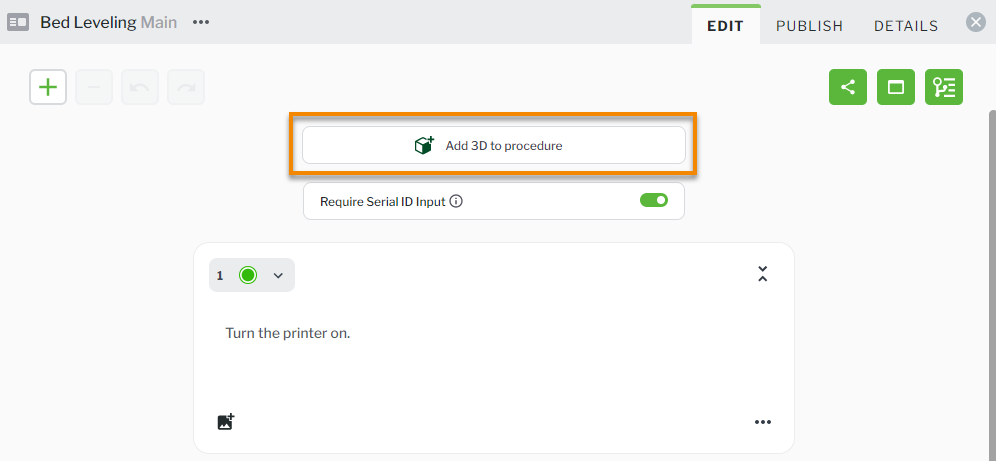
2. Then, drag and drop your 3D model into the 3D Editor.

3. The 3D model is then displayed in VIEW pane.

4. Once you’ve added your 3D model to the procedure, we recommend setting the orientation of the model before setting any custom viewing positions for the procedure steps. To do this click the Model Settings button in the 3D editor pane toolbar.
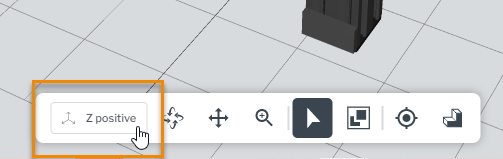
From the 3D Editor pane, you can navigate the view of the model and create markers using the following tools:
|
Tool
|
Description
|
||
|---|---|---|---|
 |
Allows you to create a custom view or set the model to the default viewing position. A preview thumbnail also shows either the default viewing position or the custom viewing position that has been set. For more information, see Refine a Custom Viewing Position for a Large Object.
|
||
|
|
Opens the MODEL SETTINGS window which allows you to select the preferred orientation for the model so that it matches the orientation of the object in the real world object.
 The orientation of the model is set per procedure. For example, if the same 3D model is used in three different procedures, the model could have a different orientation in each procedure.
|
||
|
|
Rotate the model in a circular motion.
|
||
|
|
Move the model left, right, up, and down.
|
||
|
|
Zoom in and out of the model by holding down the right mouse button and moving it back and forth.
|
||
|
|
Allows you to select a part on the model.
|
||
|
|
Allows you to create a part set. For more information, see Create Part Sets.
|
||
|
|
Allows you to click anywhere on the model to place a point of interest marker. For more information, see Add Markers to a Model in a Step.
|
||
|
|
Allows you to click on any part on a model to make it a part marker. For more information, see Add Markers to a Model in a Step.
|
||
|
|
Toggle to display or hide the scale of the model.
 |