Create Part Sets
You can create custom sets of parts to place part markers on.
1. Click the expand icon ( ) to open the Assembly Tree and Part Sets.
) to open the Assembly Tree and Part Sets.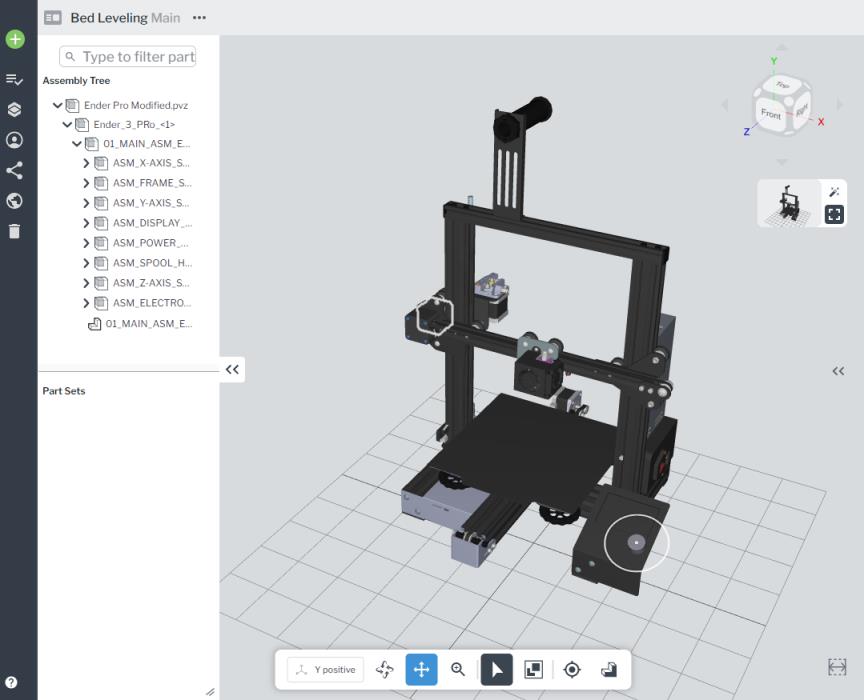
2. Select the step that you want to add the custom set of parts with a part marker to.
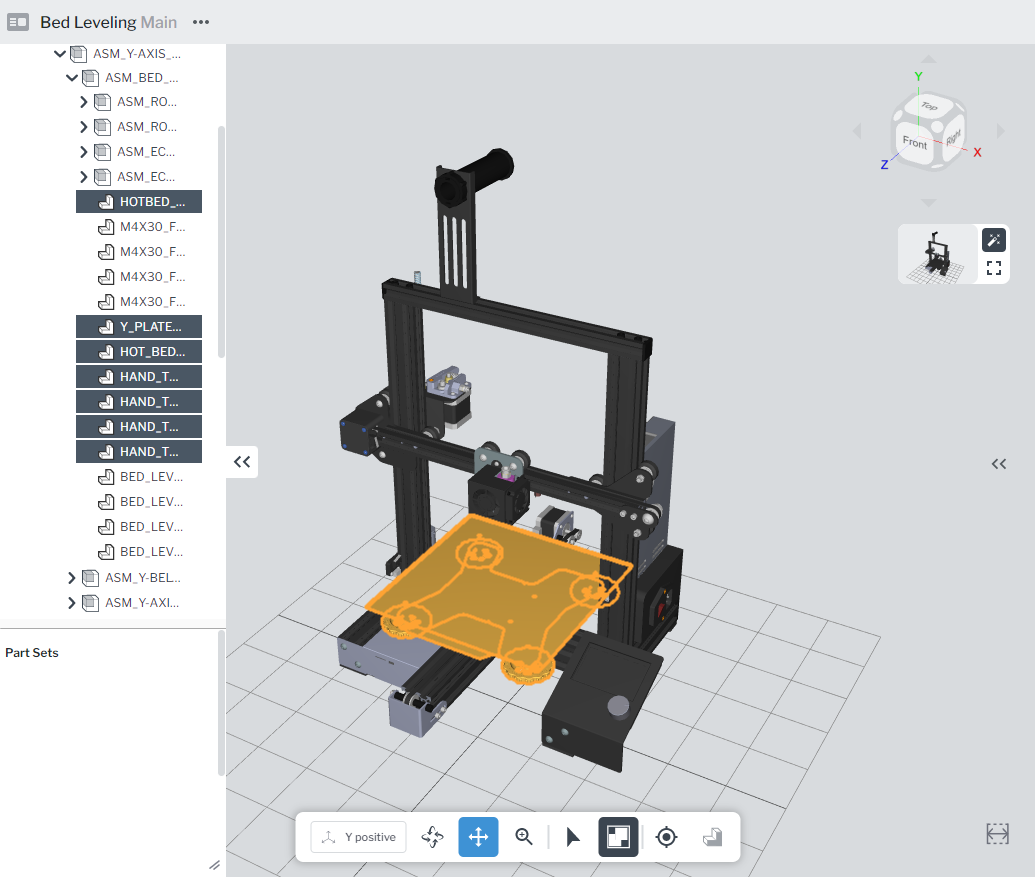
3. Select multiple parts on the model.
|
|
You can select multiple parts using one of the following methods:
• Holding down the Control key and selecting parts on the model
• Holding down the Control or Shift key and selecting parts in the tree
• Holding down the Control key and selecting parts in the Assembly Tree and on the model
|
4. Click the create part set icon.
|
|
You can also right-click on the model and select Create part set.
|
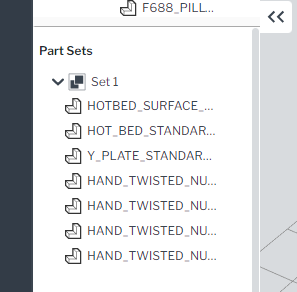
5. You’ll notice that the part set that you just created is displayed below the Assembly Tree section under Part Sets. Select the new part set to highlight it.
|
|
Double-click on the name of the part set to rename it to something more descriptive.
|
6. Then, click the add part marker icon ( ) to add a part marker to the part set for the selected step.
) to add a part marker to the part set for the selected step.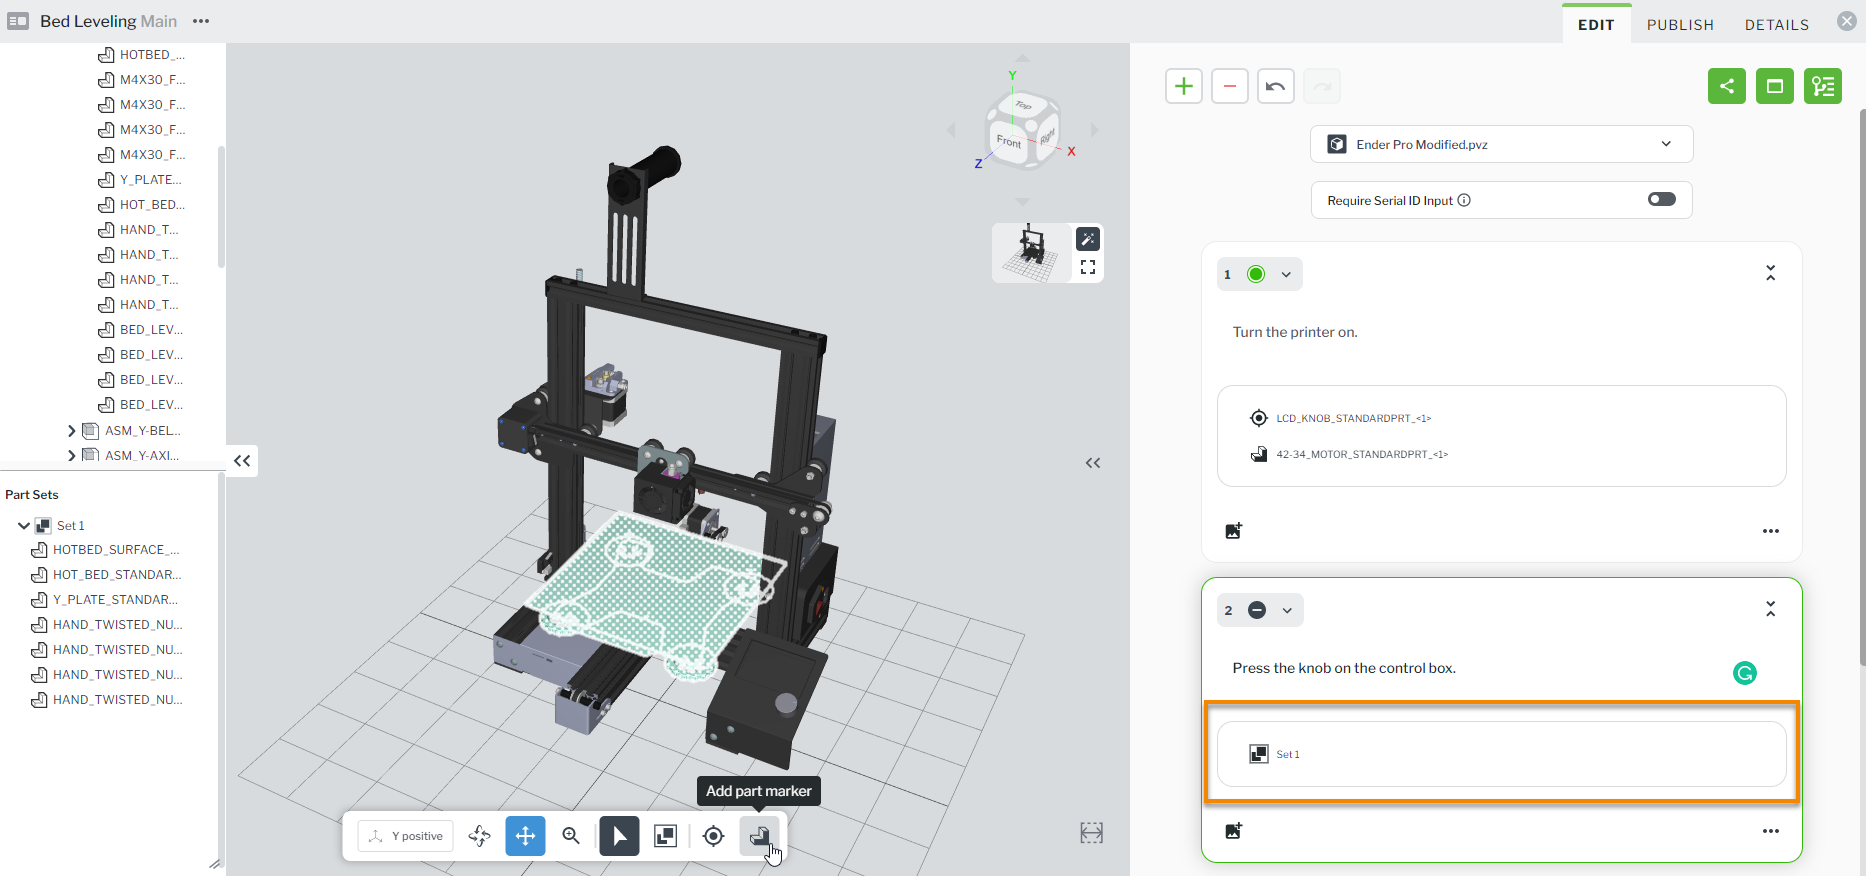
Other Available Part Set Actions
|
Action
|
Description
|
|---|---|
|
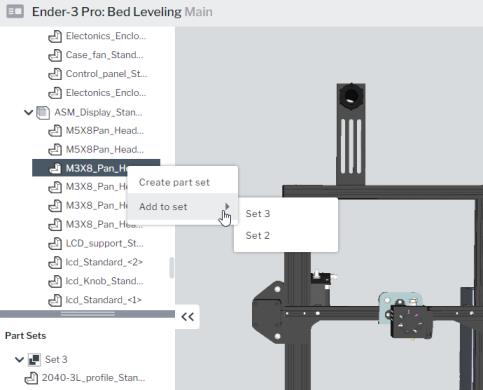
Add to set
|
Right-click on a part in the part tree and select Add to set, and then select the part set you want to add the part to.
 |
|
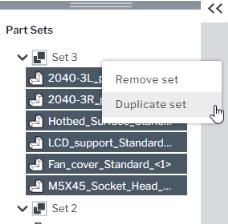
Duplicate set
|
Right-click on the name of the part set, and select Duplicate set.
 |
|
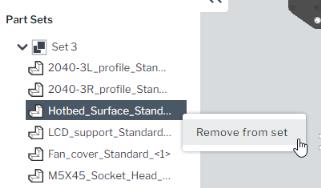
Remove from set
|
Right-click on an individual part in a part set, and select Remove from set.
 |
|
Remove set
|
Right-click on the name of the part set, and select Remove set.
|