Gadgets
Dashboards are made up of gadgets. Gadgets are reusable contained mashups that have additional metadata to handle the sizing requirements of a dashboard. Gadgets can display historical or current data. Any widget and service can be used in a gadget. Gadgets contain predefined parameters, and they are available in various predefined sizes (1x1, 2x2, and so on).
Gadgets allow you to dynamically assign the displayed property values. For example, multiple display gadgets (LED, Gauge, or Chart) can be created, so that you can select the view of the temperature data displayed on your dashboard.
Gadgets are versatile because they can be used in different scenarios. Gadgets can be:
• Embedded in any mashup
• Standalone applications
• Embedded as a screen in another application
Creating a Gadget
1. In Composer, browse to > , and then click the New button.
2. Select the appropriate gadget column layout, and then click OK.
3. Enter a name and description, select a project, and then click Save.
4. On the Design tab, use the Mashup Builder interface to add and configure widgets for the gadget mashup.
5. Use the available properties on the Properties panel to configure the gadget.
6. Click Save.
Creating a Gadget Library Mashup
A gadget library mashup contains a collection of Gadgets that users can add to the dashboard at run time. After creating this mashup, you must linked to it the dashboard mashup. You can create a gadget library similar to a standard mashup:
1. In Composer, browse to > , and then click the New button.
2. Select a mashup type, and then click OK.
3. Enter a name and description, select a project, and then click Save.
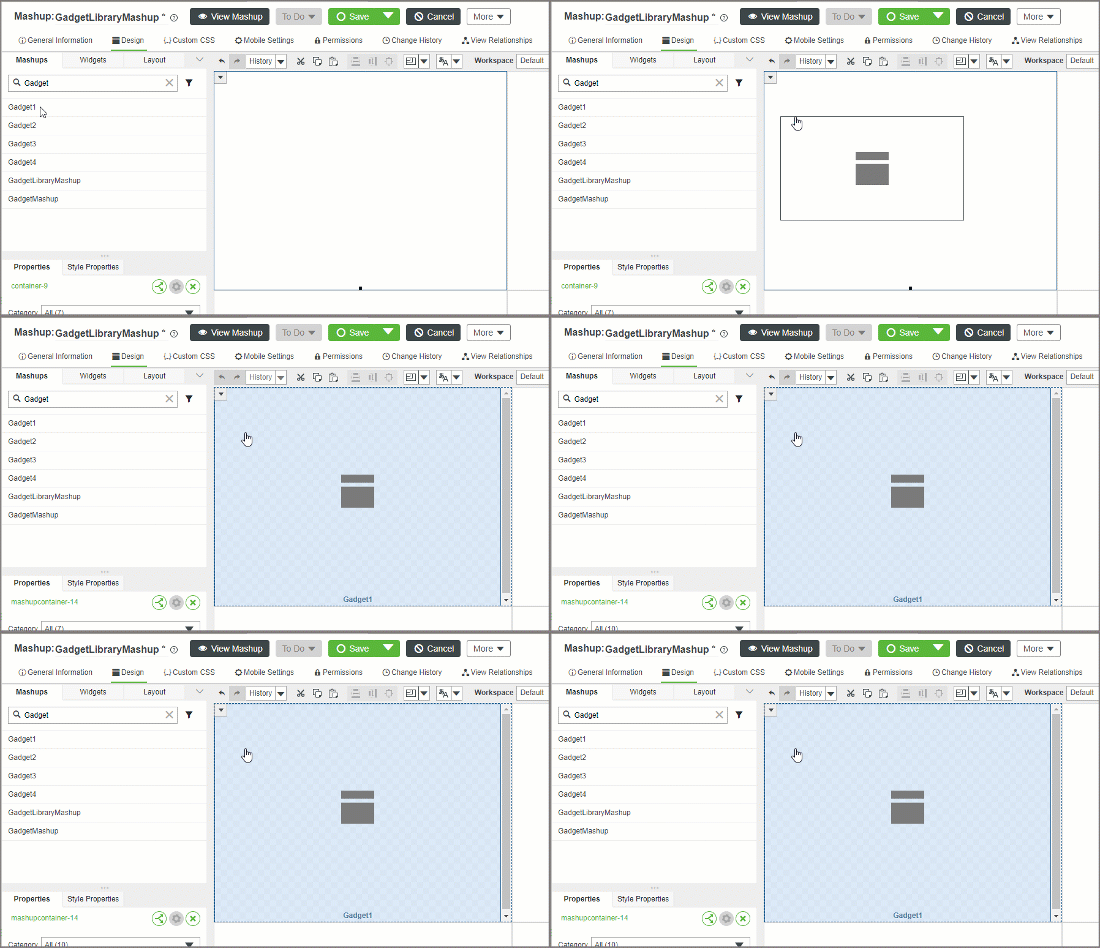
4. On the Design tab, drag a gadget mashup from the Mashups panel onto a container in the layout.

5. Repeat the previous step to add additional gadgets to the library.
6. Click Save.
Next, create a mashup and add a Dashboard widget.
Creating a Dashboard Mashup
A dashboard mashup contains the dashboard widget and is linked to the gadget library mashup.
1. In Composer, browse to > , and then click the New button.
2. Select a mashup type, and then click OK.
3. Enter a name and description, select a project, and then click Save.
4. On the Design tab, drag the Dashboard widget onto a container in the layout.
5. On the Properties panel, locate the widget MashupToAddGadgets property, then select the gadget library mashup that you created in the previous section.
6. Click Save.
At run time, you can configure the dashboard by adding gadgets that are available in the library mashup.
Related Links