Creating External Client App For Service Board SSO
Salesforce is continuing the rollout of External Client Apps (ECAs) as the strategic replacement for customer-created Connected Apps. As part of this transition and the long-term plan to end support for Connected Apps with the Summer ’27 release, Salesforce is disabling the ability for customers to create new Connected Apps by default.
Salesforce recommends using External Client Apps with the new SSO integrations.
|
|
Use this when you want users to authenticate and log into Service Board directly using their Salesforce credentials with secure session management.
The migration to External Client Apps affects both new and existing Service Board customers.
• New customers: Use an External Client App for Service Board SSO integrations. External Client Apps are the recommended approach for Salesforce integrations, and no alternative configuration is provided for new deployments.
• Existing customers: Salesforce recommends using External Client Apps for new and existing integrations. If you currently use a Connected App for Service Board SSO, consider migrating to an External Client App to align with Salesforce's strategic direction and benefit from the latest authentication framework. At this time, there is no immediate requirement for existing SSO integrations to migrate from Connected Apps to External Client Apps.
|
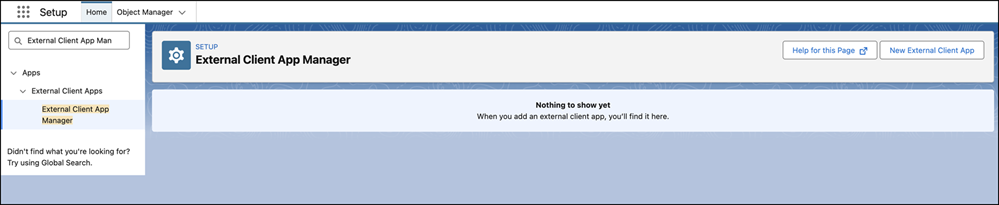
To create an External Client App in your Salesforce org.
1. Log in to Salesforce with your valid credentials.
2. Go to > > >
3. Click New External Client App.
4. Provide the following details:
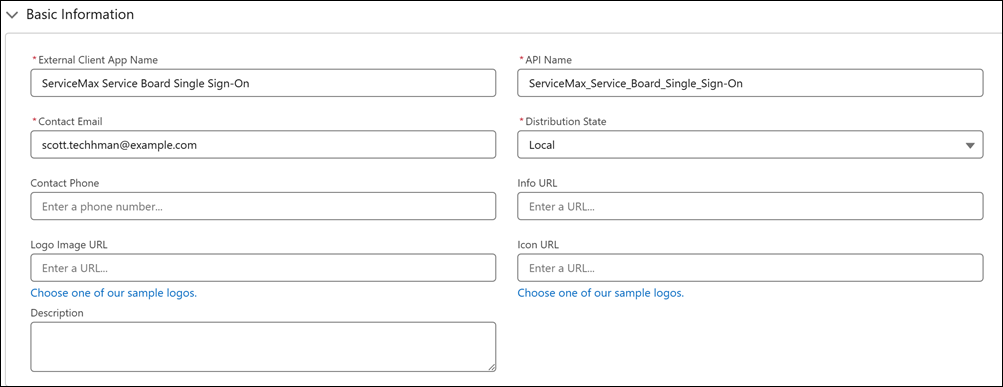
Basic Information fields for External Client App.
|
Field
|
Description
|
|---|---|
|
Fields marked with * are mandatory.
|
|
|
External Client App Name*
|
Enter a unique name for the External Client App. This name helps administrators identify the app in App Manager.
|
|
API Name*
|
Enter the API name used to reference the app programmatically. By default, the system derives this value from the app name by replacing spaces with underscores. Ensure that the API name is unique and uses
• only letters, numbers, and underscores
• starts with a letter
• does not include spaces
• does not end with an underscore
• does not contain consecutive underscores
|
|
Contact Email*
|
Enter an email address that Salesforce can use to contact you or your support team if needed. This email address is not shared with Salesforce admins who install the app.
|
|
Distribution State*
|
Select how the external client app is distributed.
Choose Local to develop the app for use only in the current org.
|
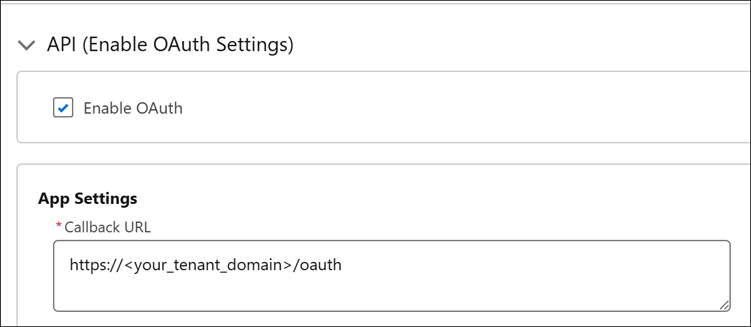
OAuth Settings for External Client App.
|
Field
|
Description
|
|---|---|
|
Fields marked with * are mandatory.
|
|
|
Enable OAuth
|
Select this checkbox to enable OAuth authentication for the external client app. OAuth must be enabled to allow secure, token-based access to Salesforce APIs.
|
|
Callback URL
|
Enter the URL that Salesforce redirects users to after successful authorization. For example: https://<your_tenant_domain>/oauth
|
|
OAuth Scopes
|
Select the following scopes from Available OAuth Scopes and move them to Selected OAuth Scopes.
• Access the identity URL service (id. profile, email, address, phone)
• Manage user data via APIs (api)
• Perform requests at any time (refresh_token, offline_access)
|
5. In the Flow Enablement section, select Enable Authorization Code and Credentials Flow.
6. In the Security section, ensure that the Require secret for Web Server Flow, Require secret for Refresh Token Flow, and Require Proof Key for Code Exchange (PKCE) extension for Supported Authorization Flows options are selected.

7. Click Create.
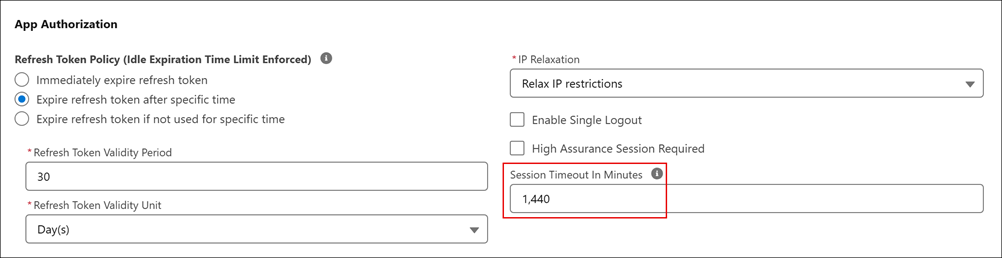
Configuring OAuth Policies
1. Go to > > >
2. Click to open the recently created External Client App for SSO.
3. In the Policies tab, click Edit.
4. In the OAuth Policies section, update Session Timeout In Minutes to 1440.
5. Click Save.
Retrieving Client Credentials
1. Go to > > >
2. Click to open the recently created External Client App.
3. Click Settings tab.
4. Expand OAuth Policies section.
5. Click Consumer Key and Secret.
6. Verify the user identity.
7. Copy Consumer Key and Consumer Secret for External OAuth Provider record in Service Board Tenant. For more information, see Configuring an External OAuth Provider.

Configuring Salesforce Credentials to Service Board
The following procedure authenticates Service Board to Salesforce for metadata retrieval, user validation, or integration workflows.
1. On the Salesforce Setup page, in the Settings section, go to > .
2. Copy the My Domain Name.
3. Log in to Service Board.
4. Go to > > .
5. Click the active system setting.
6. In the System Setting record, click Authentication tab.
7. Provide the following details:
|
Field
|
Description
|
||
|---|---|---|---|
|
Salesforce Token URL
|
Enter the url: https://your-domain.my.salesforce.com/services/oauth2/token.
|
||
|
Salesforce Login Username
|
Ensure that this field is left empty.
|
||
|
Salesforce Login Password
|
Ensure that this field is left empty.
|
||
|
Salesforce Integration Client ID
|
|||
|
Salesforce Integration Client Secret
|
8. Click Save System Setting and Close.
9. Go to > > .
Related Topic