Configuring Field-Level Custom Validation
You can configure custom data validation at the field level. First, you create an Operation record and define metadata, and then create a relationship between the operation and the field for which you want to configure validation. You then create and add Groovy code to implement custom validation logic.
To configure field-level custom data validation:
1. In Max Designer, click Developer Tools ( ) > , and then in the top left corner, click Create (
 ).
).
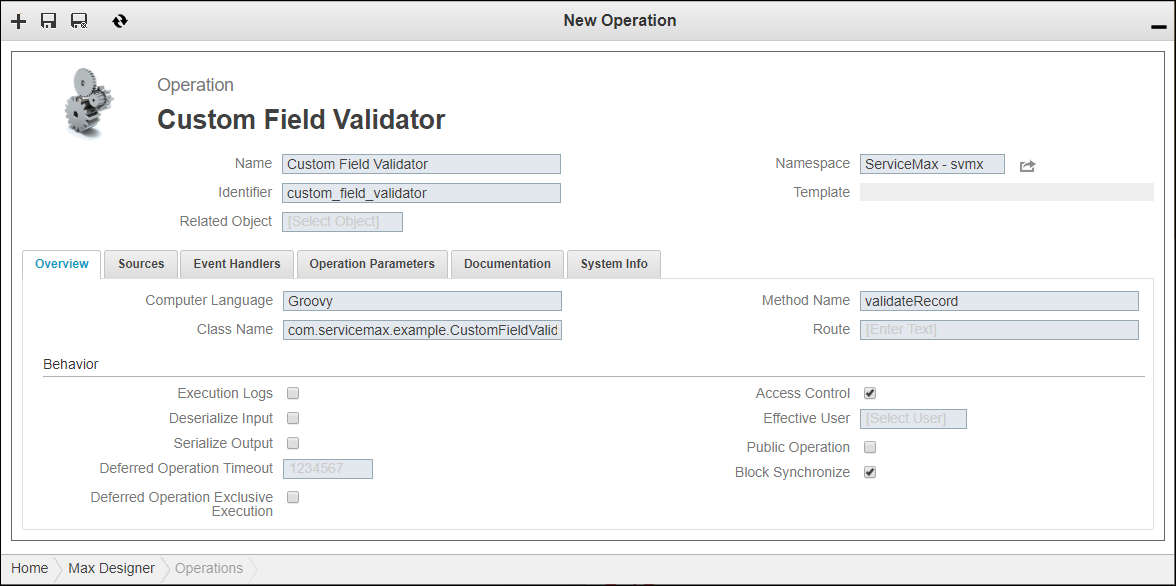
) > , and then in the top left corner, click Create ().2. On the Operation record page, specify the following values, and then click Save and Close ( ).
).
).|
Field
|
Value
|
|---|---|
|
Name
|
Name of the validator.
|
|
Identifier
|
Internal identifier. By default, this value is automatically populated based on the value in the Name field, but can be modified as needed during record creation.
|
|
Namespace
|
Namespace for the relevant Service Board instance.
|
|
Computer Language
|
Groovy
|
|
Class Name
|
The name of the class used to implement custom validation logic.
|
|
Method Name
|
validateRecord
|
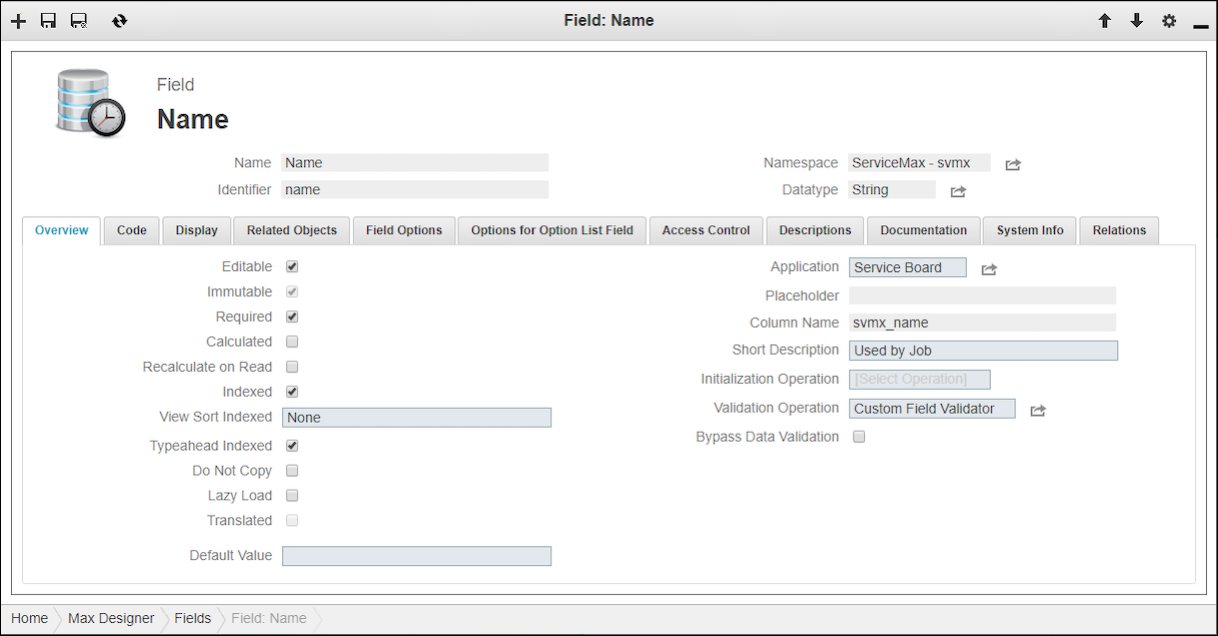
3. Click Developer Tools () > , and then in the list view, click the field you want to configure, for example, Name.
) > , and then in the list view, click the field you want to configure, for example, Name.4. On the record page, in the Overview tab, in the Validation Operation field, select the newly created field validator, and then click Save and Close ().
).
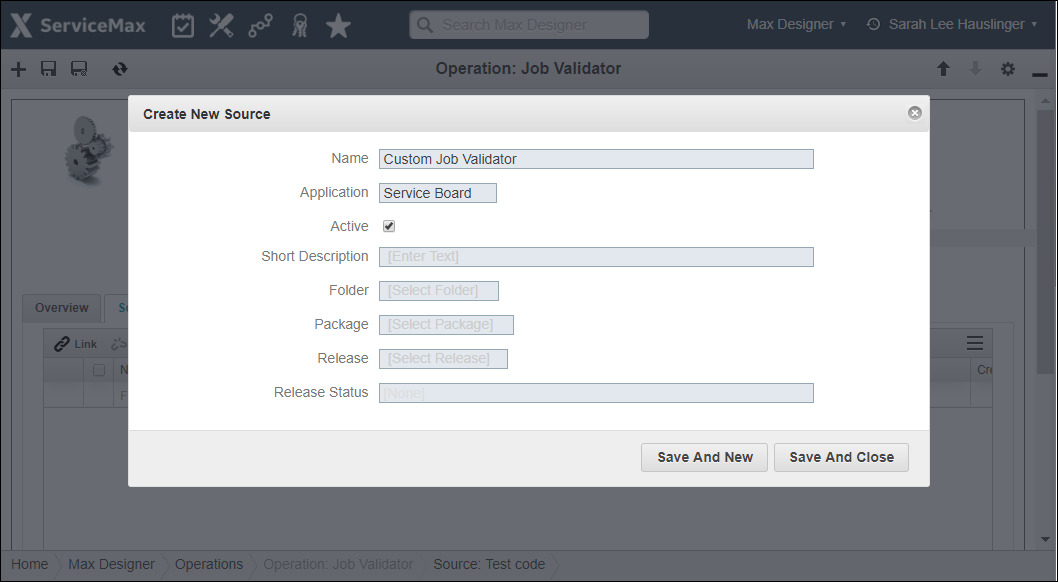
5. Reopen the Operation record you created for custom validation, and then in the Sources tab, click Create ().
).6. In the Create New Source dialog box, in the Name and Application fields, enter values, and then click Save and Close.
7. Create Groovy source code to implement the desired custom validation logic, and then in the Sources tab, click the newly created source and update the code.