Configuring an SFM Data Validation Rule
Instructions on how to configure an SFM data validation rule are listed below. For a use case example of an SFM data validation rule, see next section titled, "SFM Data Validation Rule Use Case Example".
To Configure an SFM Data Validation rule:
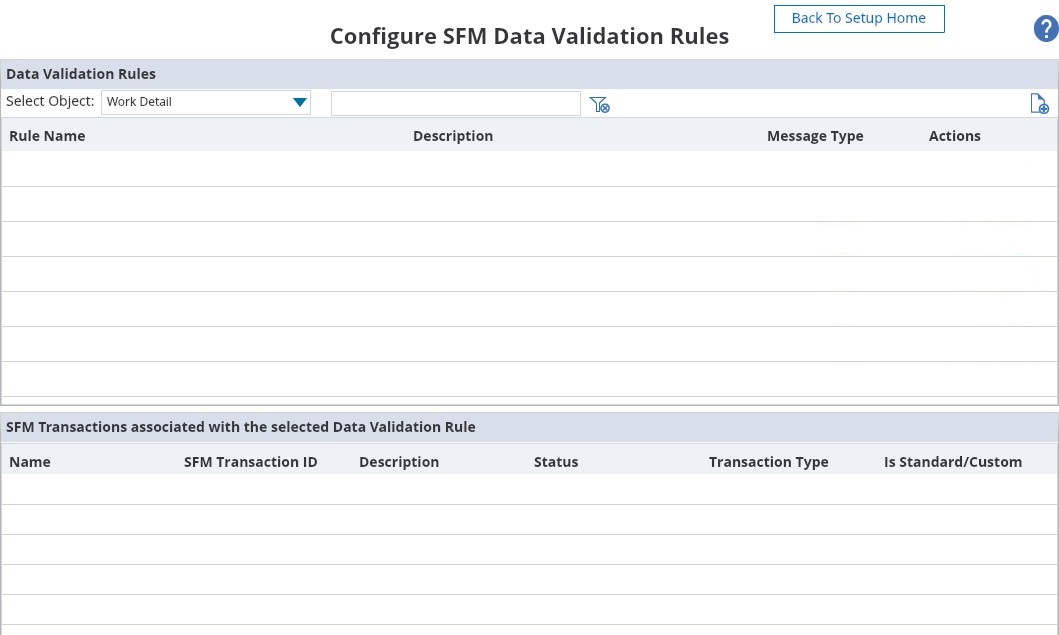
1. In the Configure SFM Data Validation Rules window, select an object from the Select Object picklist. Use the Quick Find text box to search for an existing rule.
2. Click New to open the Configure Data Validation Rule dialog box. See figure below.

3. In the Configure Data Validation Rule dialog box, enter a name, ID, and description for your rule in the respective text boxes (see figure below).
4. Create defined criteria for your rule using expressions (Expressions and, if necessary, Advanced Expressions). Expressions are the filtering criteria for your rule.
a. In the Expressions area, select an object from the Expressions picklist (see Figure below).
b. Select an Operator (for example, Equals

, Not Equal, GreaterThan, Greater or Equal).
c. From the relevant picklist, select one of the following: Field, Value, or Function.
d. Enter a value in the available text box. Depending upon the type of field, the operand (value) can be specified either as free text or from a list of allowed values.

e. To create a new expression, click the Adda row icon (see image below). To remove an existing expression, select the expression from the list and click Delete. ServiceMax standard expressions cannot be deleted.
f. In the Advanced Expression text box, enter an advanced expression, if necessary, such as 1 AND (2 OR 3). See figure below for an example of an advanced expression.

5. In the Message picklist, select a message type (Error or Confirmation). See figure below.
6. In the Default Message area, enter the message that will be associated with the rule. This is the message end users will see when the rule expression criteria are met. See figure below for a sample message.

7. Click Save to save the expression. The data validation rule displays in the Configure SFM Data Validation Rules window as shown in the figure below. A icon displays in the Message Type area to represent Error messages, and a Confirmation icon displays in the Message Type area to represent Confirmation messages.

8. In the Actions column in the Data Validation Rules area you can:
a. Click the Edit icon to edit your rule.
b. Click the Save As icon to save your rule under a new name. (Replace the name in the Rule Name text box and click the Save button).
c. Click the Delete icon to delete your rule. For the data validation rule to work, the target fields must be included in the page layout.
It is recommended not to use a formula field in the SFM data validation rule. |