Object Whitelisting
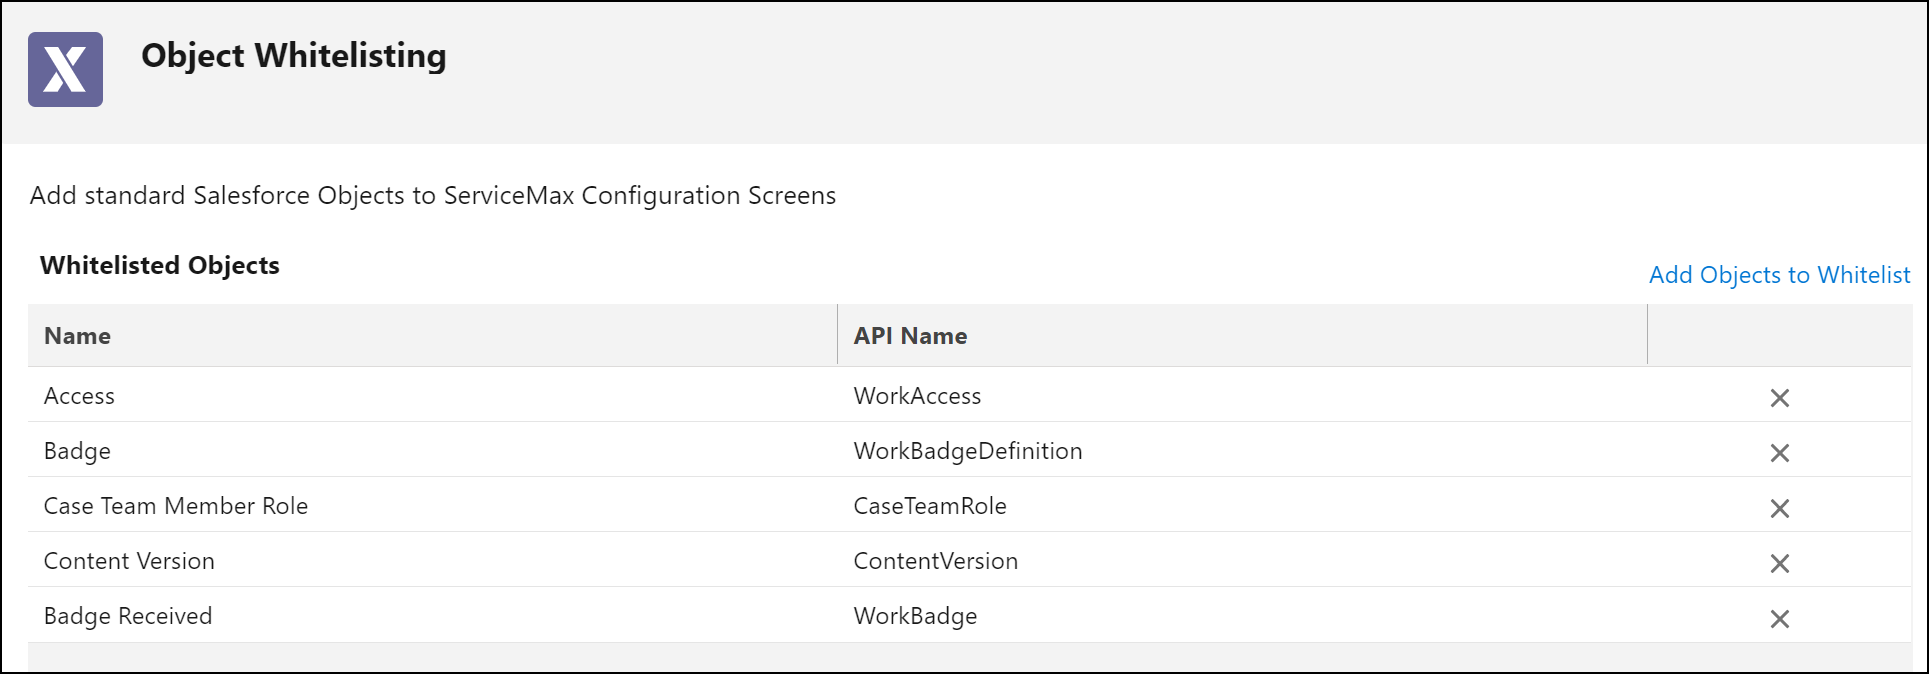
Object whitelisting is approving only a select list of Salesforce standard objects for use in ServiceMax configurations. Administrators can add standard Salesforce Objects to ServiceMax configuration screens. This helps manage standard Salesforce objects that need to be listed in ServiceMax configuration screens and uses the product capability to automate the required business process.
To add or remove objects for whitelisting:
1. Go to Setup Home > App Administration> Object Whitelisting. The Object Whitelisting home page is displayed.

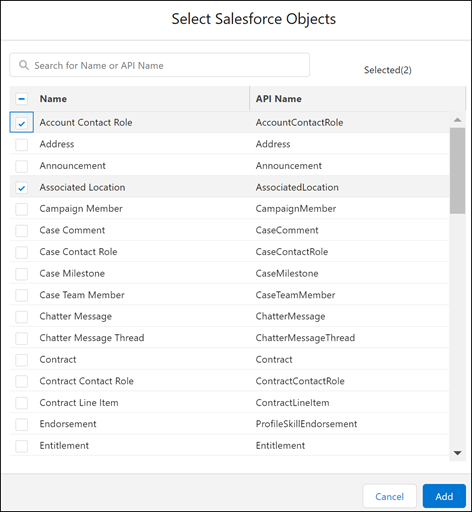
2. Click Add Objects to Whitelist. The Select Salesforce Objects modal page is displayed.

3. Select the checkboxes and click Add to include the selected objects from the list.
OR
Search the object by Name or API Name in the Search box and select from the result list. For the already supported standard objects in ServiceMax Core, see Standard Objects Used in ServiceMax Core.
• The objects already added are unavailable for selection on the Select Salesforce Object modal page. • Auditing is enabled on the Object Whitelisting configuration UI. An entry is added in the "View ServiceMax Configuration Changes" object for every successful save on the Object Whitelisting UI. |
4. Click Save to whitelist the objects.
5. Read the message carefully on the Save Whitelist modal and click Save to confirm. On Successful save, the added objects are available in the ServiceMax configuration screens.
• The Save option is disabled until changes are made to the configuration. • If you do not provide the custom permission "Allow Adding Salesforce Object to ServiceMax Configuration(s)", adding objects and removing objects options are disabled. You must enable custom permissions through a permission set assigned to the user or profile. • The added or removed objects are not reflected in the configurations until you save the configuration and a "Saved Successfully" toast message is displayed on the screen. |
6. Click the remove icon (x) at the end of each object row to remove any object that has been whitelisted and click Save. The object is not available in the ServiceMax configuration screens.