Creating a Mapping
You can create a mapping using the New Mapping option on the Mapping List View page.
To create a mapping:
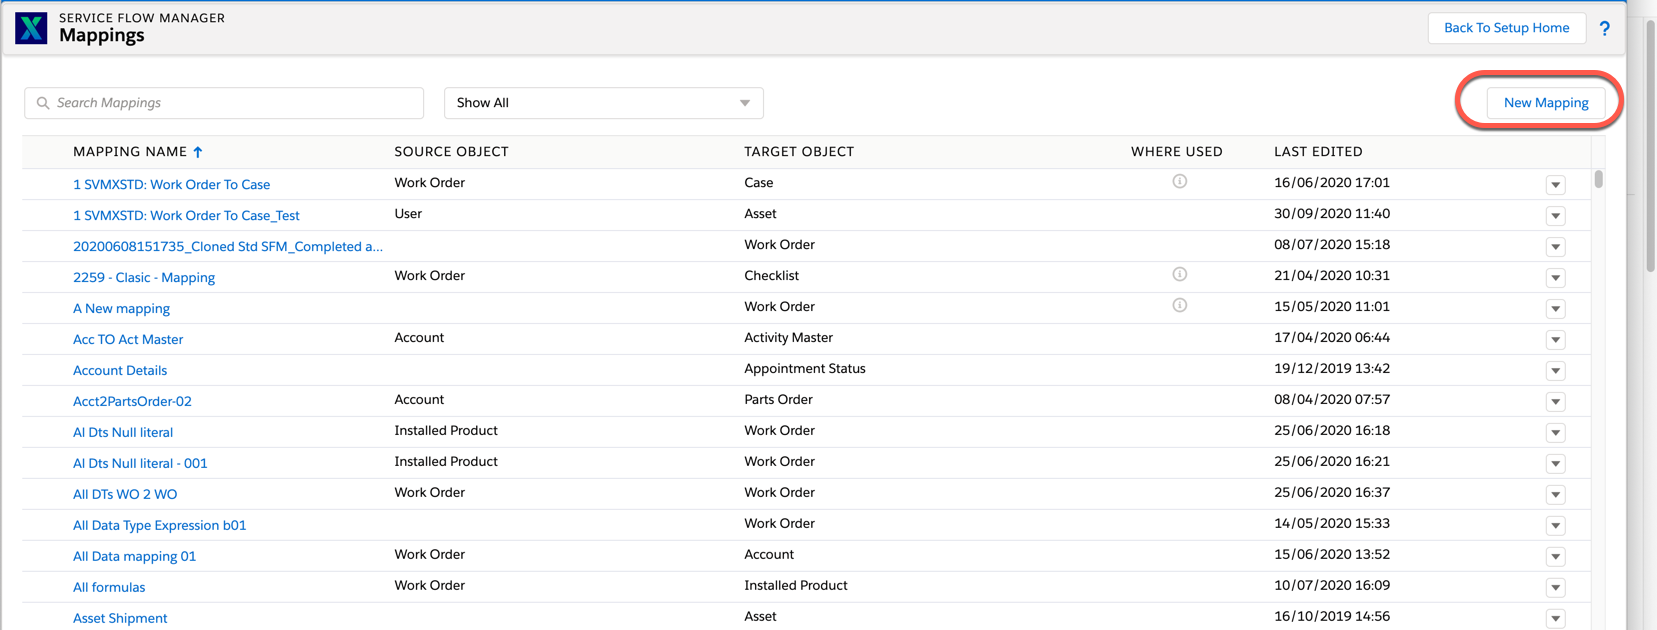
1. Go to ServiceMax Setup > Service Flow Manager > Mappings. The Mappings List View page is displayed.
2. Click New Mapping. A pop-up window is displayed with two options: Field Mapping from Source to Target record and Field Mapping for New Record. The following screen displays the New Mapping icon on the Mapping List View page:
3. Choose the preferred option. Select the appropriate field names. For example, in this case, the Source Object is Account, and the Target Object is Asset. The following screen displays the New Mapping pop-up window after adding the fields:

4. ClickConfirm . A pop-up window displays the Mapping Editor with the UI elements.
5. Enter the details for the fields as described in the following table:
|
Field Name
|
Description
|
|
Title
|
Displays the name of the mapping
|
|
Description
|
Displays the description of the mapping.
|
|
Clear All
|
Clears all the existing field mappings.
|
|
Refresh Metadata
|
Displays the latest object list and the field list. It helps validate the metadata on the screen.
|
|
First Column
|
Displays the Target Object field names.
|
|
Second Column
|
Displays the drop-down menu for the type of mapping.
|
|
Third Column
|
Displays the Source Object field names.
|
|
Cancel
|
Cancels the mapping.
|
|
Save
|
Saves the mapping.
|
6. Select the type of mapping of your preference from the drop-down menu in the second column. The following screen displays the New Mapping Editor with the drop-down menu in the second column:
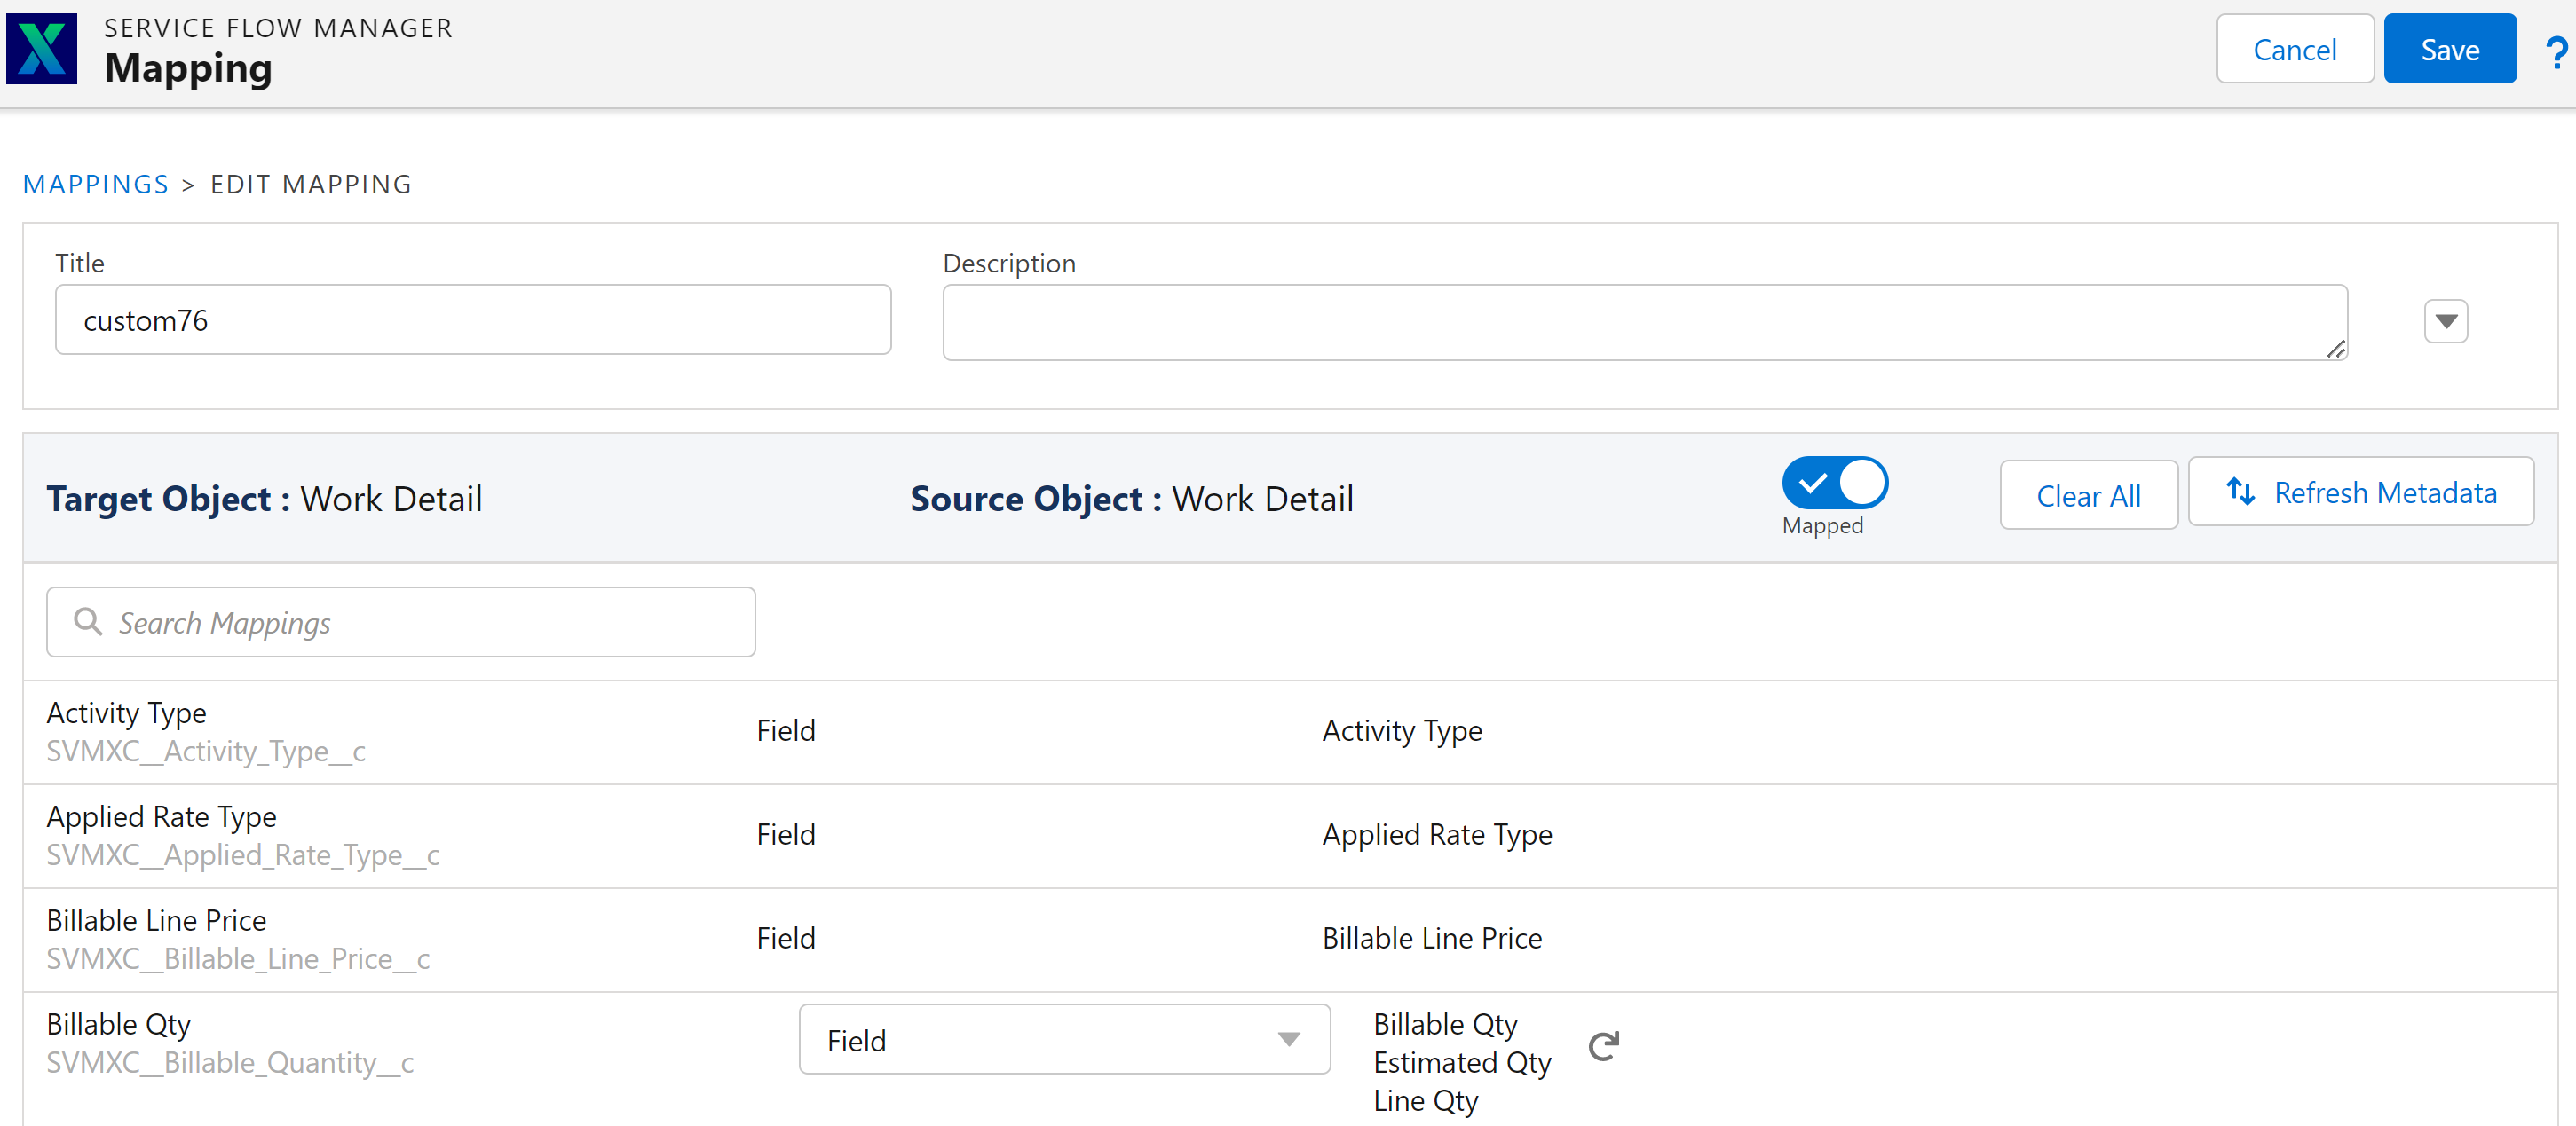
7. Enable the toggle button to map the respective fields. The Target Object and Source Object fields are mapped. The following screen displays the Toggle button in the New Mapping Editor:
8. Click Save. The new mapping is added to the Mapping List View.