Pixel Palette
Selecting Pixel Areas
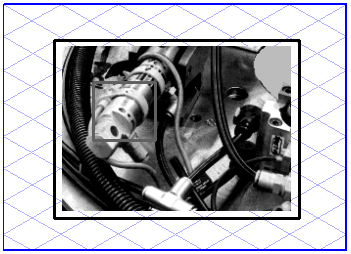
You also have a selection rectangle and a lasso at your disposal in image editing mode. Choose the selection (
Selection and manipulation of pixels)

tool from the pixel palette. Now click the image element and drag the selection tool. As soon as you release the mouse button, you will see a
floatingselection. This is an area of pixels which is highlighted by an outline. This area can now be moved with the cursor or edited in other ways. For example, you can copy the selection onto the clipboard or modify it using the rotation, reflection and scale functions.
You can call up the lasso by holding down the ALT key while selecting the pixels. As soon as you click an image element outside the selection, the selection is deselected again. The pixels are then pasted into the actual image.
Pixel Pen (Drawing of Individual Pixels) Tool
You can use the pixel pen

tool (
Drawing of individual pixels) for performing minor repairs to image elements. Select this tool from the pixel palette and click the image element concerned. Move the mouse as you wish. While doing so, you will see the individual pixels being colored in with the active pixel color. Now release the mouse button.
Double-clicking on the pixel pen
tool in the pixel palette opens up the following dialog box:
Here, you can change the width of the pixel pen
tool. Click
OK to confirm your entry or
Cancel to close the dialog box without making any changes.
Line Tool
You can use the
Line
tool to draw a straight line on the image element. Select the tool from the pixel palette and click on the image element. Move the mouse in the required direction. While you are moving the mouse, you will see that a straight line is being dragged in the direction of movement. The line will be drawn in the active pixel color. Release the mouse button when the line has reached the required length.
The orientation of the line you are dragging depends on whether
Grid Alignment is switched on or not. This method of working corresponds to the
Line tool in the toolbox. This also applies for
Grid Snap and
Element Snap, and the dynamic dimension display when dragging the line. You can find a detailed description of this in
Line.
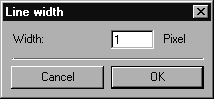
Double-clicking the Line tool in the pixel palette opens up the following dialog box:
Here, you can change the width of the line. Click OK to confirm your entry or Cancel to close the dialog box without making any changes.
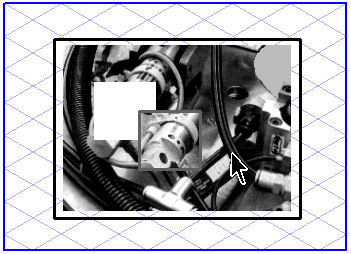
Eraser Tool
You can use the
Eraser
tool to delete pixel areas at will. Select this tool from the pixel palette and click the image element concerned. As you move the mouse, all the pixels located below the
Eraser tool will be deleted.
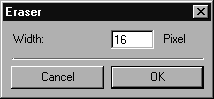
Double-clicking the Eraser tool in the pixel palette opens up the following dialog box:
Here, you can change the width of the Eraser tool. Click OK to confirm your entry or Cancel to close the dialog box without making any changes.
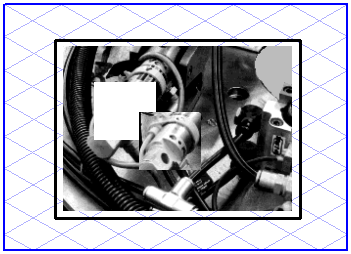
| Zooming in to magnify your illustration allows you to delete with greater precision, whereas the further you zoom out from the image, the larger the area becomes which you can delete in one movement. |
Fill Pixel Areas Tool
The
Fill pixel areas
tool allows you to apply the active pixel color to pixel areas with the same color values. Select this tool from the pixel palette and click the area which you would like to color in. The new color will be poured into the selected area. For this reason, you must also make sure that the area to be filled is closed on all sides, otherwise the color will also run into areas you don't want to color.
Pipette
The
Measure color
tool is used for measuring the color value of a pixel. Select this tool from the pixel palette and click the image element concerned. This will make the color value of this pixel the active pixel color. The color will be shown as the active color in the
Colors window.
When using the pixel Pen, Line tool and Fill tool, you can switch temporarily to the Measure color tool by holding down the ALT key. This enables you to select a new pixel color without having to quit the tool. As soon as you release the key, the tool becomes active once again.
Rotation
Image elements are rotated in the same way as other elements with the
Rotation
tool. You must first select the element to be rotated. You can then proceed to rotate the selected element as described in
Rotation.
| Perspective rotation of pixels is not possible. Rotating pixel areas gives rise to white areas which enlarge the floating selection. |
Reflection
Image elements are reflected in the same way as other elements with the
Reflection
tool. You must first select the element to be reflected. You can then proceed to reflect it as described in
Reflection.
| Perspective reflection of pixels is not possible. |
Scale
Image elements are also scaled in the same way as other elements with the Scale

tool. You must first select an element which is to be scaled, before you can proceed to scale it. You can then proceed to scale it as described in
Scaling.