Example: Applying State Formatting to a List Widget
List
You can apply a state definition entity to a list widget. In the following example, state formatting is used to highlight the current status of the list items based on a string value. The following figure shows the List widget in a mashup with the Label and Button widgets during run time, and before the application of state formatting:
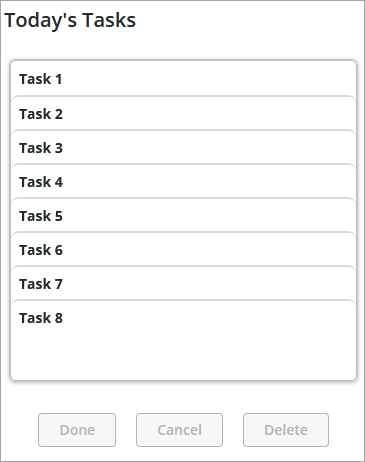
The list displays the data in the bound infotable. Styles and colors are applied to each item in the list using the default values of PTC Convergence Theme. In this example, state formatting is applied to highlight the state of each task on the list.
This topic assumes that you are familiar with how to create and organize data within ThingWorx infotables. |
To apply state formatting, you must add a data column to the widget infotablem which you can use to specify the state of each task. You use the data from this column to apply the state formatting to the widget in Mashup Builder. Each task within the list can have one of four states that match strings in the state formatting column:
State | Matched String |
|---|---|
 To-Do To-Do | ToDo |
 In Progress In Progress | InProgress |
 Done Done | Done |
 —Default —Default | Any other value is considered an error in the data. In this example, the text is colored in red and an icon is displayed next to the list item. |
To create the state definition and define the conditions:
1. Upload the icons for the style definitions as media entities.
2. In Composer, create a state definition entity and then open the State Information tab.
3. Add states and select styles for each state.
4. Under Style, select the style definition entities to use for each state, or define custom style definitions.
To define a custom style definition:
a. In the Styles entity picker, click New Style Definition. The New Custom Style dialog box opens.
b. Configure the style options and select the media entities that you created in Step 1.
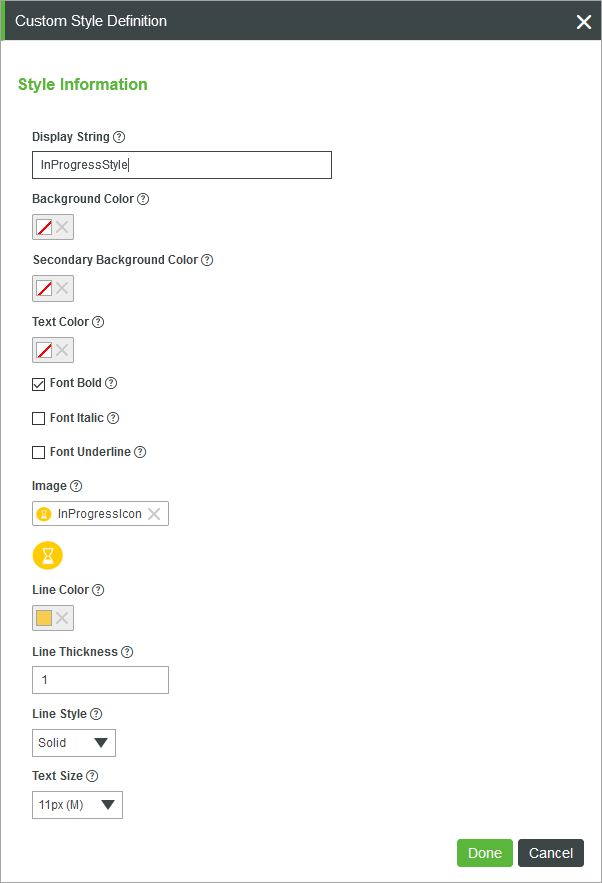
c. Click Done to save the style definition.
5. Click Save to save the state definition entity.
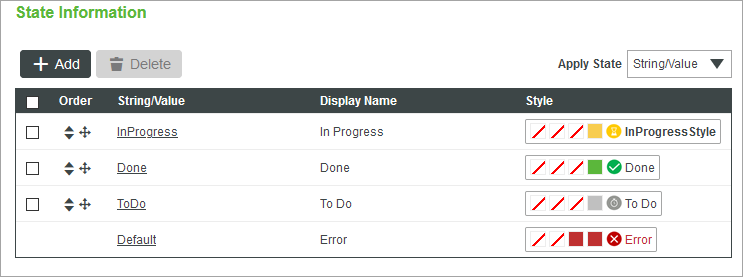
The following figure shows the states that are listed after you define the style conditions:
After you create the state definition, apply state formatting to the widget:
1. In Mashup Builder, select the List widget on the canvas.
2. On the Properties panel, click State Formatting next to the ListFormat property. The state formatting dialog box opens.
3. Click State-based Style Definitions and then select the state definition entity that you created in the previous procedure.
4. Select the dependent field in the bound infotable. In this example, the infotable column is named Status.
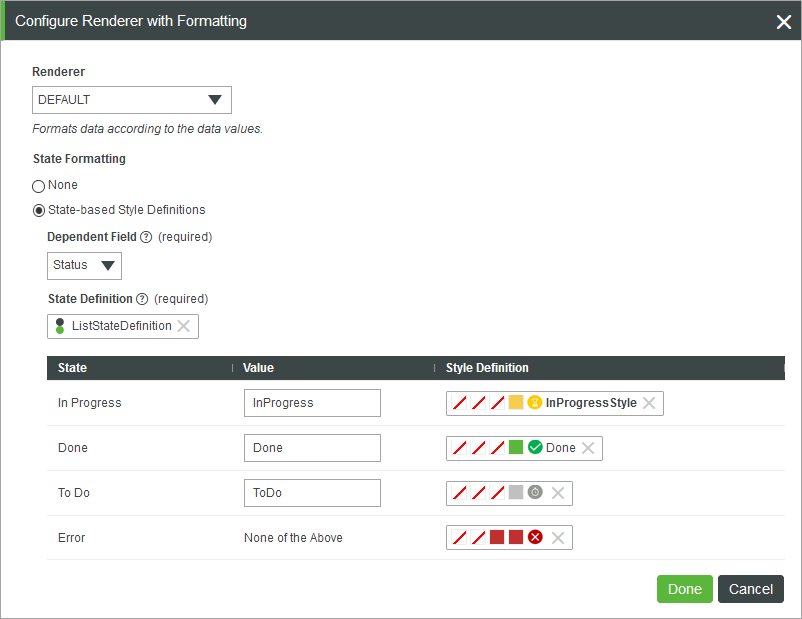
5. Click Done to close the dialog box, then view the mashup.
During run time, the list items are displayed and each item is styled according to the value within the Status column. The following image shows the List widget in a mashup with state formatting applied:
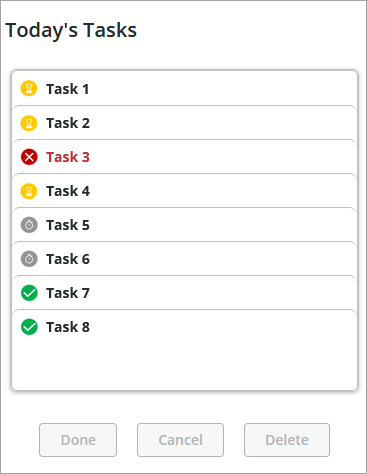
In addition to the state formatting, you can customize the lines and other parts of the widget using the available styles on the Style Properties panel.