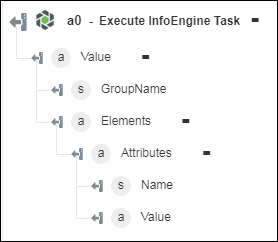
Execute InfoEngine Task
Use the Execute InfoEngine Task action to execute an InfoEngine task configured on the Windchill instance. This action supports the following types of InfoEngine tasks:
• In-built Task—Out-of-the-box tasks available with the Windchill installation.
• Custom Task—Customized tasks that you can create.
|
|
The InfoEngine task must be "HTTP access enabled" in the task definition. This allows the task to be called from ThingWorx Flow.
|
Complete the following steps to use the Execute InfoEngine Task action in your workflow:
1. Drag the Execute InfoEngine Task action under Windchill to the canvas, place the pointer on the action, and then click  or double-click the action. The Execute InfoEngine Task window opens.
or double-click the action. The Execute InfoEngine Task window opens.2. Edit the Label, if needed. By default, the label name is the same as the action name.
3. To add a Windchill connector type, refer to Supported Windchill Connector Types.
If you previously added a connector type, select the appropriate Connector Type, and under Connector Name, select the connector.
4. Click TEST to validate the connector.
5. Click MAP CONNECTOR to execute the action using a connector that is different from the one that you are using to populate the input fields. In the Runtime Connector field, provide a valid Windchill connector name. For more information about MAP CONNECTOR, see Using Map Connector.
6. In the Info Engine Task Type list, select the task, and perform its respective task:
Info Engine Task Type | Task |
|---|---|
In-built Task | a. In the Info Engine Task Name list, select one of the following options: ◦ Multilevel_Components—Fetch part list information. ◦ Query—Fetch metadata. b. To provide parameter values. select Form to provide inputs for individual input fields listed in the form, or select Assign JSON to specify a single JSON with all required inputs. |
Custom Task | a. In the Info Engine Task Name field, provide the custom task name in Windchill. For example: wt/federation/delegates/windchill/CreateObject.xml b. Click Show additional fields. c. To provide parameter values. select Form to provide inputs for individual input fields listed in the form, or select Assign JSON to specify a single JSON with all required inputs. |
7. Click Show Additional Fields to see additional fields.
◦ In Get OData Annotations, select true to include OData Annotations in the output. The default value is false.
8. Click Done.
Output schema