Add Attachment to Card
Use the Add Attachment to Card action to add an attachment to the specified card in your Trello account.
Complete the following steps to use the Add Attachment to Card action in your workflow:
1. Drag the Add Attachment to Card action under Trello to the canvas, place the pointer on the action, and then click  or double-click the action. The Add Attachment to Card window opens.
or double-click the action. The Add Attachment to Card window opens.2. Edit the Label, if needed. By default, the label name is the same as the action name.
3. To add a Trello connector type, refer to Supported Trello Connector Types.
If you previously added a connector type, select the appropriate Connector Type, and under Connector Name, select the connector.
4. Click TEST to validate the connector.
5. Click MAP CONNECTOR to execute the action using a connector that is different from the one that you are using to populate the input fields. In the Runtime Connector field, provide a valid Trello connector name. For more information about MAP CONNECTOR, see Using Map Connector.
6. In the Board ID list, select or specify the ID of the board. The attachment is added to the card created under the selected board.
7. In the List ID list, select or specify the list ID of the list. The attachment is added to the card created in the specified list.
8. In the Card ID or Short Link field, select or specify the ID or short link of the card to which you want to add the attachment. For example: If your card URL is https://trello.com/c/hViugOYd/sample-card, then provide hViugOYd as the short link.
9. In the Attachment URL field, provide a publicly accessible URL of the file that you want to attach to the card.
10. In the File Name field, provide the name of the file that you want to attach to the card.
11. Click Done.
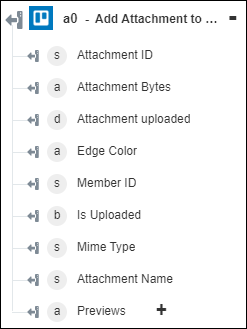
Output schema