Editing Header Records
Android and iOS
You can edit child records that are added from the Create New screen or using an SFM Edit Process.
Perform the following steps to edit a header record.
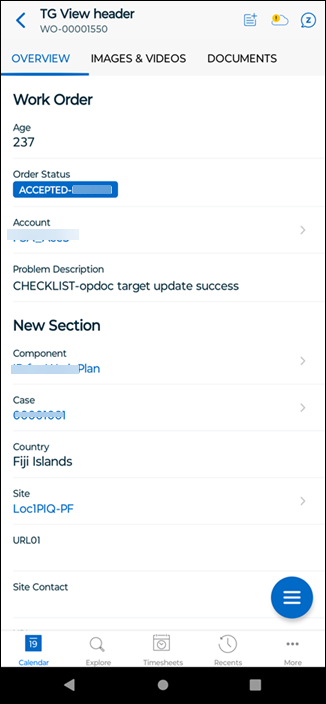
1. Open the Go app with your valid credentials and launch the header record. The record is displayed in view mode.

The lookup field values are highlighted with blue text. |
2. Tap the Edit SFM process from Actions to edit the record.
3. Tap and edit the required fields and tap Save.
• The mandatory fields are highlighted with red asterisks. • The long text field is supported with expandable feature. You can tap expand to enter your text in the full-screen text field. • The Save button is enabled only if you change the data. If there is no change in data, the Save button is disabled. |
4. Tap the Discard button at the top to discard the changes that you have made. A confirmation message is displayed. Tap Discard Changes to revert the updates made; else, tap Continue Editing.
The validation check is done for the following field types within the app: • Number • Percentage • Currency If you enter data outside the format defined in Salesforce, a validation error message will appear: “Value out of range.” • If real-time validation is turned on, the validation message appears as the user inputs the value. • If real-time validation is turned off, the validation message appears when the user taps the Save button. You cannot save the record until the number field validation is corrected. |
Windows
The Edit SFM process is used to add or edit the header record and add, edit, or delete child records.
The following are supported when creating or editing records:
• Mandatory fields are marked with a red asterisk. All the data types are supported on the edit record page except the multi-picklist.
• Default values for header fields are automatically populated if SFM Field Maps and Value Maps are configured.
• Extended and Inline Editing for child records is supported using a mouse or Windows touchscreen.
• Lookup Context and Lookup Form-Fill are supported for both header and child records.
• The blue dot against each child line denotes the new records.
• The red dot against each child line denotes errors in the child line due to data validation rules.
Perform the following steps to edit a header record.
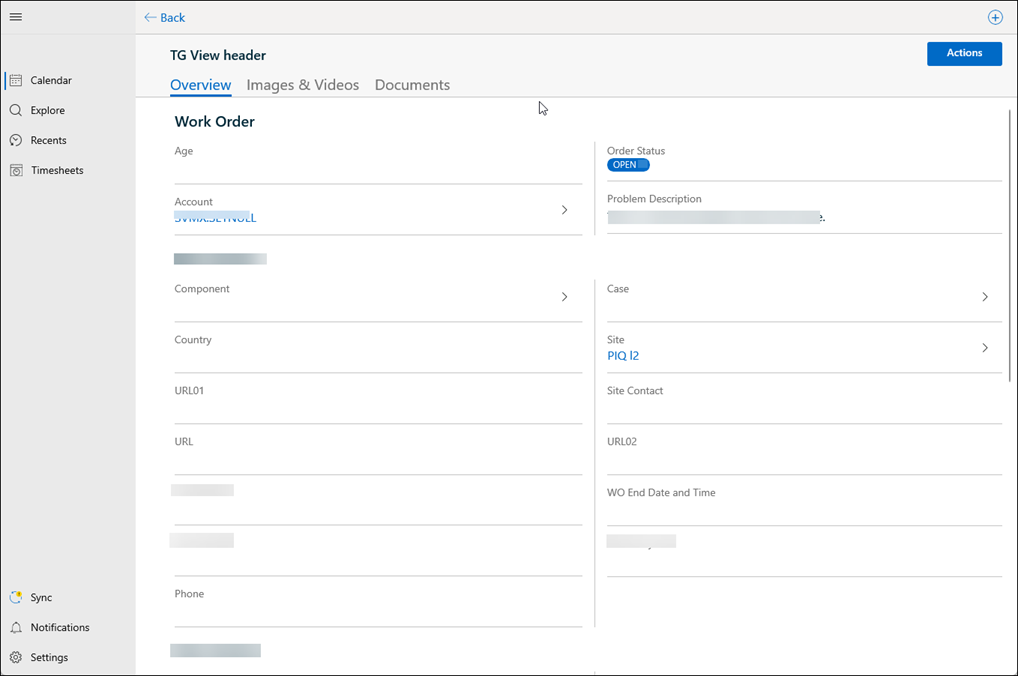
1. Open the Go app with your valid credentials and launch the header record. The record is displayed in view mode.

The lookup field values are highlighted with blue text. |
2. Open the Work Order.
3. Click the Edit SFM process from Actions.
4. Update values in the required fields.
• The mandatory fields are highlighted with red asterisks. • The long text field is supported with expandable feature. You can tap expand to enter your text in the full-screen text field. • The Save button is enabled only if you change the data. If there is no change in data, the Save button is disabled. |
5. Click Save. The changes are saved after successful validation.
The validation check is performed for the following field types within the app: • Number • Percentage • Currency If you enter data outside the format defined in Salesforce, a validation error message will appear: “Value out of range.” • If real-time validation is turned on, the validation message appears as the user inputs the value. • If real-time validation is turned off, the validation message appears when the user taps the Save button. You cannot save the record until the number field validation is corrected. |