Editing Child Records
Android and iOS
The app allows you to edit child records added from the Create New screen or an SFM Edit Process by tapping anywhere on the record.
To edit child records:
1. Tap a work order to open.
2. Tap Actions to launch the Edit SFM process.
3. Navigate to the child section you want to edit.
4. Tap Debrief to edit the required fields on the Edit screen.
5. Tap Reset to discard the changes that you have made. A confirmation message is displayed. Tap Reset to revert the updates made.
6. Tap Done to save the changes.

You can perform the following action in the extended edit window:
|
Icon
|
Functionality
|
Description
|
|---|---|---|
 |
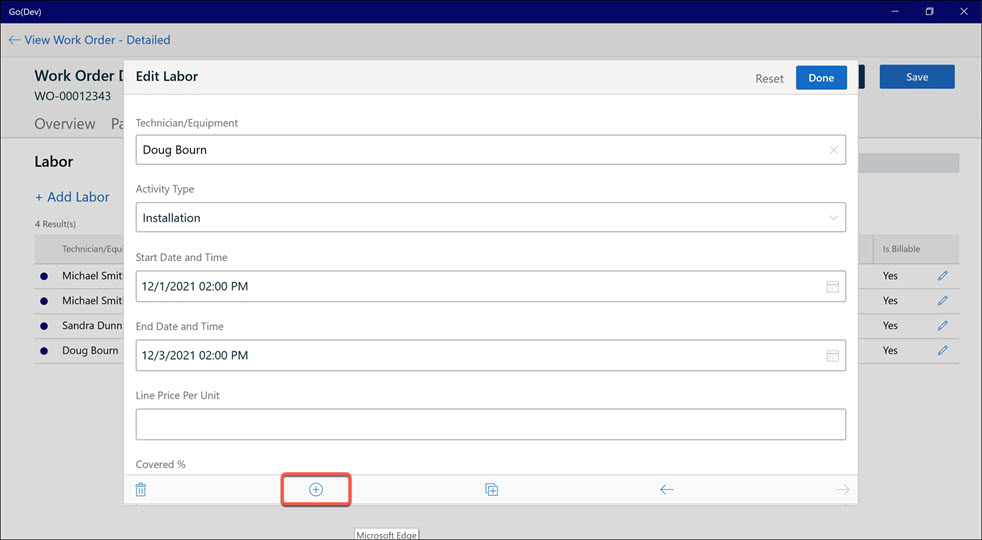
Add New
|
This opens a new child record in the extended edit window.
|
 |
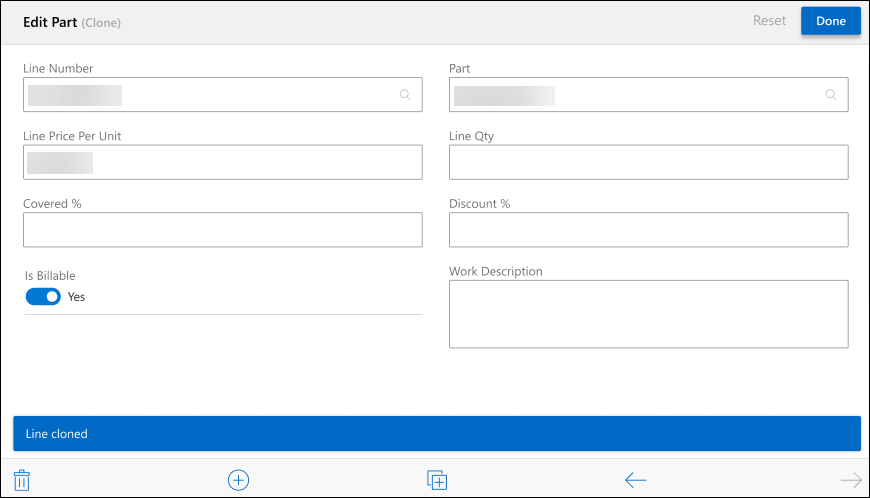
Duplicate
|
This clones the existing child record, and the duplicated record is available in the grid view.
|
  |
Navigation
|
This is used to navigate to the previous and next child records in the extended edit window.
|
 |
Delete
|
This deletes the child record.
|
|
|
The validation check is performed for the following field types within the app:
• Number
• Percentage
• Currency
If you enter data outside the format defined in Salesforce, a validation error message will appear: “Value out of range”.
• If real-time validation is turned on, the validation message appears as the user inputs the value.
• If real-time validation is turned off, the validation message appears when the user taps on the Save button.
You cannot save the record until the number field validation is corrected.
|
Windows
The app allows you to edit child records added from the Create New screen or an SFM Edit Process by clicking anywhere on the record.
To edit child records:
1. Open the Work Order.
2. Click Actions to launch the Edit SFM process.
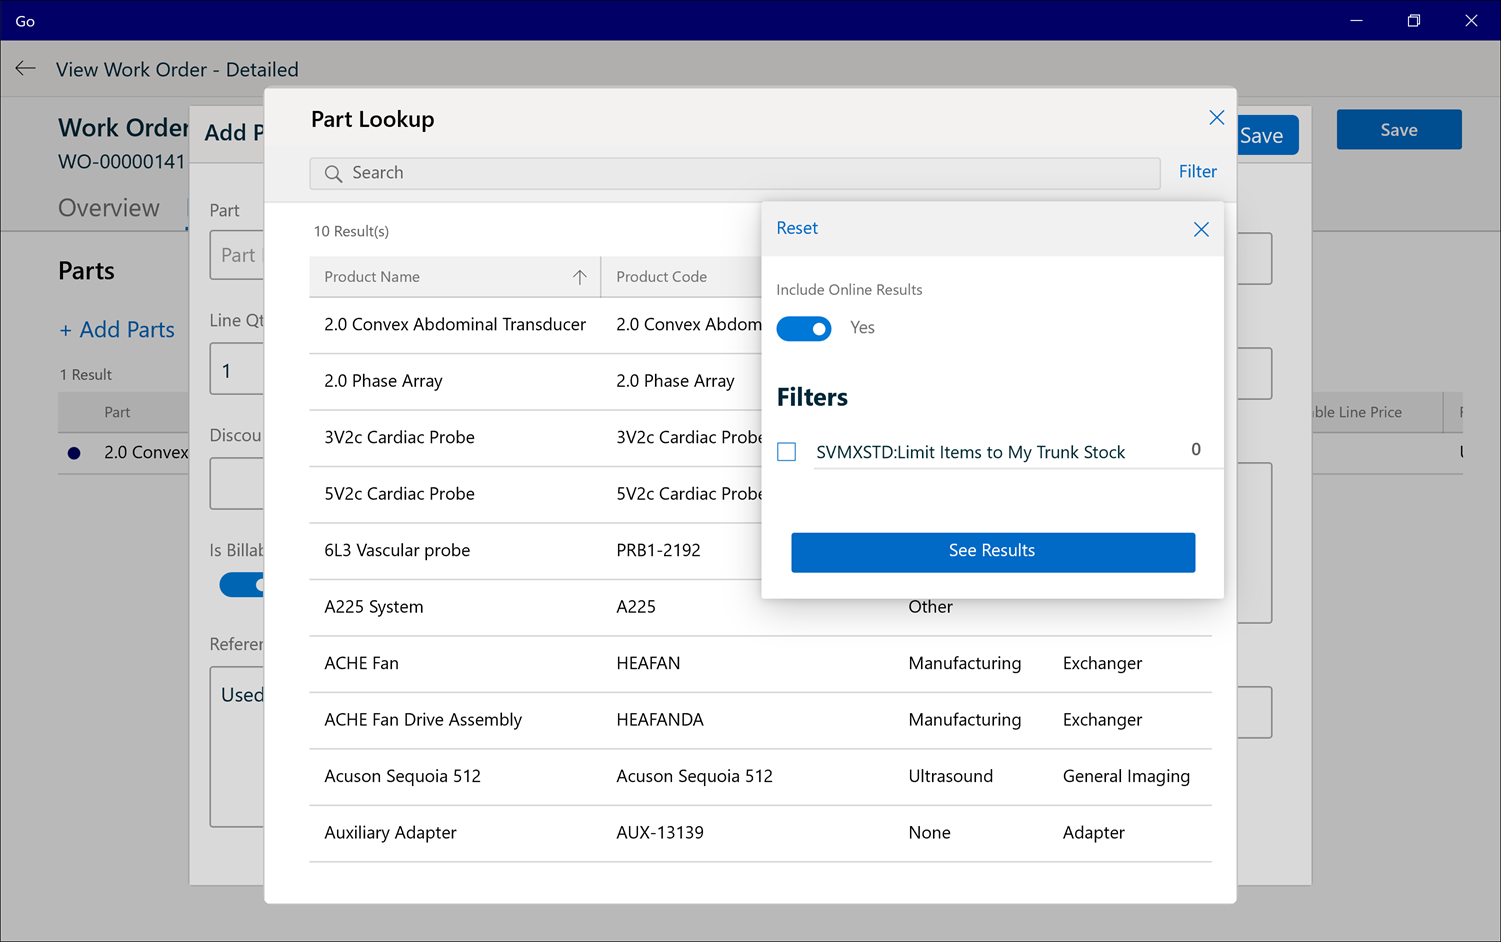
3. Navigate to the child section you need to edit. You can use the search option from the top right corner to filter and search the record from the list.
4. Double-click each field in the childline record to edit values inline.
5. Right-click the line item and click Edit to open the extended edit window and edit the required fields.
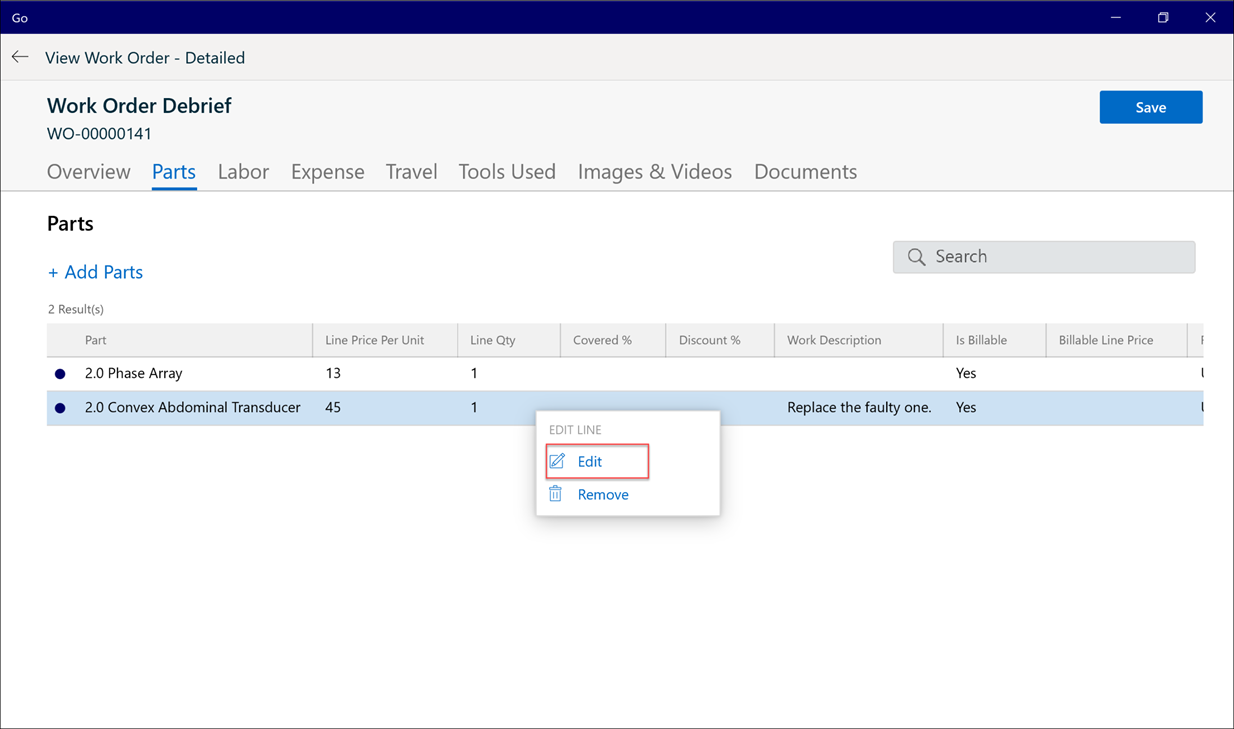
OR Click the pencil icon on the line item to open the extended edit window and edit the required fields
6. Click Reset. A confirmation window is displayed.

a. Click Reset to undo the changes and reset to the previous values.
b. Click Cancel to close the confirmation window and retain the edits.
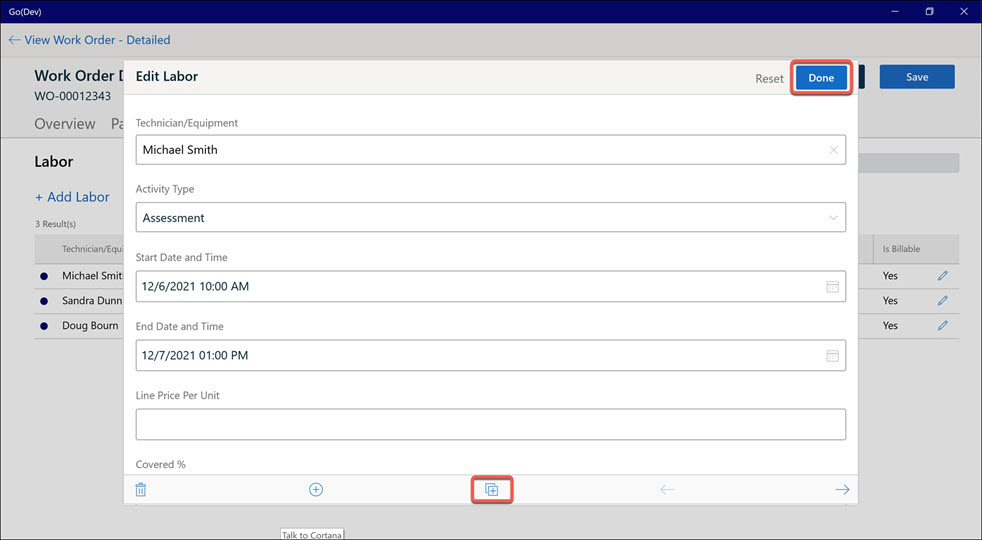
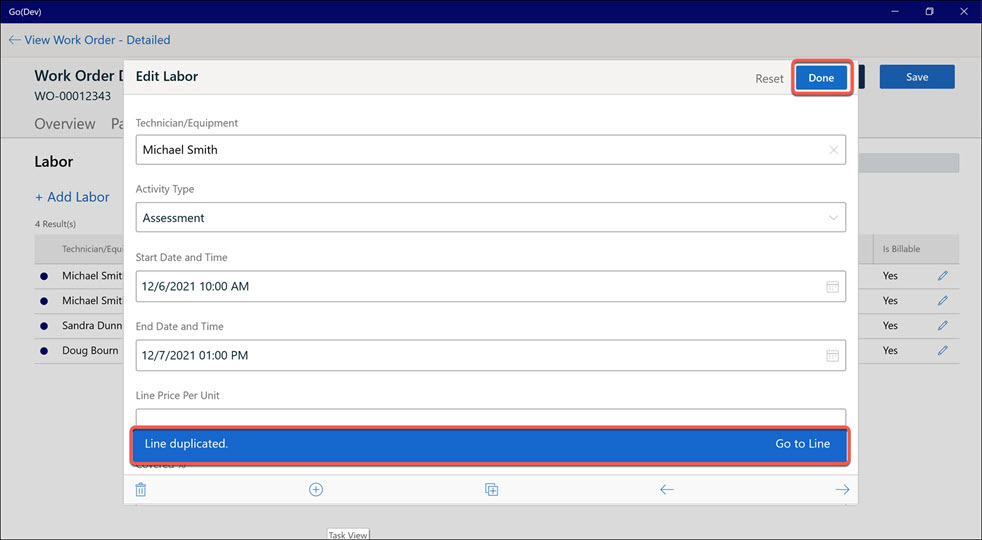
7. Click Done to save the changes to the record.
You can perform the following actions in the extended edit window:
|
Icon
|
Functionality
|
Description
|
|---|---|---|
|
|
Add New
|
This opens a new child record in the extended edit window.
|
|
|
Duplicate
|
This clones the existing child record and the duplicated record is available in the grid view.
|
|
|
Navigation
|
This is used to navigate to the previous and next child records in the extended edit window.
|
|
|
Delete
|
This deletes the child record.
|
Images showing Add New
Images showing Duplicate
Key points to remember
• Mandatory fields are marked with an asterisk. All the data types are supported on the edit record page except multi-picklist.
• Extended and inline editing for child records is supported using a mouse or Windows touchscreen.
• Lookup Context and Lookup Form-Fill are supported for both header and child records.
• The blue dot against each child line denotes new or updated records. This is also displayed for the cloned detail line.
• On editing a record in an extended edit window, the title gets appended with the text Edited.
• A red dot against each child line denotes errors in the child line due to data validation rules.
• Lookup search and Lookup Context Filter search are used to find relevant search results.
• The scroll bar is used to view all the columns of the child records except the first column. The first column is stationary.
• Resizing arrows are used to resize the column width.
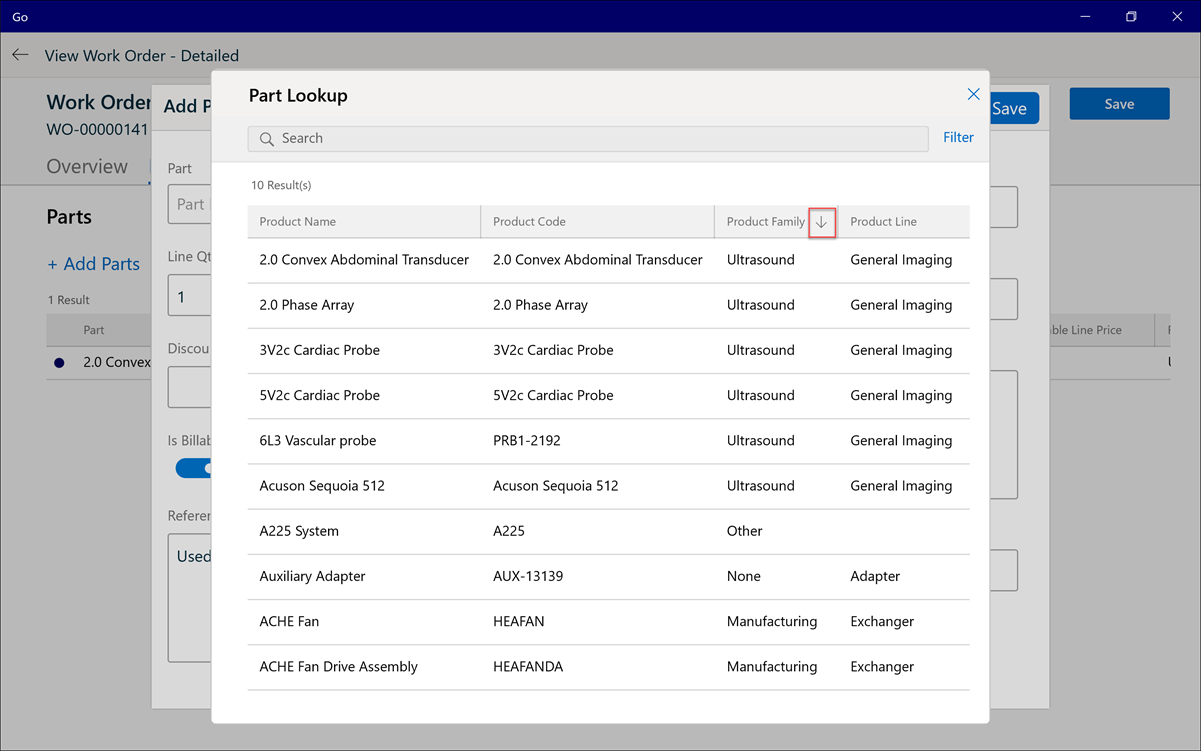
• Sorting can be performed by clicking the column headers. The ascending or descending order is displayed by a downward or an upward arrow.
|
|
The validation check is performed for the following field types within the app:
• Number
• Percentage
• Currency
If you enter data outside the format defined in Salesforce, a validation error message will appear: “Value out of range”.
• If real-time validation is turned on, the validation message appears as the user inputs the value.
• If real-time validation is turned off, the validation message appears when the user taps on the Save button.
You cannot save the record until the number field validation is corrected.
|