Using Single Add
When a single record addition is configured, you can enter values for the various fields as displayed in the following page. For more information on configuration, see Page Layout.
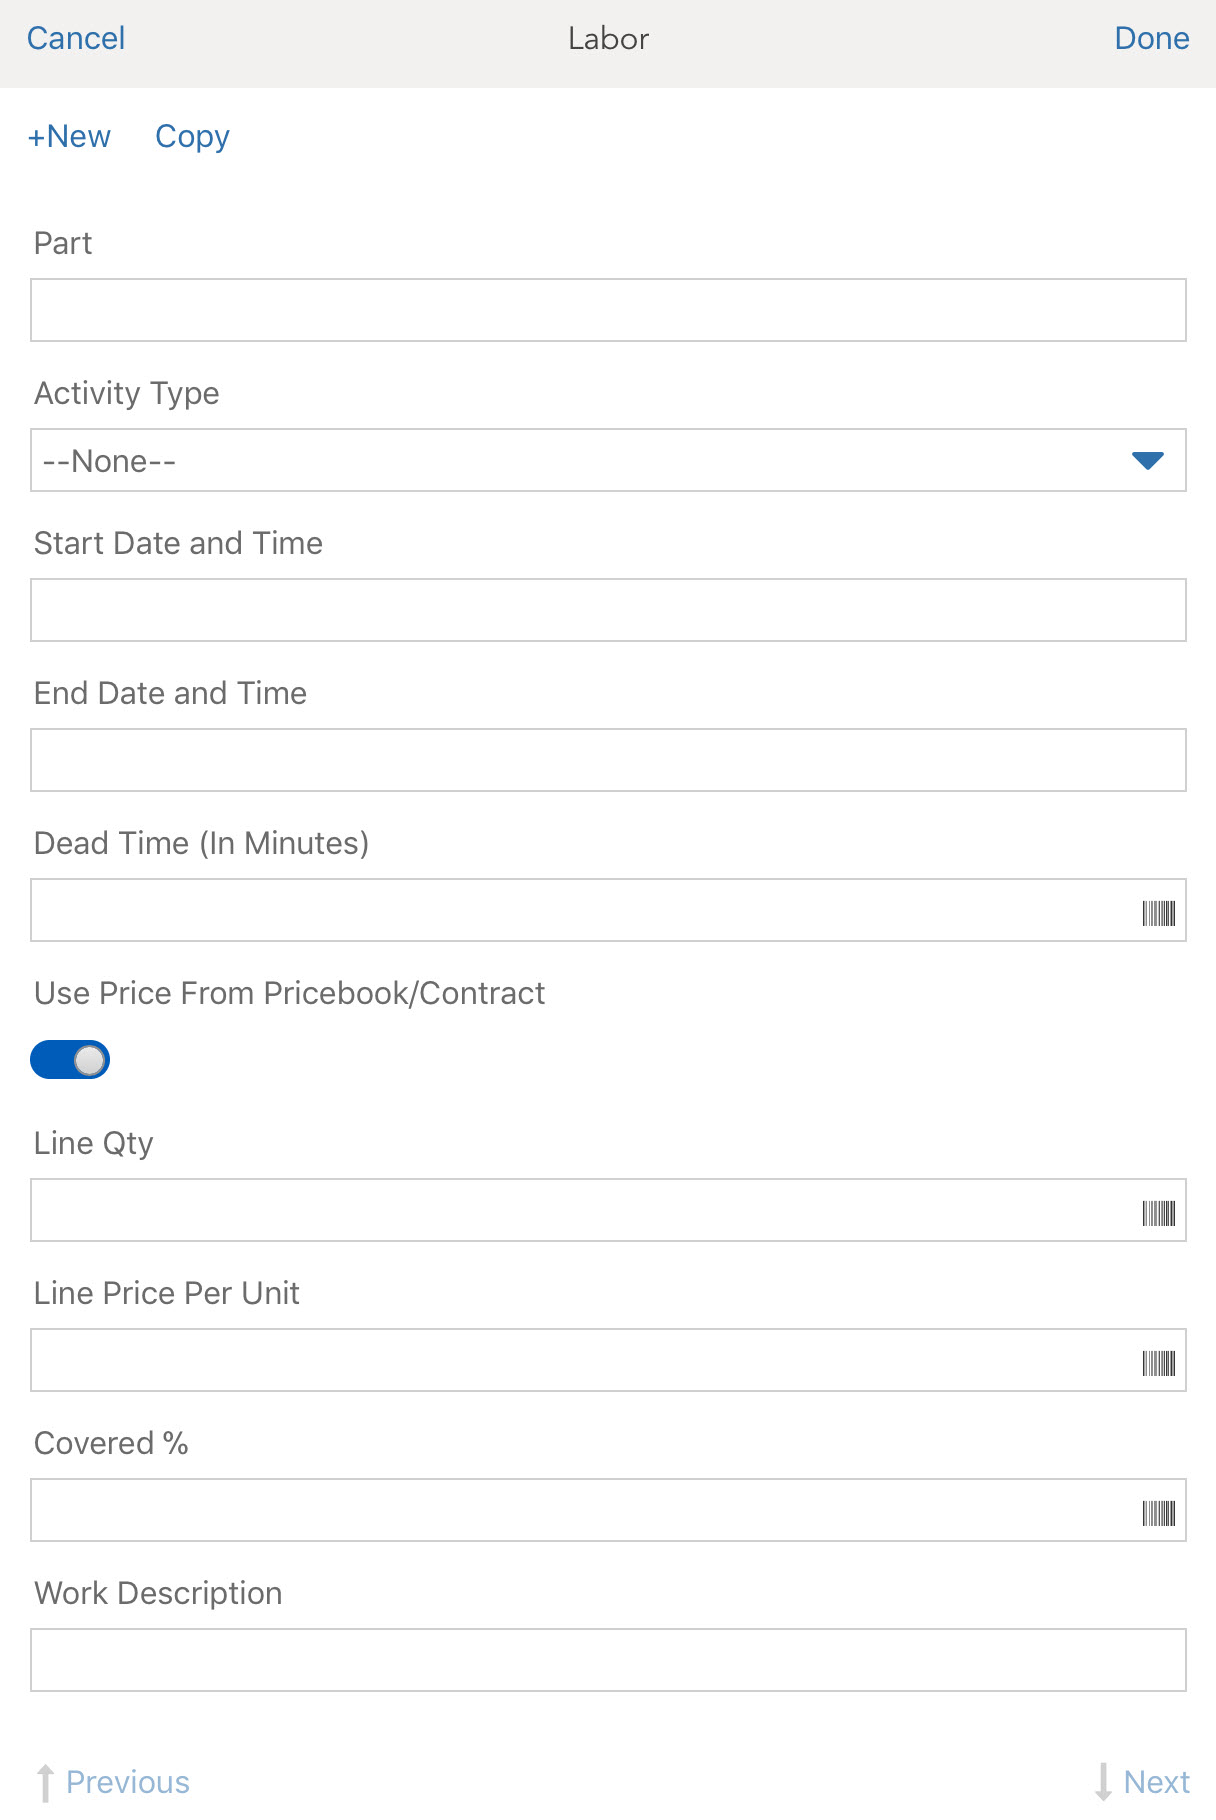
To add records using the single add window:
1. Click +Add from the bottom of the grid
2. Default values are displayed as per the value map configured in the underlying Create process.
3. Enter the text in the respective field.
a. Tap Update to save the text.
b. Tap the Clear icon to clear the field values and enter new values.
4. Click the Picklist icon to select a value from the picklist.
5. Select the check box or radio button to enable the option.
6. Click + New to add a new record.
7. Click Next to navigate to the next available record.
8. Click Previous to navigate to the previous record.
9. Click Copy from the top of the page to copy the content and create another record.
10. When you navigate from one record to another by clicking New, Next, Previous, or Copy, the following message is displayed in a pop-up window:"Changes to the line item are automatically saved"
a. Click Ok to save and navigate to the other record.
b. Click Cancel to discard.
11. Click Done to save the record.
If the mandatory fields marked as * required are empty, an error is displayed with the information about the missing or erroneous fields. |
a. Click the error message to redirect to the specific record.
12. Click Cancel to discard and close the page.
a. A pop-up window is displayed with a confirmation message to discard the unsaved changes.
b. Click Continue Editing to go to the Add page or Discard Changes to close. You can also tap outside the Add page to discard your changes.