Configuring Depot Service Request for Community Users
To enable community users to raise a depot service request from the community portal, you must add and configure the Depot Service Request component in the appropriate areas of the community portal. By default, the Depot Service Request option is not available in the community portal.
You can add the Depot Service Request component in the following areas:
Adding a Depot Service Request Link on the Home Page
You can add the Depot Service Request link component to the Home Page as a clickable link, where users can click the link to raise a depot service request.
To add a depot service request link on the Home page:
1. In the Salesforce Setup page, go to the Feature Settings > Digital Experiences > All Sites.
The list of community sites configured in the org is displayed.
2. Click the community URL to go to the site.
The Community Home page is displayed
3. From the Profile drop-down, select the Experience Builder option.
In the Experience Builder page, you can modify the Community portal based on your requirements.
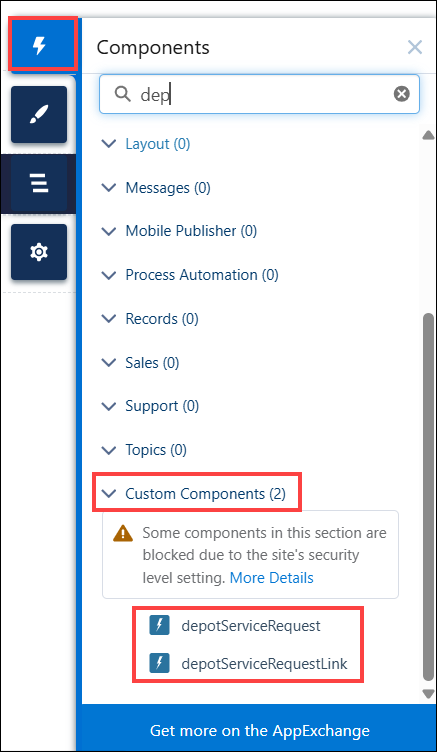
4. On the left pane, click the Components icon.
5. Search for the “depotservicerequest” component.
The depotServiceRequestLink is displayed under the Custom Components.
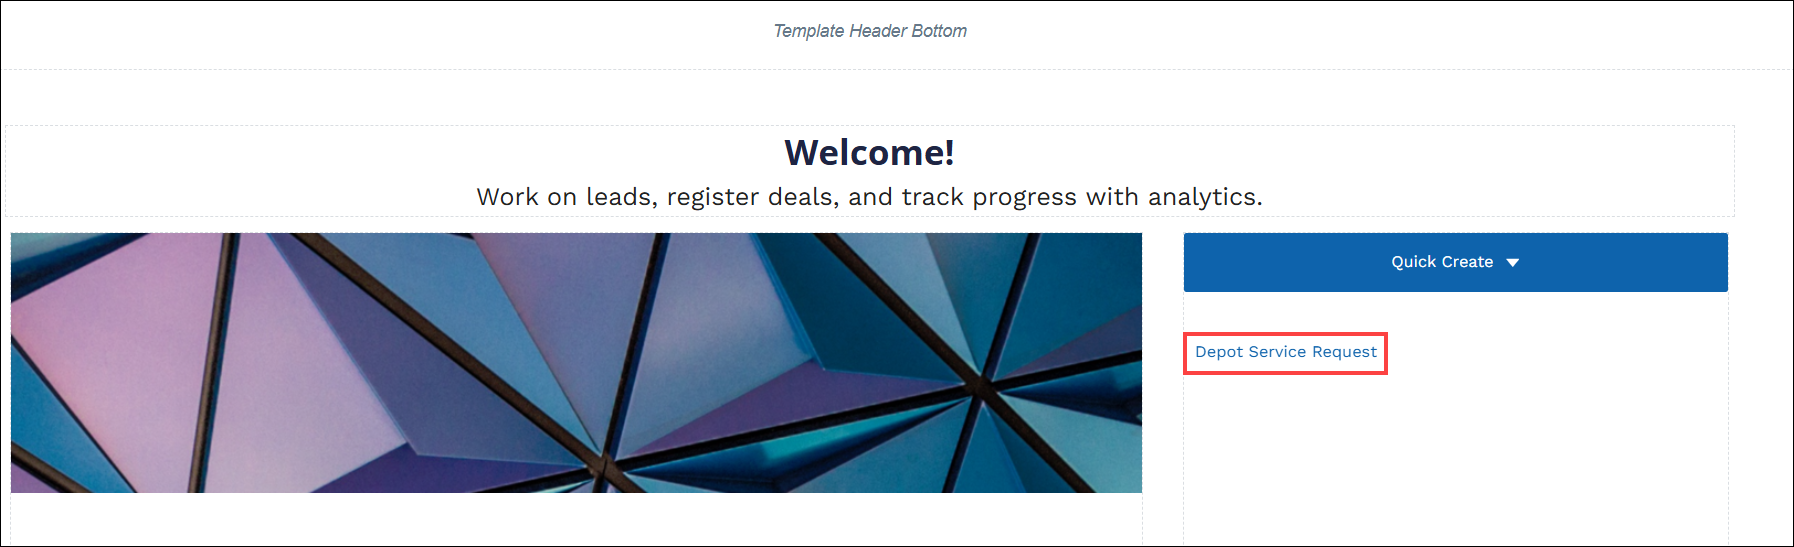
6. Drag and drop the depotServiceRequestLink onto the Home page wherever required. For example, on the Sidebar.
The Depot Service Request link is added to the Home page.
Adding Depot Service Request as a Menu Item in the Navigation Menu
You can add the Depot Service Request option as a Menu item in the portal’s Navigation Menu, where users click the item to raise a depot service request. Ensure that you have created a Depot Service Request Site page to add it as a menu item.
To add the Depot Service Request option as a Menu Item on the Navigation Menu:
1. In the Salesforce Setup page, go to the Feature Settings > Digital Experiences > All Sites.
The list of community sites configured in the org is displayed.
2. Click the community URL to go to the site.
The Community Home page is displayed
3. From the Profile drop-down, select the Experience Builder option.
In the Experience Builder page, you can modify the Community portal based on your requirements.
4. Click the Navigation Menu.
The Navigation Menu is displayed.
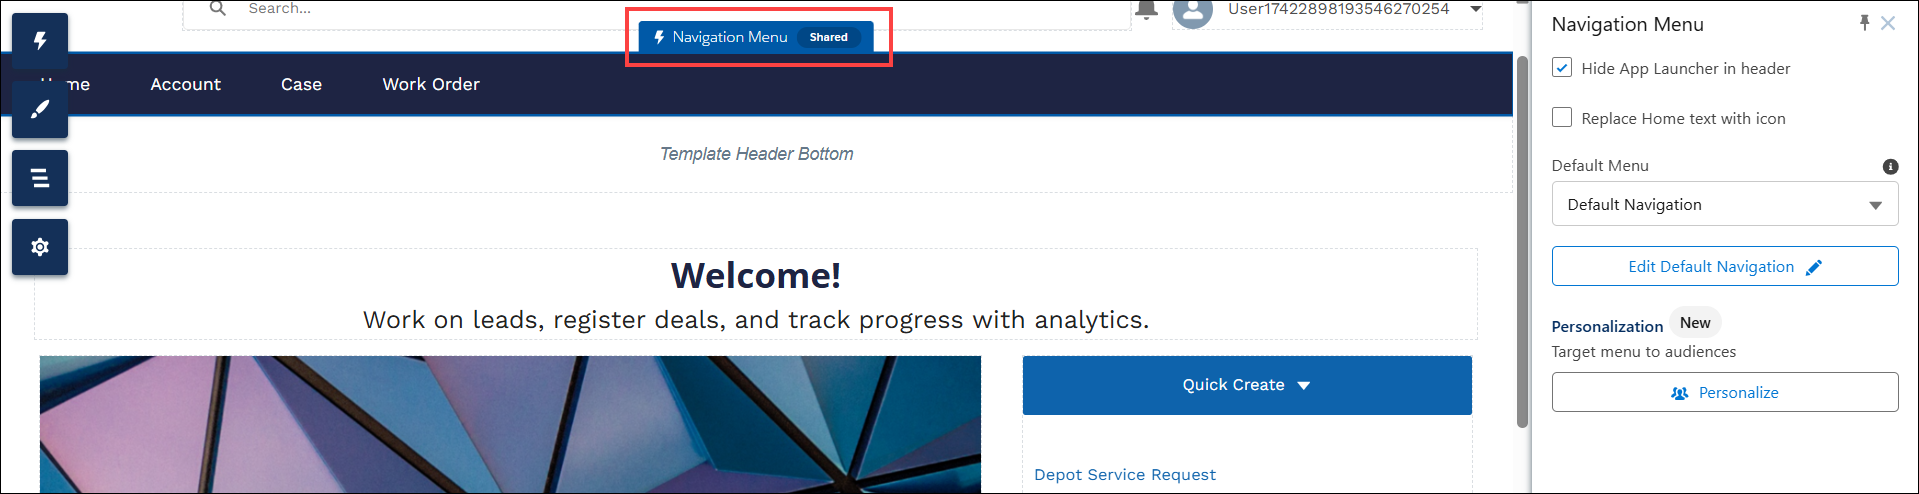
5. Click Edit Default Navigation.
The Edit Default Navigation pop-up window is displayed.
6. Click Add Menu Item.
7. Enter the Name of the Menu Item.
8. Select the Type as Site Page.
9. In the Page, select the Depot Service Request site page.
10. Click Save Menu.
The Depot Service Request option is displayed on the Navigation Menu.
11. Click the Depot Service Request option.
12. On the left pane, click the Components icon.
13. Search for “depotservicerequest” component.
The depotServiceRequest is displayed under the Custom Components.
14. Drag and drop the depotServiceRequest onto the page wherever required.
Adding Depot Service Request as a Tab on an Account, Work Order, or Case Record
You can add the Depot Service Request as a Tab on the source record objects such as Account, Work Order, or Case, where users can raise depot service request from Account, Work Order, or Case records from the community portal.
To add the Depot Service Request as a Tab on the Account record:
1. In the Salesforce Setup page, go to the Feature Settings > Digital Experiences > All Sites.
The list of community sites configured in the org is displayed.
2. Click the community URL to go to the site.
The Community Home page is displayed
3. From the Profile drop-down, select the Experience Builder option.
In the Experience Builder page, you can modify the Community portal based on your requirements.
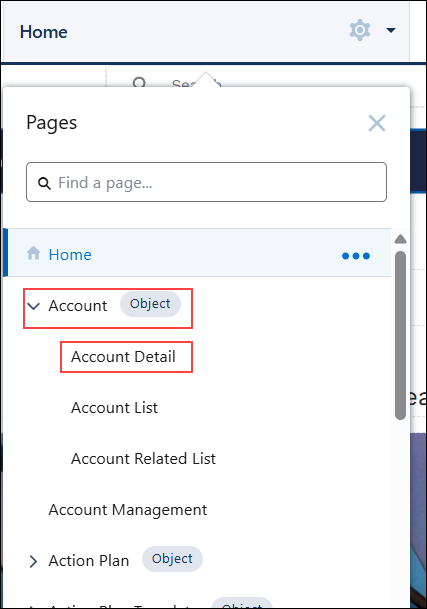
4. In the header, click the Page drop-down and go to the Account > Account Detail page.
5. Click Tab Layout.
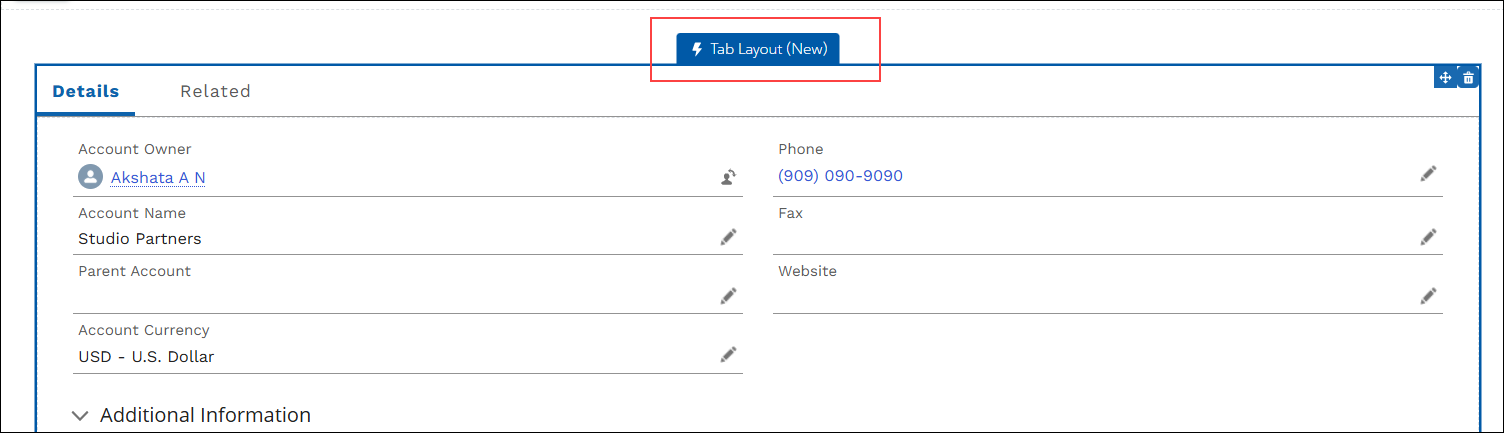
The Tab Layout is displayed on the right pane.
6. Click Add and enter the Tab Name as Depot Service Request.
7. In the left pane, click the Components icon.
8. Search for the “depotservicerequest” component.
The depotServiceRequest is displayed under the Custom Components.
9. Drag and drop the depotServiceRequest onto the page wherever required.