Warranty Settings
The following settings allow you to manage the Warranty engine:
1. Log in to Asset 360 with your credentials.
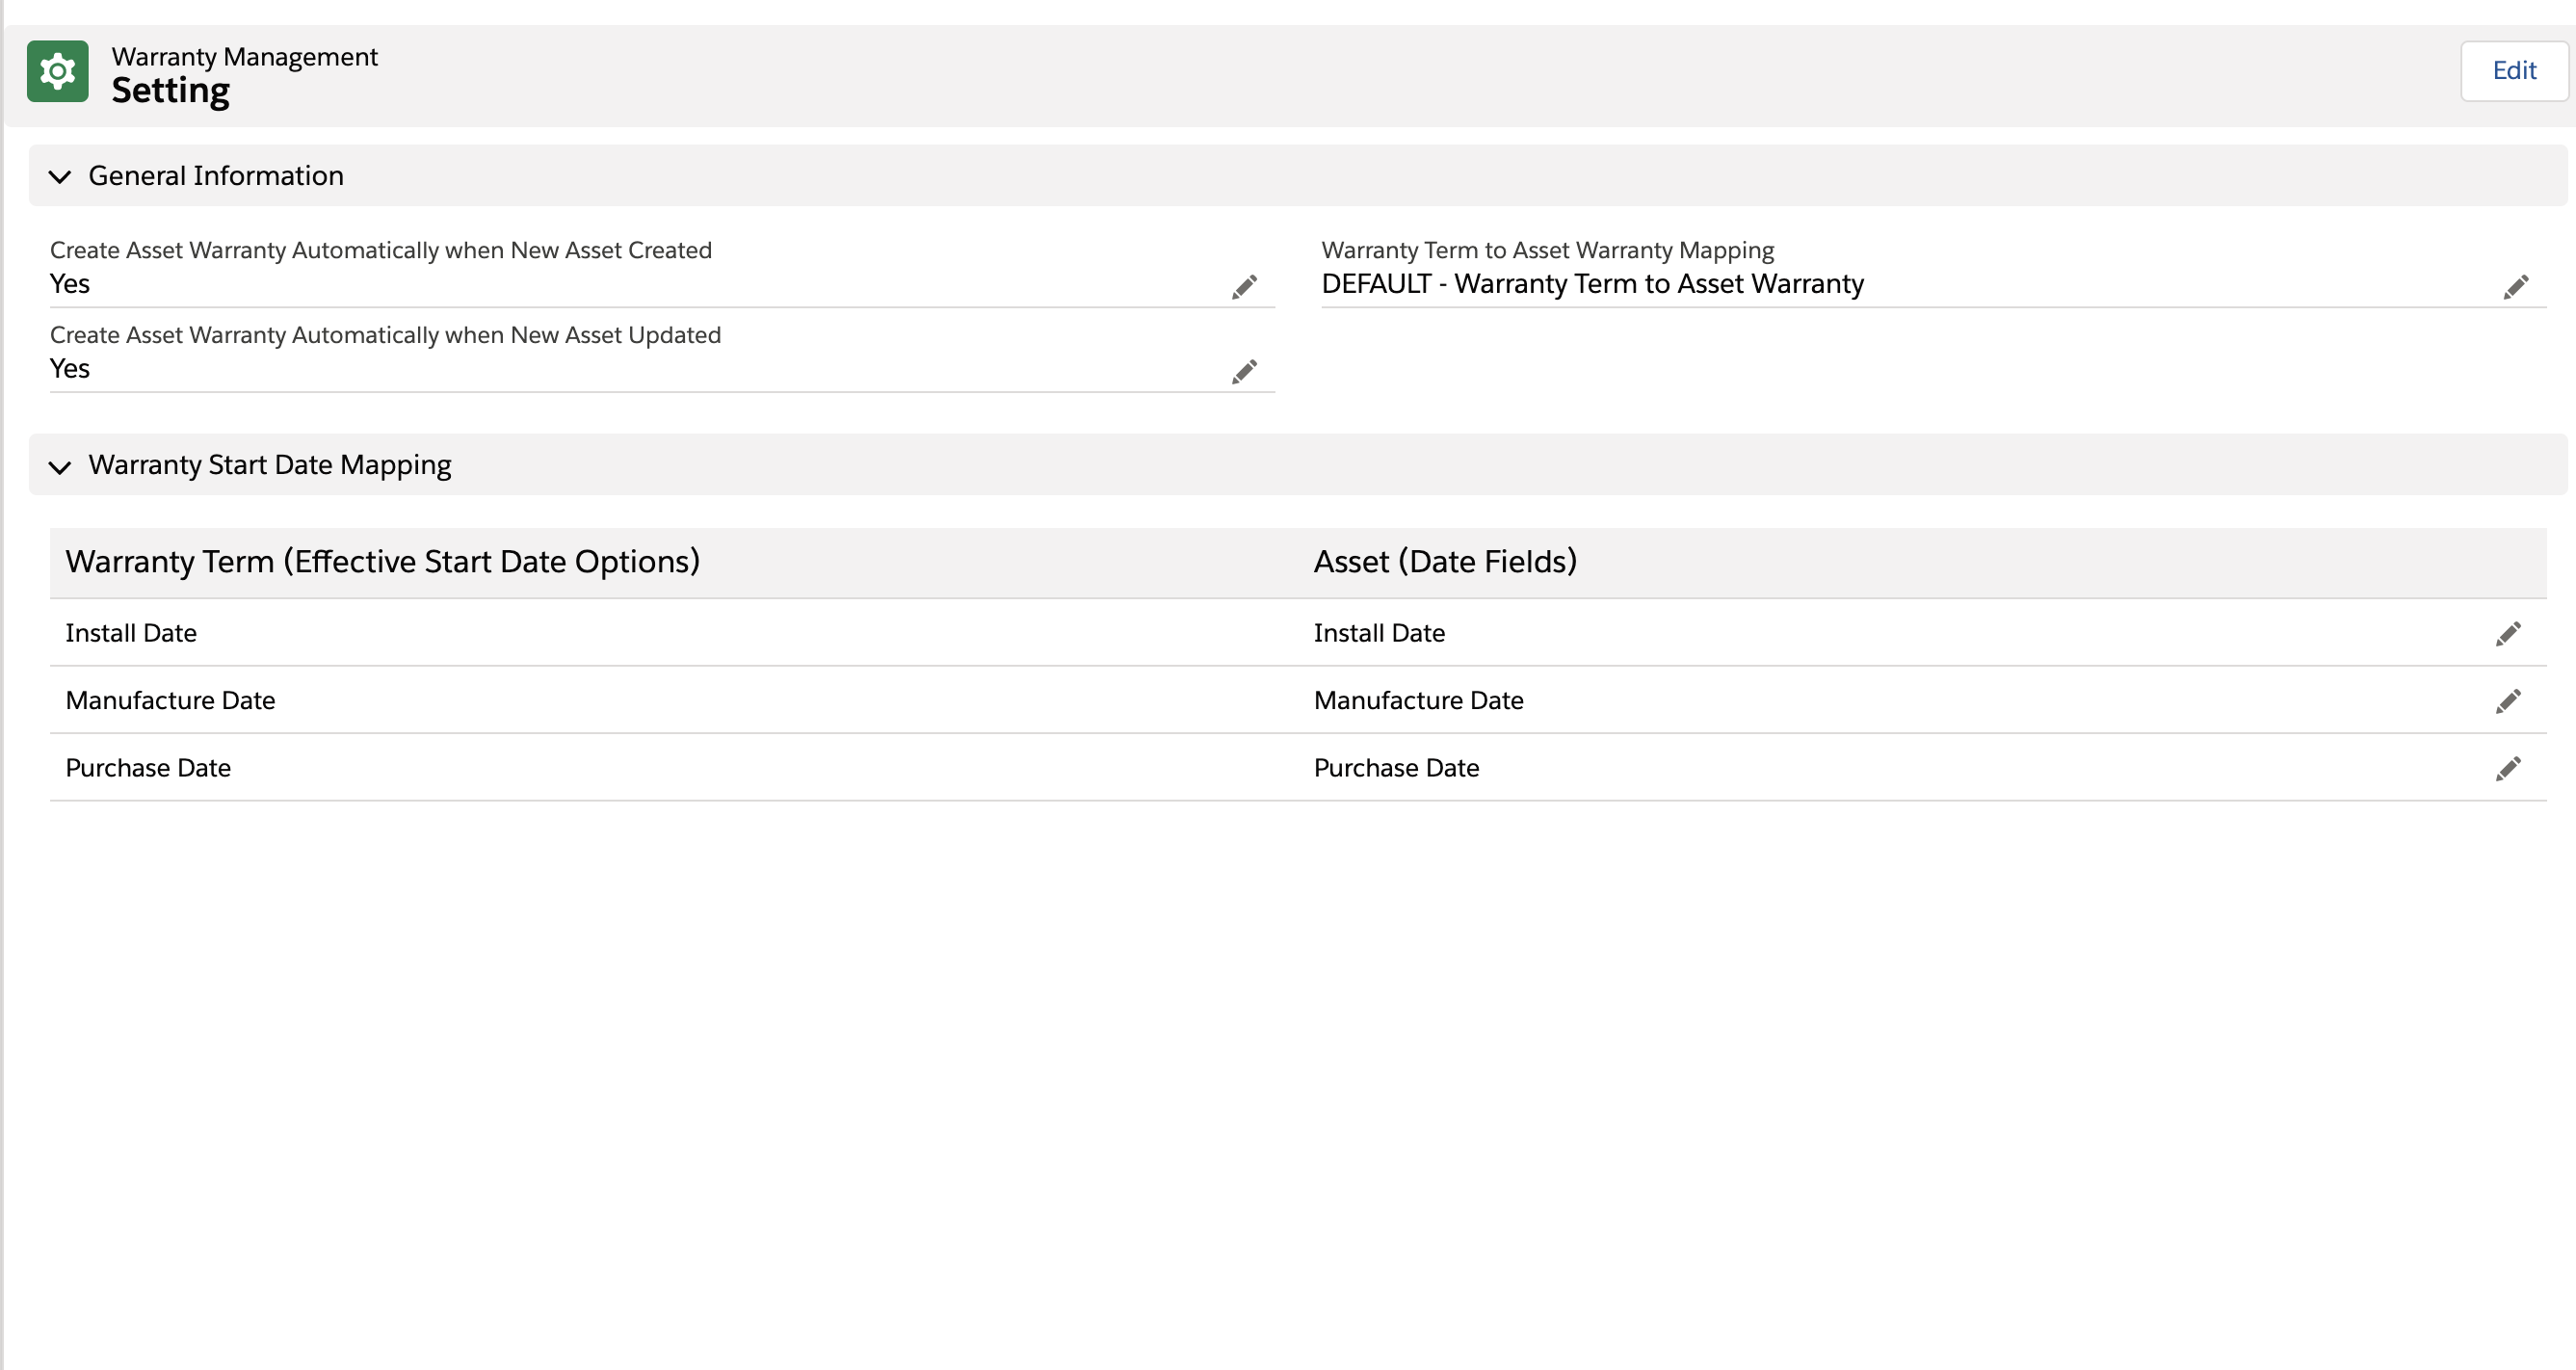
2. From the left navigation pane, click Asset > Warranty. The following screen is displayed:
3. Click Edit or any pencil icon to edit the configurations.
4. Provide the following details, and then click Save. A confirmation message is displayed on successful validation.
|
Field Name
|
Field Description
|
||
|---|---|---|---|
|
Fields marked with * are mandatory fields.
|
|||
|
General Information
|
|||
|
Create Asset Warranty Automatically when New Asset Created
|
Select this checkbox to create an asset warranty automatically when a new asset is created. It is selected by default.
|
||
|
Create Asset Warranty Automatically when New Asset Updated
|
Select this checkbox to create an asset warranty automatically when a new asset is created. It is selected by default.
|
||
|
Warranty Term to Asset Warranty Mapping
|
Select the appropriate mapping for the warranty term template from the drop-down list. The default value is already selected. Change it as required.
|
||
|
Warranty Start Date Mapping
|
This section displays the effective start date mapping between date fields and warranty term fields.
To add a new value in the Warranty Term column, navigate to Setup > Object Manager > Warranty Object > Fields & Relationships > Effective Start Date Picklist Values and click New.
To add a new value in the Asset column, navigate to Setup > Object Manager > Asset > Fields & Relationships and click New Date Field.
|
||