Creating Timeline Configurations
To create an asset timeline configuration:
1. Click New on the Timeline List page. The Timeline page is displayed.
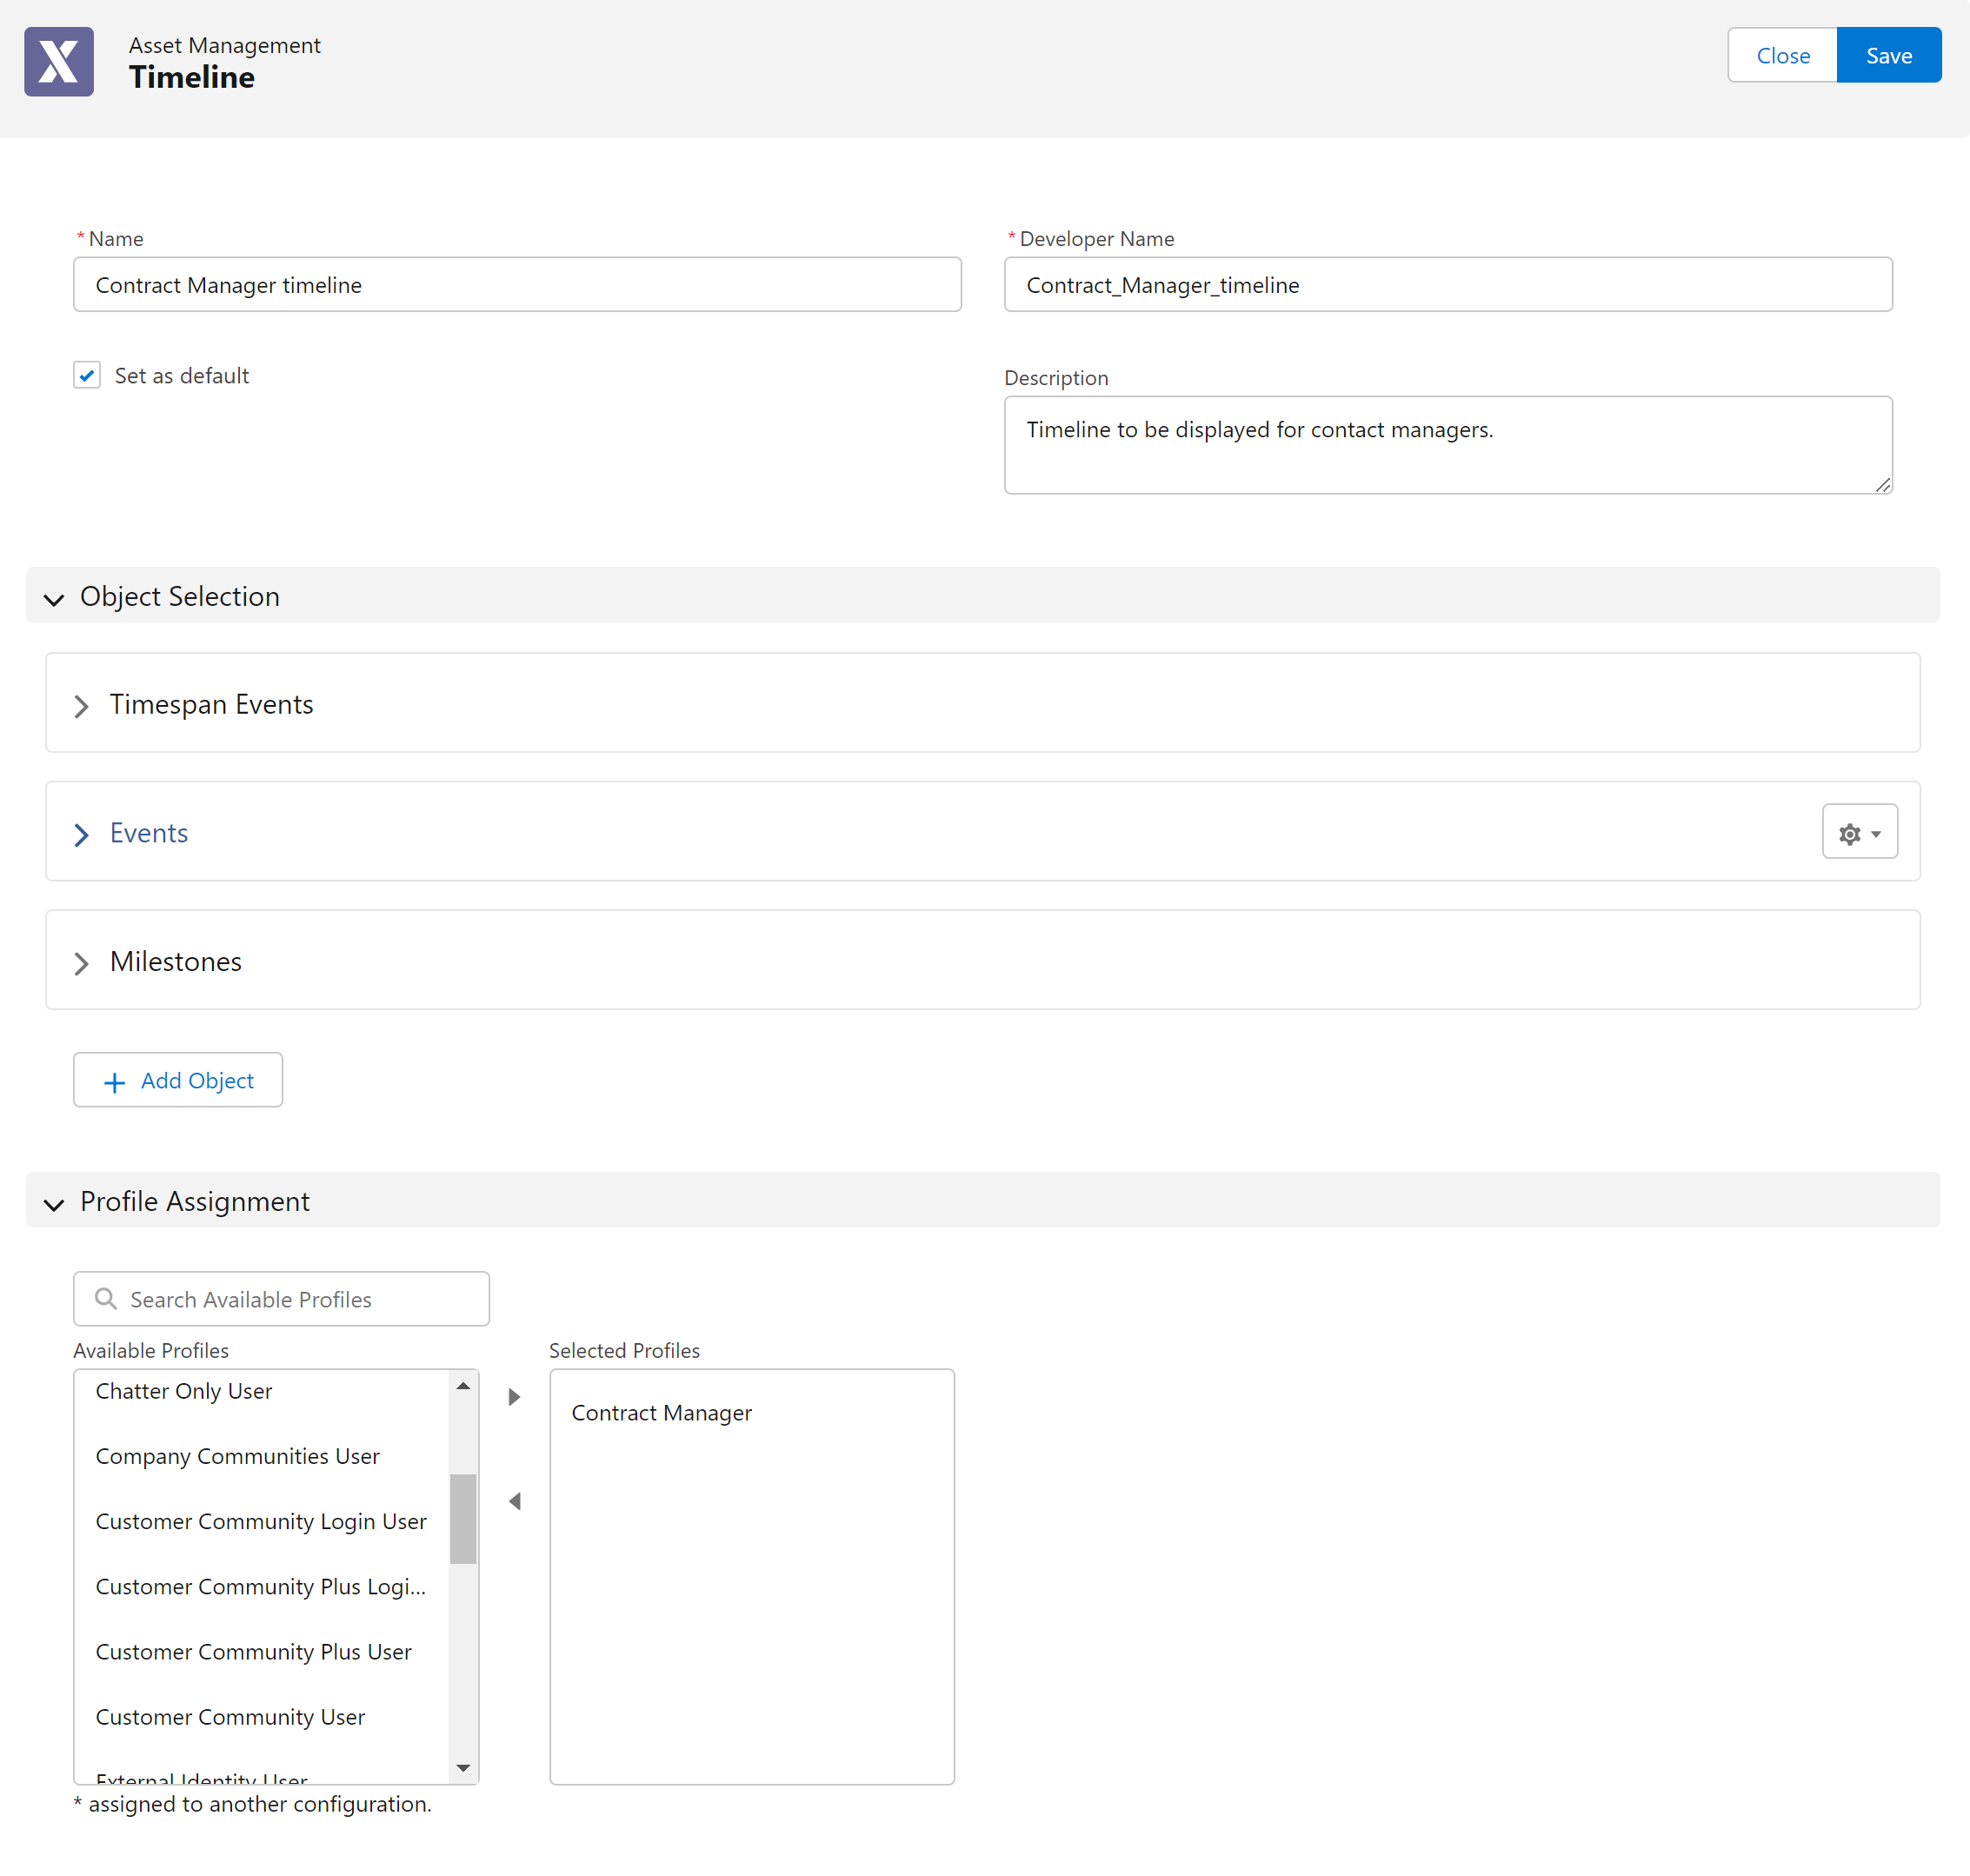
2. Enter the details for the fields as described in the following table:
|
Field
|
Description
|
||
|---|---|---|---|
|
Fields marked with * are mandatory.
|
|||
|
Name*
|
Name of the asset timeline configuration.
|
||
|
Developer Name
|
The unique ID of the timeline configuration.
The ID is derived from the name of the timeline configuration. For example, if you enter Helpdesk Timeline 1 as the name, the developer name is populated as Helpdesk_Timeline_1 by default. You can change the ID and enter a new value manually.
|
||
|
Description
|
Description of the asset timeline configuration.
|
||
|
Set as default
|
Check this box to mark the timeline configuration as the default configuration for all the end users.
|
||
3. Select and manage the objects for the timeline configuration.
◦ For information about adding objects, see Selecting Objects for the Timeline Configuration.
◦ For information about managing the object selection, see Managing Object Selection.
4. Select the Salesforce profiles for which the timeline configuration is applicable. Move the required profiles from the Available Profiles section to the Selected Profiles section.
|
|
• If you do not select any user profiles, the timeline configuration is used for all the existing profiles.
• Use the search bar to search for the profiles.
• Profiles already assigned to the Hierarchy configuration are marked with *.
• The profile is re-assigned to the latest timeline configuration when you add an already assigned profile to a new configuration and save the timeline configuration.
|
5. Click Save to save the asset timeline configuration. You are navigated to the Timeline List page. The asset timeline configuration you just created is listed on the page.