Delete Parts that are not Required
1. Open the file plate_object.idr.
2. If you have not yet saved the file for the exercise in the section
Using Functions from the Object Window, open the file from the
Arbortext-IsoDraw-install-path\Tutorial\Tutorial CADprocess folder, in the installation folder.
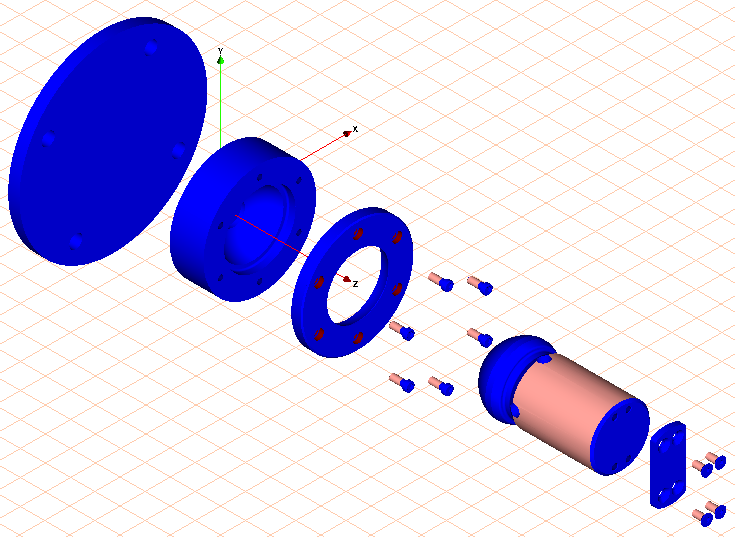
The parts that are to be made invisible in this exercise also appear alongside the parts that were exploded in the previous exercise.
|
|
Changes made to object settings in the object window are retained during a session. However, they are not saved.
|
3. Save the file as plate_color.idr.
4. The parts that were made invisible in the previous exercise are not needed in this exercise. The parts are therefore to be deleted.
Holding down the CTRL key, click on the + symbol in front of the file name plate_color.idr in the object window.
All of the objects contained in the file are shown.
5. Select the button next to Name.
6. Click on the assembly with the name plate.111.
The assembly is selected. The assembly contains subassemblies that are shown indented. Once the assembly is selected in the object window, all the related parts (subassemblies) in the drawing are selected.
7. Select the > menu.
Assembly plate.111 is deleted.
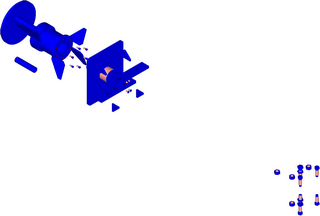
8. The loose nuts and bolts in the lower right belonging to the plate are also to be deleted.
Using the arrow cursor, click in the area of a bolt. Holding down the SHIFT key, use the same cursor to click in the area of all the remaining nuts and bolts belonging to the plate (plate.111) one at a time.
The parts are selected.
9. Select the > menu.
The nuts and bolts that have been selected are deleted.
The drawing now appears on the screen as indicated in the figure in Rendering display mode.