To Translate Geometry
1. Click > >  Warp to open the Warp tab.
Warp to open the Warp tab.2. Make sure the Geometry collector is active, and select bodies, including bodies that contain simplified or homogenized lattices, quilts, facets, or curves to translate.
3. To define the direction of the warp, click the Direction collector, and select a plane or coordinate system.
4. Click  Transform to display the transform settings, marquee, and dragger.
Transform to display the transform settings, marquee, and dragger.5. Transform the geometry using the dragger:
◦ To translate in one direction, drag a handle.
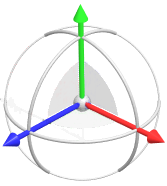
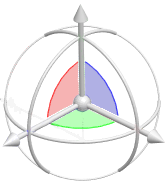
◦ To translate in two directions parallel to a dragger plane, drag the plane.
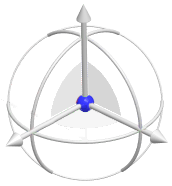
◦ To translate freely in three directions, drag the centerpoint.
Alternatively, click the Options tab. Specify the values for the x-, y-, and z-coordinates. Optionally, click  to export the parameter values to edit outside of Warp.
to export the parameter values to edit outside of Warp.6. To edit the translation dimension, double-click the dimension and enter a value.
7. Select any warp operation to complete the current warp operation, or click  OK to complete the warp feature.
OK to complete the warp feature.