
Toolpath Creation
At this point we will create the toolpath from pre-defined templates using the Process Manager.
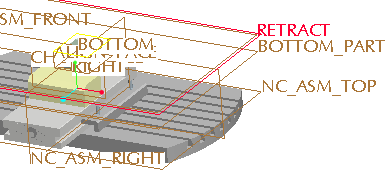
First, we need to define a Mill Window to define what to machine.
1. Click on the Mill Window Tool ![]() icon from the right-hand toolbar.
icon from the right-hand toolbar.
2. Select the "Retract" plane from the Model Tree. This creates a mill window on the retract plane by taking the outline of the workpiece.
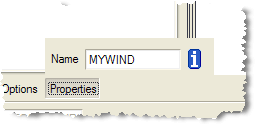
3. Select Properties from the dashboard and rename the Mill Window to MYWIND.
4. Select Apply ![]() from the dashboard.
from the dashboard.
|
|
This is the default setting but other techniques exist to create Mill Windows such as Sketching or selecting edges. |
Now we have all the settings necessary to define a toolpath.
1. Select the Process Manager ![]() icon from the main toolbar.
icon from the main toolbar.
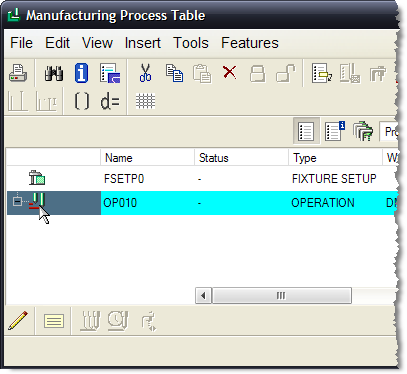
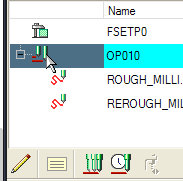
2. Select the OP010 by selecting the icon to the left of the operation as shown above.
3. Select the Insert New Steps From Template ![]() icon.
icon.
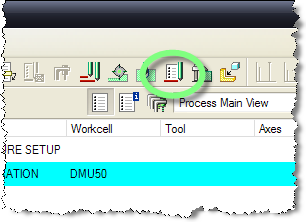
4. Select the basic_roughing.xml template > Open.
Notice that there are 2 sequences, roughing and re-roughing.
|
|
The template is looking for specific references such as the RETRACT Plane and the MYWIND Mill Window. This is the reason behind renaming the Mill Window to the proper name. If not you will be prompted to select a Mill Window manually. |
5 Click on the Apply ![]() from the bottom toolbar of the Manufacturing Process Table. The toolpath is completed.
from the bottom toolbar of the Manufacturing Process Table. The toolpath is completed.
6. Select the Operation by clicking the icon to the left of OP010 as shown below.
7. Click on the Show Toolpath ![]() icon to play the path.
icon to play the path.
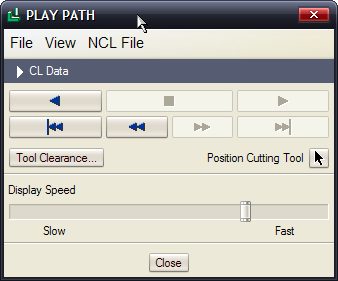
8. Click on Play ![]() from the Play Path Window. Select Close when done.
from the Play Path Window. Select Close when done.

9. Select Window > Close.
You have completed this tutorial.