Set Initial Tracking Position
|
|
This topic only applies to Vuforia Studio 9.12.0 and below.
|
Define the position from which the experience user will need to look at the physical object from to initiate tracking. Keep in mind that while the initial tracking position must be set for an Advanced Model Target, the object can still be recognized and tracked from any angle. For information about troubleshooting and best practices for Model Targets, see
Model Target Troubleshooting and
Model Target Best Practices.
1. Drag and drop a Model Target widget onto a model on the canvas.
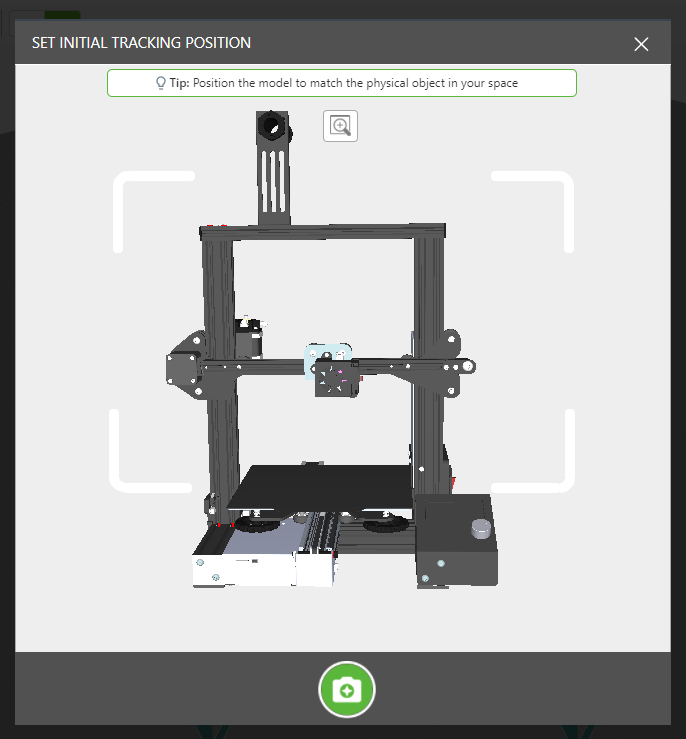
2. Click the green plus under Initial Tracking Position to open the Set Initial Tracking Position window.
3. A default view of the model appears.
| Any model items or property settings from the model widget are ignored. |
4. Set the desired detection position, and click the camera icon.
Ensure that the Initial Tracking Position matches the angle from which the physical object will be approached exactly; also make sure that the angle is a 3D view, and not 2D. The image below is an example of correct and incorrect ways to set the initial tracking position.
| Rotate and pan are used in the same manner as the design view. |
5. Click Save. You’ll notice an outline of the position populates the Initial Tracking Position box.
| When using a Model Target in your experience, be sure to select None from the ThingMark Association drop-down under > . |