Task 7. Emboss text on the lobe
-
Click the Sketch Tool
 icon on the right toolbar to create a sketch.
 -
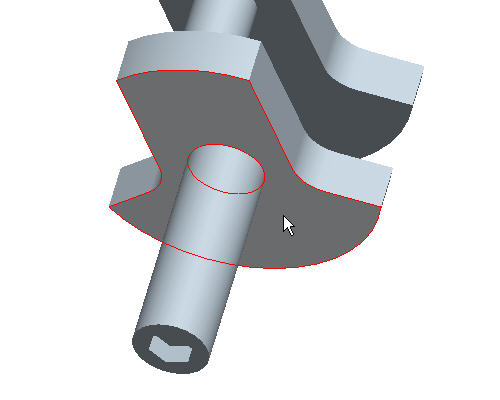
Select the surface shown as the Sketch Plane and then click the Sketch button in the Sketch dialog.

-
Click the No Hidden View
 icon in the main toolbar for a better display of the sketch.
 -
Click the Arc
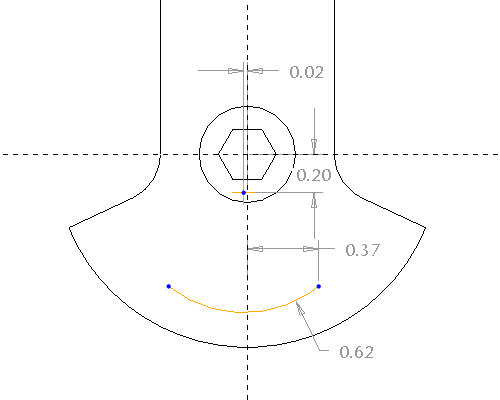
 icon in the sketcher toolbar. Create a 3-point arc by selecting the start of the arc then selecting the end of the arc and finally drag and click to determine the radius of the arc. The sketched arc will appear similar to the figure below.
-
Select the Sketcher Constraints
 tool in the sketcher toolbar.
 -
Click on the Same Points
 tool in the Constraints dialog, and select the center point of the arc and the vertical dashed line. Then click on the center point of the arc again, followed by the horizontal dashed line.
 -
Click Close in the Constraints dialog.
-
Select the curve in the sketch. Hold down your right-mouse button, and select Construction.
-
Double-click the radius dimension and edit the value to .90.
-
Double click on the horizontal value to be .25.
-
Click the Text
 icon from the sketcher toolbar.
 -
Sketch a line as shown in the following figure.
-
In the Text dialog box, enter 12345 as the Text Line.
-
Click the box next to Place along curve, and select the curve in the sketch.
-
Click OK from the Text dialog box, and then click your middle-mouse button.

-
Change the height of the text to be .115.
-
Click the Sketch Complete
 icon on the sketcher toolbar.
 -
Click the Shaded View
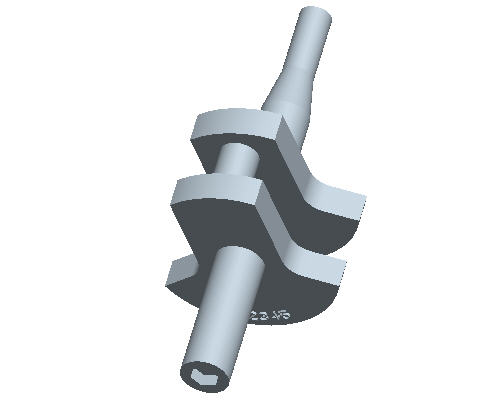
 icon in the main toolbar, and press CTRL+D on your keyboard for the default orientation of the model.
 -
Select the Extrude
 icon from the features toolbar with the previous sketch selected. Enter .025 as the depth.
 -
Select Complete Feature
 from the dashboard.

