Creating Client-side Viewables
When connected to Windchill Workgroup Manager, your CAD application automatically generates a static, client-side viewable when Custom Check In is selected. This feature is useful when you want to share data in your files with users who do not have your CAD application installed on their computers. The generated viewable is displayed in Creo View, and can be printed, viewed, and copied to the clipboard. This section describes the process for generating a viewable from a CAD application and, using Windchill, viewing it in Creo View.
1. Before you can create a viewable, you must set a preference in the Windchill
Preference Management utility that determines whether a viewable is generated using defaults, or whether you prefer to set options each time you initiate
Check In. To enable viewable generation, access from Windchill > > , locate the
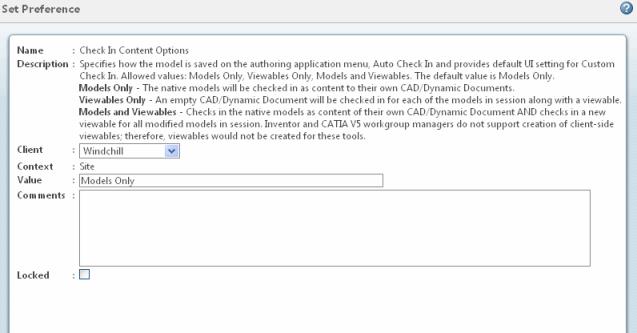
Check In Content Options preference, and right-click to choose the
Set Preference
option.
| The Check In Content Options preference only has to be set once to enable viewable creation. |
2. The Set Preference dialog for Check In Content Options is displayed. There are three options available:
◦ Models Only - The native CAD models will be checked in as content to their own documents. This is the default.
◦ Viewables Only - An empty Dynamic Document will be checked in for each of the models in session along with a viewable.
◦ Models and Viewables - Checks in the native CAD models as content of their own Dynamic Document AND checks in a new viewable for all modified models in session.
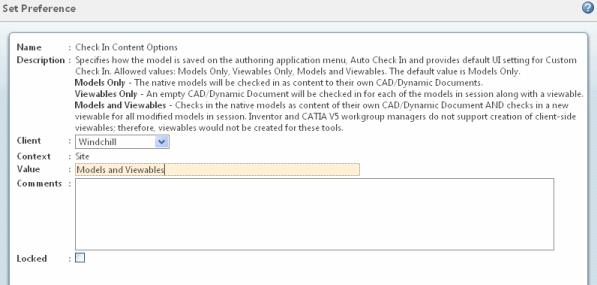
3. In the Value: field, type in Models and Viewables and click OK. The preference is now set for your CAD application to create viewables when Custom Check In is selected.
4. Now you will create a viewable each time you use Custom Check In. Open a file, and select Custom Check In.
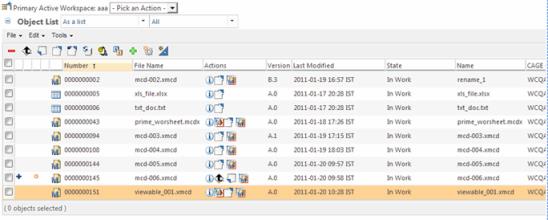
5. Windchill checks in the file and creates a viewable, which can be accessed from the Information page of the file. Return to the Primary Active Workspace in
Windchill Workgroup Manager, and click the Information icon

of the sample file to access the file's Information page.
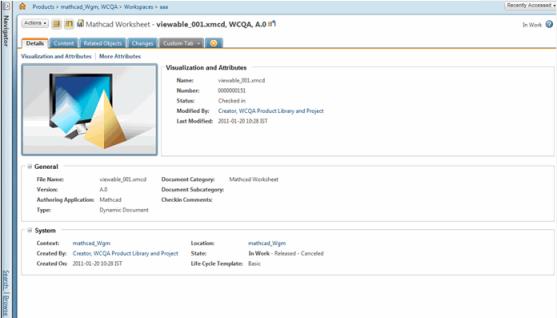
6. Click the
Creo View icon

to launch
Creo View and display the viewable created during
Custom Check In.
| You must have Creo View installed on your system to see your viewables. PTC provides a copy of Creo View Lite to users to enable access to viewables. In the previous step, if Creo View Lite is not installed on your system, you will be prompted to install it before you can see the viewable. If necessary, complete this action before proceeding |
| Thumbnail generation is supported if the thumbnail worker (pvsthumbworker) on Windows is configured on the server of any supported OS. If the server is on a Windows machine, then the server should have Adobe installed with the Creo View plugin. |
| The client-side viewable generation action only generates viewables for top-level objects being saved, and not for the child components of the object. |
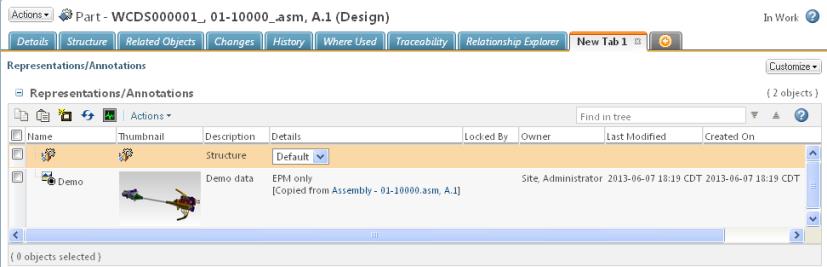
7. The three icons below the Image box on the Information page allow you to copy the image to the clipboard, print the image, and display a list of representations for the file. The following screen shows the representations for a sample file. The image in the Thumbnail column indicates that a viewable is associated with the file.