Save to Workspace
The Save to Workspace action saves selected objects and uploads the data to the server-side workspace.
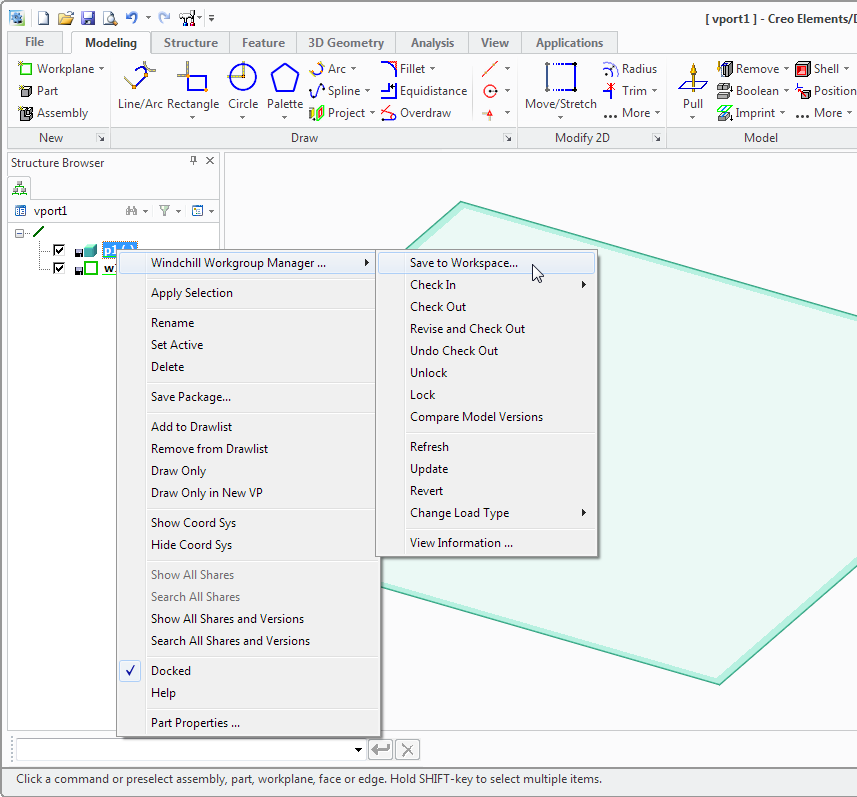
When you click > , all the modified objects are saved. To save selected objects to workspace, select the objects and right-click the mouse and click Save to Workspace.
To perform a Save to Workspace action:
1. Within a Creo Elements/Direct Modeling session, select one or more objects within the Structure Browser that you want to save.
2. Access the Save to Workspace window using one of the following methods:
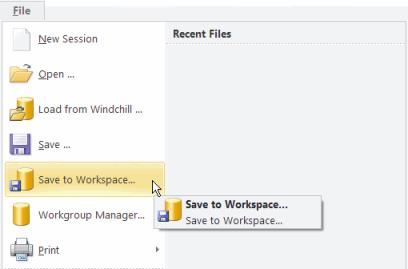
a. Choose > as shown in the following figure.
–or–
b. Right-click on an object selection in the Structure Browser and choose > from the actions menu as shown in the following figure.
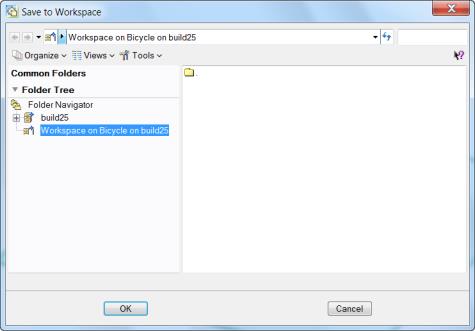
The Save to Workspace window appears as shown in the following figure.
| When you save an annotation drawing, the 2D drawing and its relevant 3D part should be open in session, so that the links between the drawing and part are maintained. |
3. Click OK to save the object data to the last save location within the workspace.
–or–
Select an alternate location using the Folder Navigator in the window, then click OK.
| In Windchill, the default length for names of parts and library objects is set at a maximum of two hundred (200) characters. It is recommended to increase the allowable character length to avoid errors when importing objects to the workspace or saving (uploading) parts and library objects to the Windchill server. |
| When importing or saving CAD documents to the workspace, both filename and SysID uniqueness are enforced by Windchill. If one of the uniqueness constraints is violated, a conflict is raised and the appropriate resolution options are presented in a Conflicts window. For more information, see Modeling Identifiers and Save Conflicts. |
Related Topics