Create Project
Exchanges in Winchill Requirements Connector are organized in projects. You can create a new Windchill Requirements Connector project for a new exchange by performing the following steps:
1. Right-click in Project Explorer and then select New > Windchill Requirements Connector project
Figure 13. Create project

a. If applicable: select the checkbox Accept Agreement
This checkbox is only available if wrc.ui.enableProjectAgreement has been set to “true” in the uiSettings.properties file.
A user with write-access to the install-folder of WRC can change the title, the text, the checkbox-text and the message that the agreement has not been accepted in the uiSettings.properties file located in the folder properties in the installfolder of WRC. This user can enable or disable the agreement by setting wrc.ui.enableProjectAgreement to either “true” to enable the agreement, or “false” to disable the agreement.
Figure 14. New project wizard without Confidential Agreement
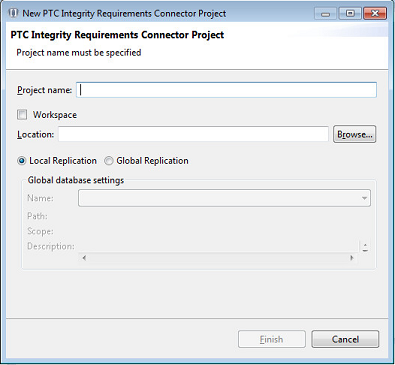
Figure 15. New project wizard with Confidential Agreement enabled
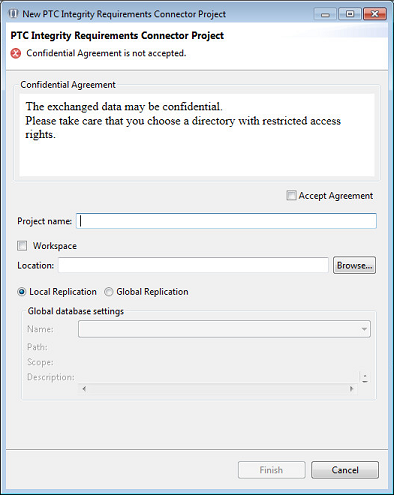
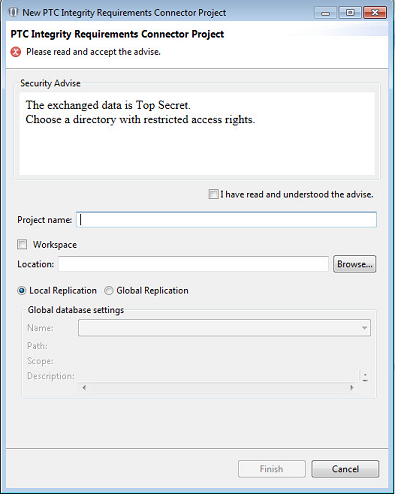
Figure 16. New project wizard with customized Confidential Agreement
2. Define a unique name for the project and the location where the project should be stored.
a. Enter the project name.
b. Specify the project location.
If wrc.ui.allowWorkspaceProjects has been set to “false” in the uiSettings.properties file it is not possible to select the Workspace as a location.
Figure 17. New project Wizard without Workspace-location enabled

c. Specify the path to the project if a custom folder is selected using the Browse... button.
PTC recommends that you store project data on a shared network drive and that you have a backup strategy. Please refer to Backup strategy. and Data storage |
3. Define the replication type to be used by selecting Global Replication or Local Replication.
4. Select Finish to create the project.
Figure 18. Define project name and location