Adding a Nested Group
Nested group layout elements allow a reusable table or image element from an attribute layout on a secondary type to be included in an attribute layout on the primary type in a synchronized type set. The ordering of reusable tables and images in the attribute layout for the secondary type and the ordering of nested groups in the attribute layout for the primary type have no impact on each other. The attribute layout on the primary type is considered the master layout for all layout elements across a synchronized set. To control the order of layout elements, add nested groups to the attribute layout for the primary type.
The
Nested Group layout element is only available when you are editing layouts on a primary type in a synchronized type set in
PTC FlexPLM. For more information, see
Synchronized Types.
To add a nested group to an attribute layout:
1. From the
Layouts tab of the primary synchronized type, select the
Retail attribute layout. For a description of this layout, see
Viewing an Attribute Layout.
2. From the list below an existing layout element, select Nested Group.
The Nested Group layout element is only available to select when the following conditions apply:
◦ You have set a primary type in a synchronized type set in PTC FlexPLM.
◦ One or more Reusable Table or Image layout elements is in use on a secondary type in the synchronized type set, which have not already been added to the current attribute layout.
3. Click Add.
4. The Add a new layout element window contains all alias and image layout elements that have been configured on any secondary type in the synchronized type set. Select an attribute and click OK. The nested group layout element is added to the attribute layout.
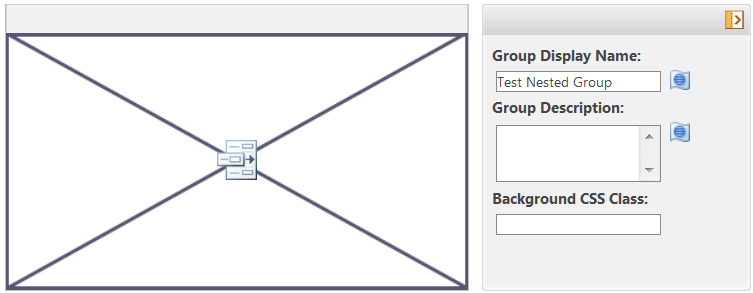
5. Update the Group Display Name and Group Description fields as needed. The value of the Group Display Name field displays for the nested group layout element in the end-user user interface. The system automatically populates the Group Display Name field with the internal name of the selected alias attribute or image attribute.
6. To apply a custom style rule for this attribute group, specify the Background CSS Class value that maps to your custom style rule. For more information, see the description of the Background CSS Class found in Editing an Attribute Group.
| Apply custom style rules sparingly to place emphasis on attribute groups that truly require it. |
7. Click Done.
Nested group layout elements cannot be edited to select different reusable table alias attributes or image attributes. They can only be
deleted, and a new nested group layout element can be added. You can also change the order of nested groups among the other layout elements by dragging and dropping the nested group by its header.