Add Attributes in Creo Illustrate
To change the color of certain parts of on quadcopter, you’ll need to add an attribute named
painted to the quadcopter model. The
painted attribute will be used to differentiate parts. For more information about adding attributes to a model, see
Add Attributes to the Model.
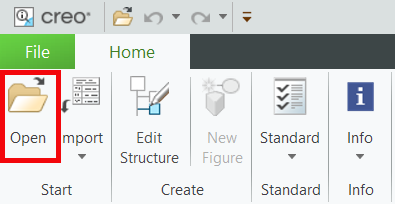
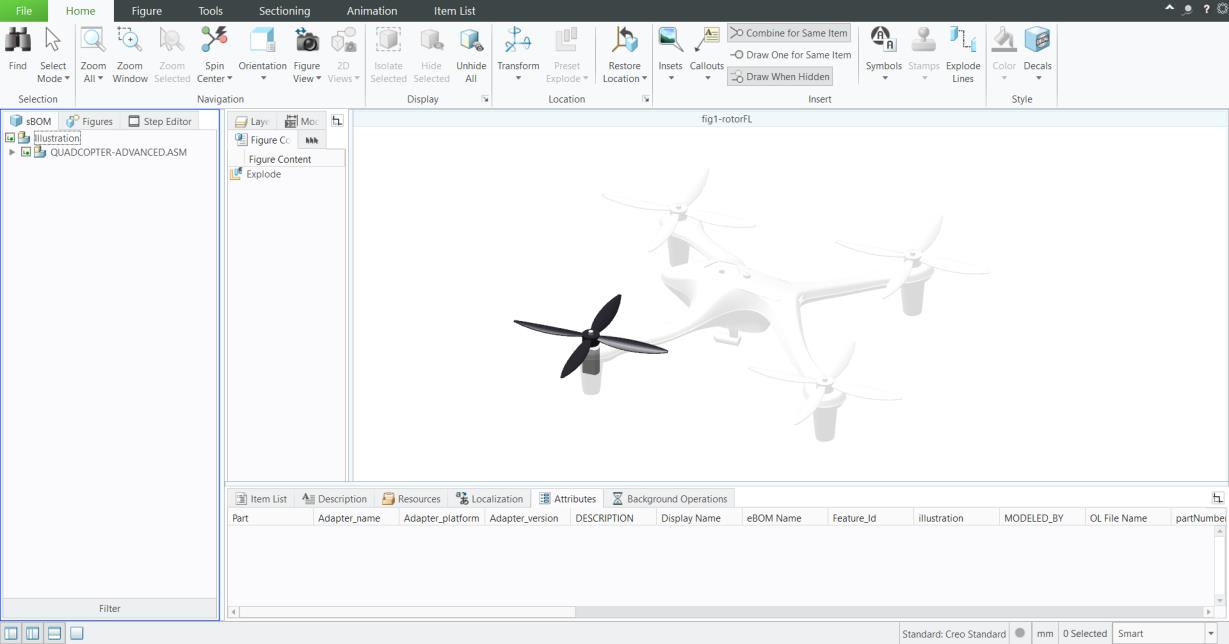
1. Open Creo Illustrate.
2. Click Open and navigate to and select the QuadcopterDT1_start.c3di file that you downloaded from GitHub.
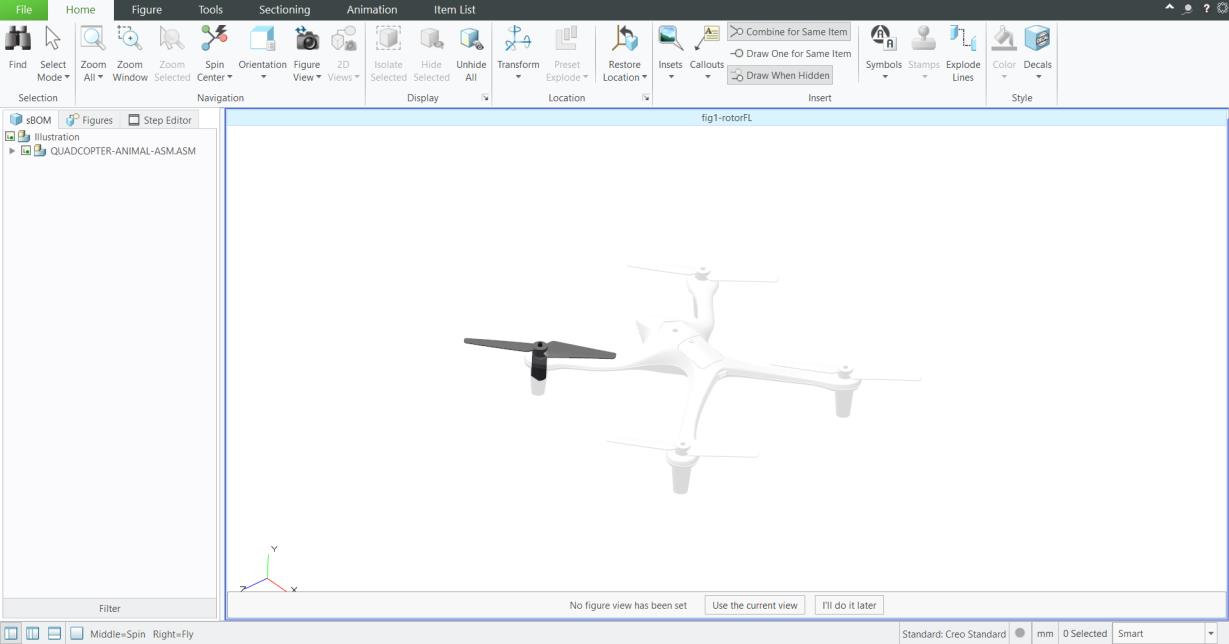
3. When the file opens, you’ll notice that it is partially complete as opposed to
importing a .pvz file that is complete and does not contain Creo Illustrate information.
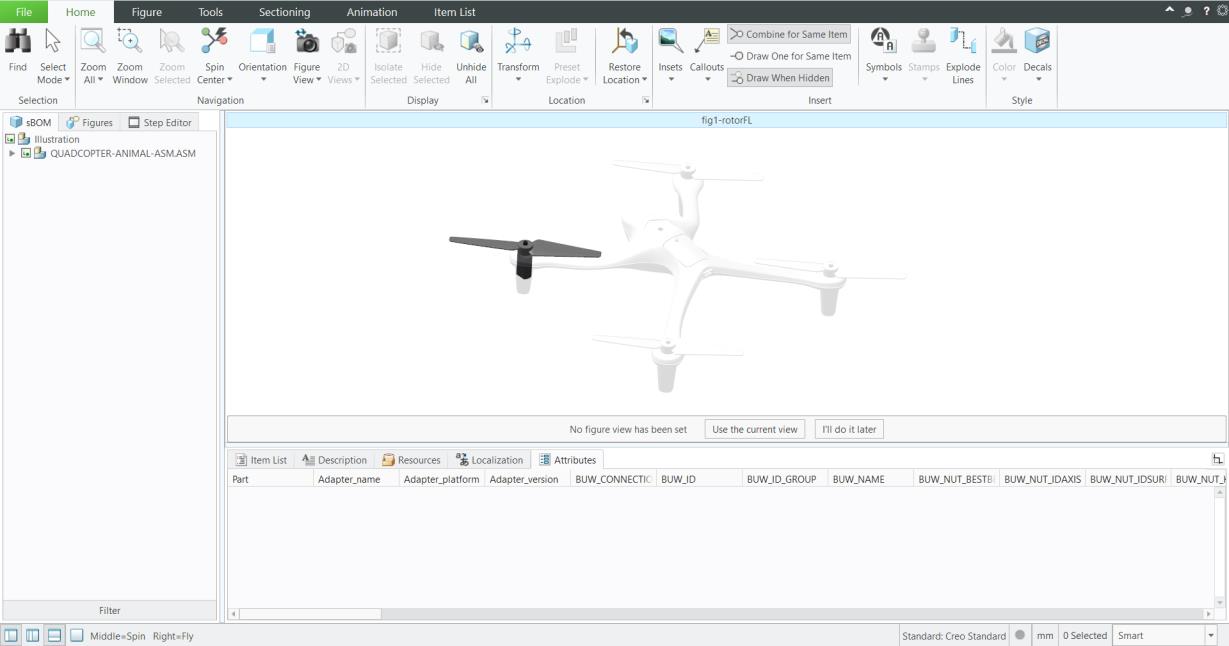
4. Open the lower data panel to display the Attributes tab if it’s not already visible.
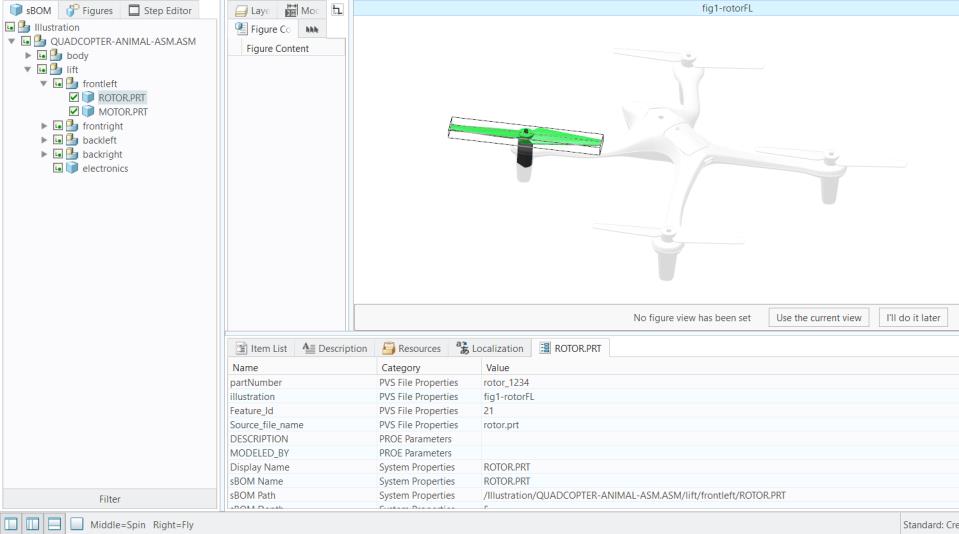
5. Click on a part to see the part attributes in the lower data panel.
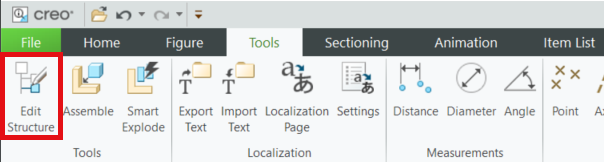
6. From the Tools tab in the ribbon, select Edit Structure. This allows you to add and edit attributes.
7. Click OK on the Edit Structure pop up that appears. The animations that have been created will not be changed by adding attributes.
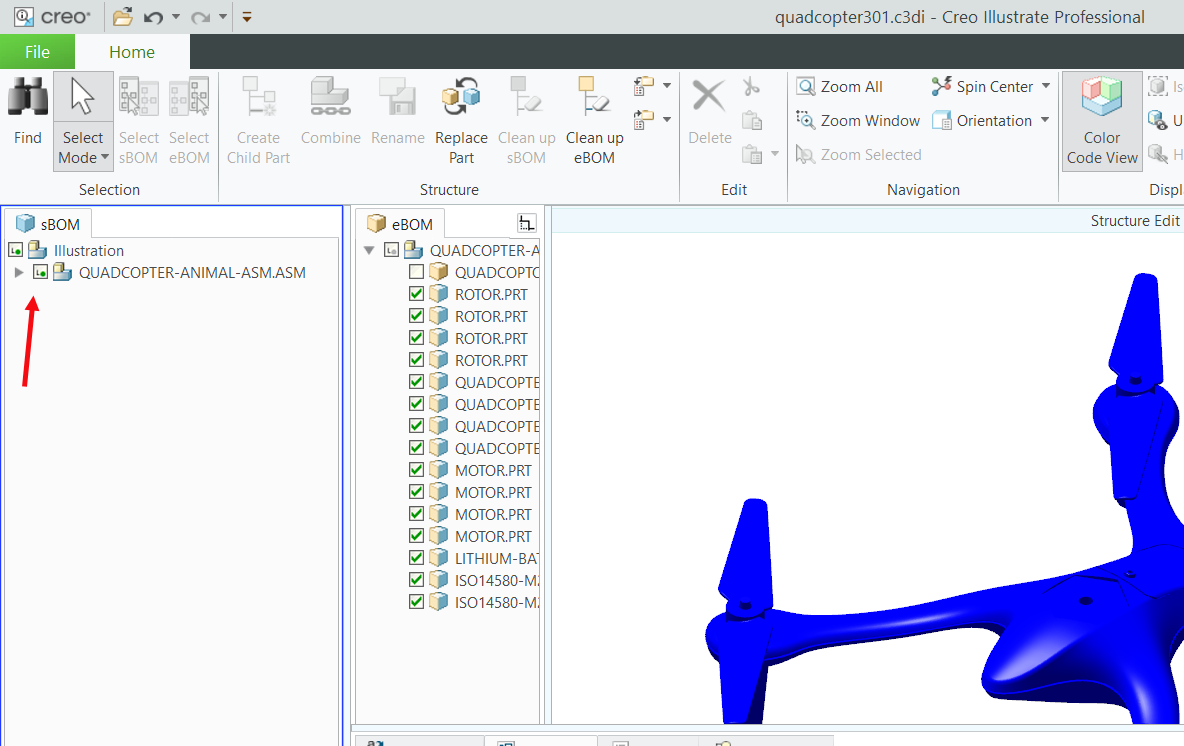
8. The model will not be visible at first, so you will need to select the checkbox next to the name of the model to make it visible. Once the model appears, it will be blue.
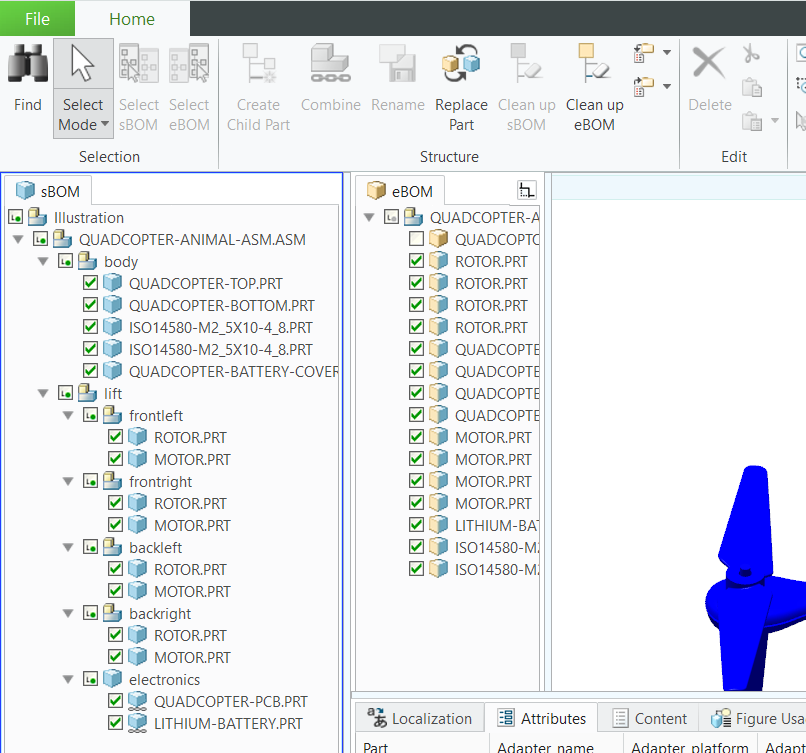
9. Right-click in the sBOM tab and select > . This displays all parts in the assembly.
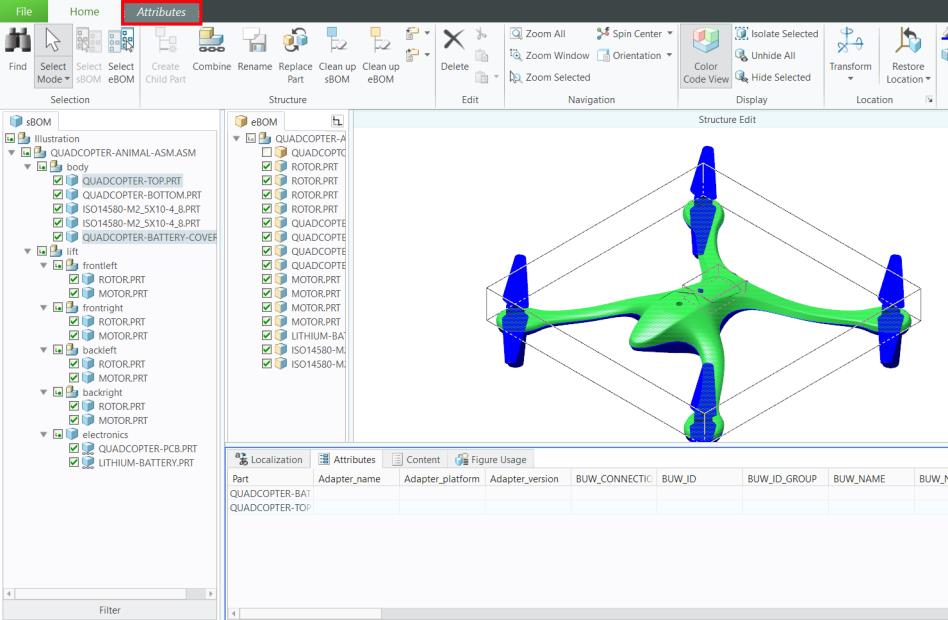
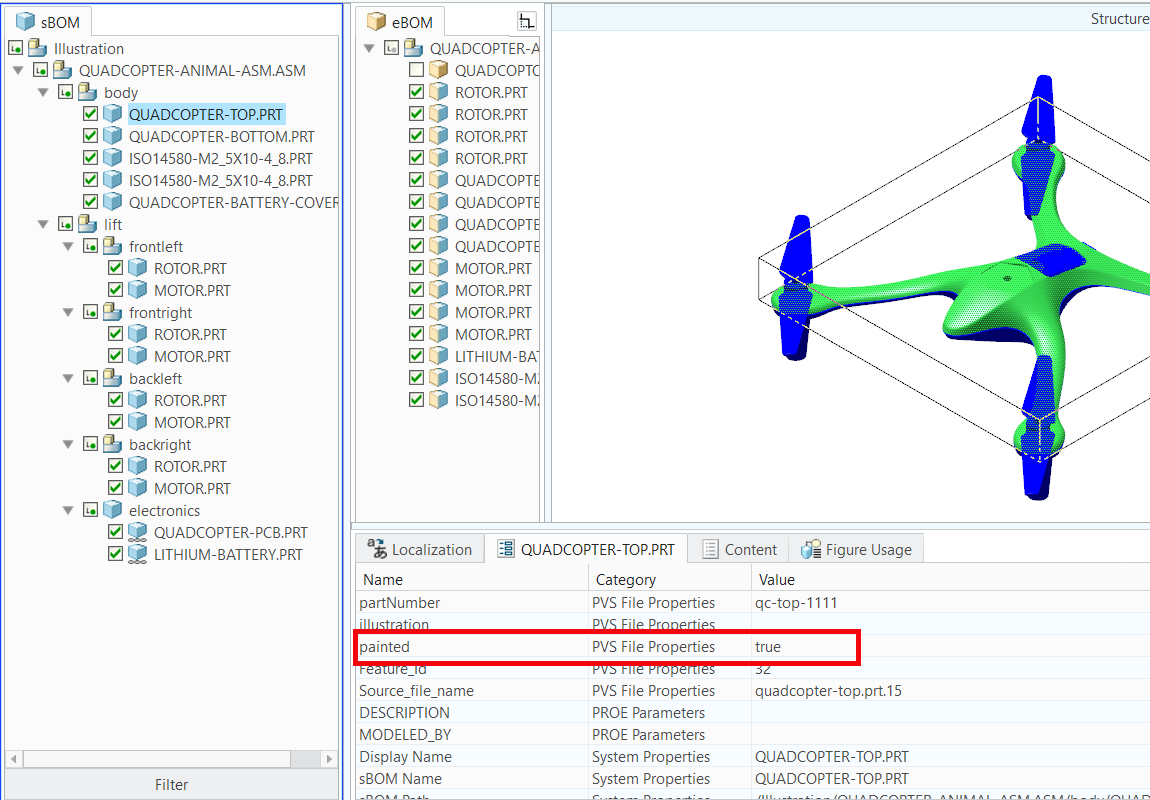
10. Select QUADCOPTER-TOP.PRT and QUADCOPTER-BATTERY-COVER.PRT in the assembly tree in sBOM tab.
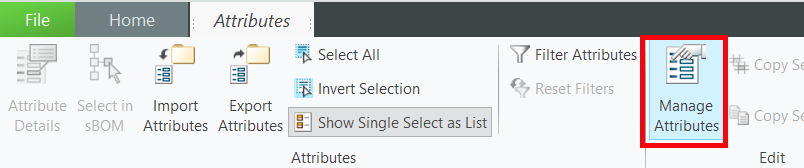
11. With those two parts selected, click on the Attributes tab in the lower data panel. An Attributes tab also appears at the top of the screen.
a. In the Attributes tab at the top of the screen, select Manage Attributes. This allows you to edit the attributes for the two parts selected.
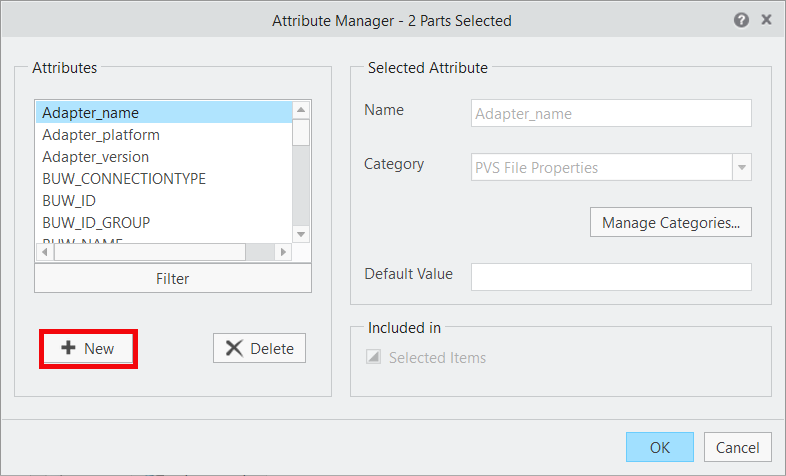
b. Click New in the Attribute Manager window. You’ll create a new attribute named painted which will be used to determine if the color of a part can change within Vuforia Studio.
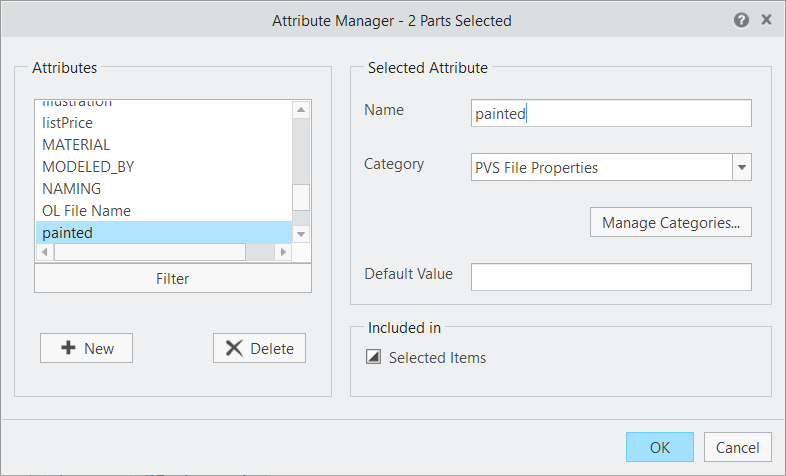
c. In the Add New Attribute window, update the following fields and click OK:
▪ Name—enter painted
▪ Category—select PVS File Properties
d. The new painted attribute appears in the Attributes list in the Attribute Manager. Click OK to add the new attribute to the selected parts.
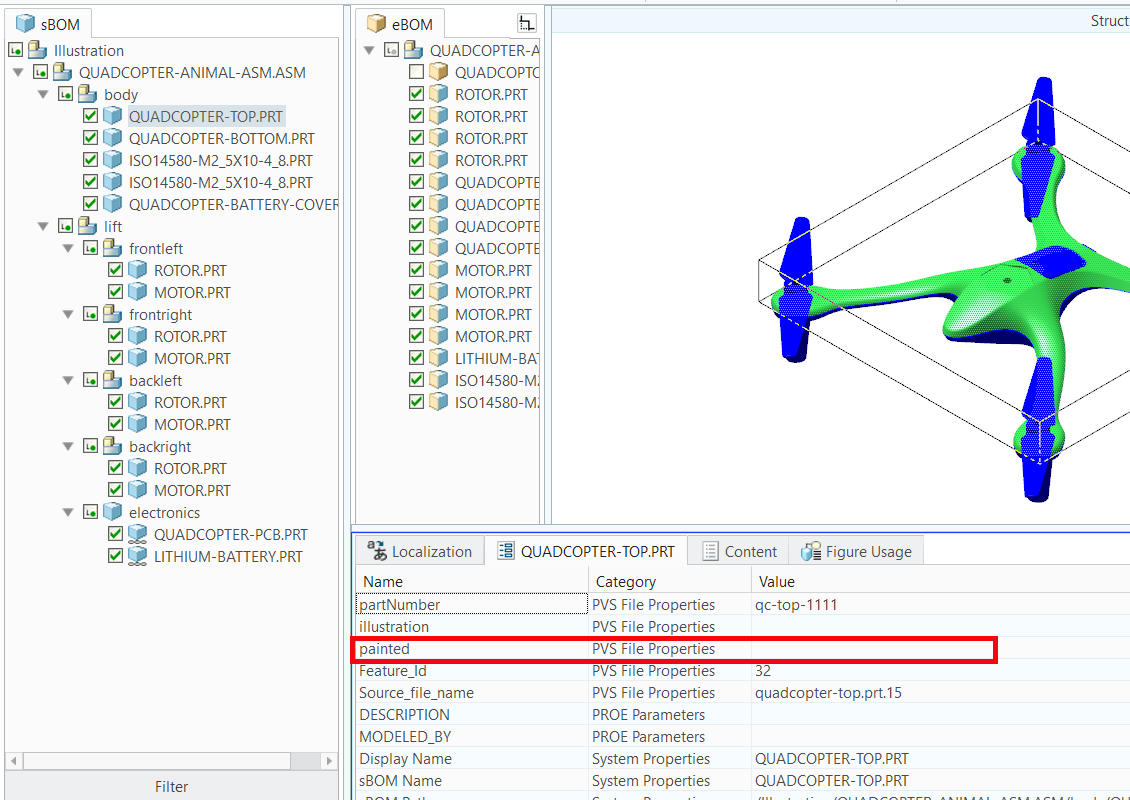
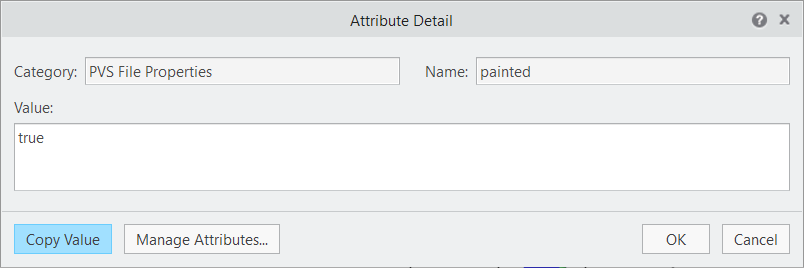
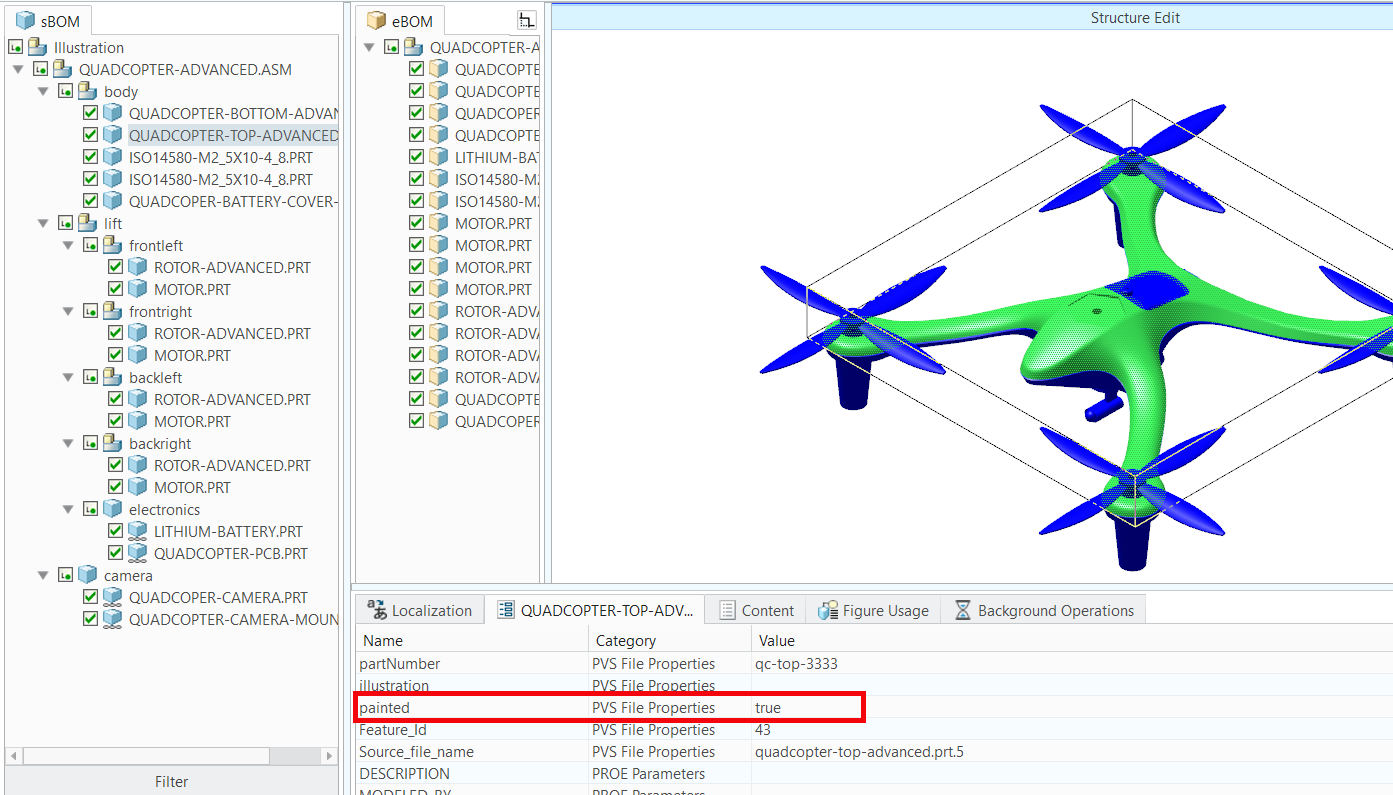
12. To edit the painted attribute, click on QUADCOPTER-TOP.PRT in the sBOM tab. The painted attribute now appears in the list of attributes for the QUADCOPTER-TOP.PRT part. Double-click the blank space in the Value column of the QUADCOPTER-TOP.PRT tab to open the Attribute Detail window to edit the attribute.
a. In the Attribute Detail window that appears, enter true in the Value field. The attribute will be used as a boolean value in Vuforia Studio, where true means that a part can be configured for color. Click OK when finished.
b. You’ll see that the Value column for the painted attribute now says true.
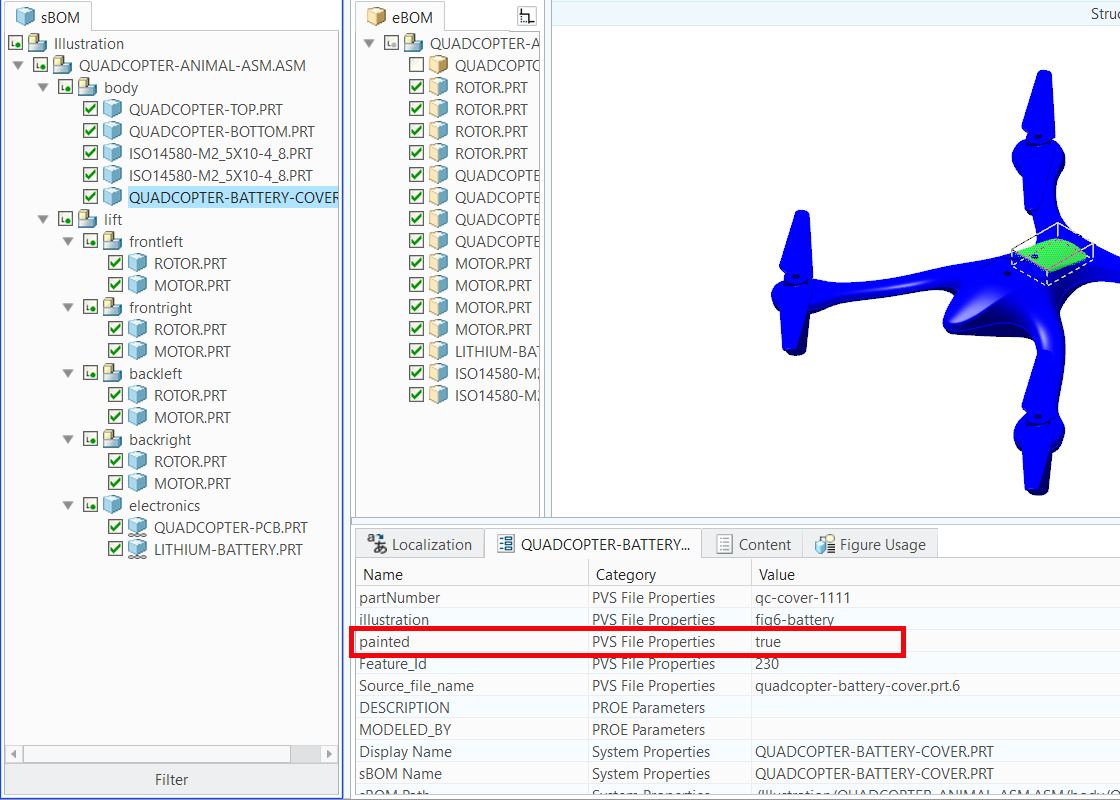
13. Repeat the same process for the QUADCOPTER-BATTERY-COVER.PRT part.
14. Once the painted attribute has been added to both parts with a value of true, click Close Edit on the Home tab.
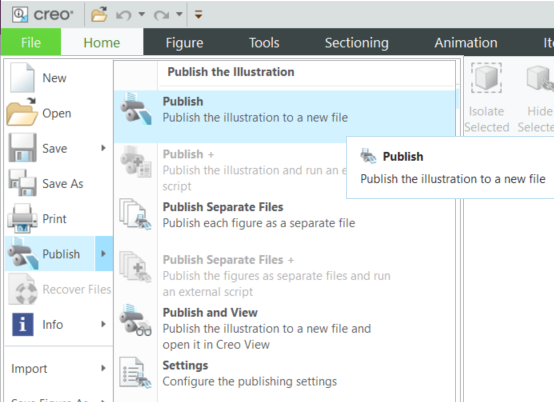
15. Now that your model is complete, click > . Save the file as a .c3di file, and name it QuadcopterDT1.c3di. After you’ve saved the .c3di file, click > to publish the file as a .pvz so it can be exported for use in Vuforia Studio. Name the file quadcopterDT1.pvz.
16. Once you’ve completed the first model, open QuadcopterDT2_start.c3di and repeat the process for the second quadcopter model. The second quadcopter model has different rotors and an added camera.
17. Repeat the same steps to add the painted attribute with a value of true to the QUADCOPTER-TOP-ADVANCED.PRT and QUADCOPTER-BATTERY-COVER-ADV.PRT parts.
18. Once complete, save the .c3di file as QuadcopterDT2.c3di and publish a .pvz file for the model named QuadcopterDT2.pvz. Both .pvz files created in this section will be used in Vuforia Studio.