Example Collaboration Workflow
Once a repository has been created and published for the project you want to collaborate on, the workflow for making and pushing changes should look like the following.
|
|
These workflows assume that both users already have access to the GitHub repository. For more information about creating or cloning a repository, see Setting Up GitHub for Collaboration.
|
In this example, you’ll see that we direct users to fetch the most recent project files from GitHub. Alternatively, you could also use the pull action to download the most recent changes from the repository. Below is a brief explanation of the differences between the two actions; which one you choose to use depends on your chosen workflow for GitHub.
|
Action
|
Description
|
||
|---|---|---|---|
|
Fetch
|
Downloads the most recent project files from the GitHub repository, but does not merge them into your local branch. For more information, see Fetching changes from a remote repository in GitHub Docs.
Merging combines the changes that you have made locally with the changes made by others. For more information, see Merging changes into your local branch.
|
||
|
Pull
|
Downloads the most recent project files from the GitHub repository, and merges them into your local branch. The Pull action could be considered a shortcut as it completes both the Fetch and Merge using just one command.
For more information, see Pulling changes from a remote repository in GitHub Docs.
|
User 1
In the first part of the workflow, User 1 will make a few changes to the project in Vuforia Studio, use GitHub Desktop to understand what changes they made, and then push their updated project files to GitHub.
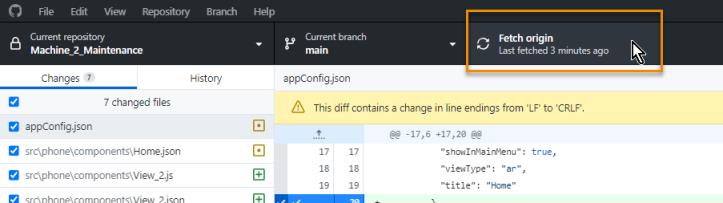
1. Fetch the most recent changes from the repository in GitHub Desktop. This ensures that you are working with the most recent files. For more detailed information, see Getting changes from a remote repository.
2. Open Vuforia Studio, and make some changes to your project. Add widgets to the canvas, create new views, etc.
3. Once you’re happy with your changes, click Save.
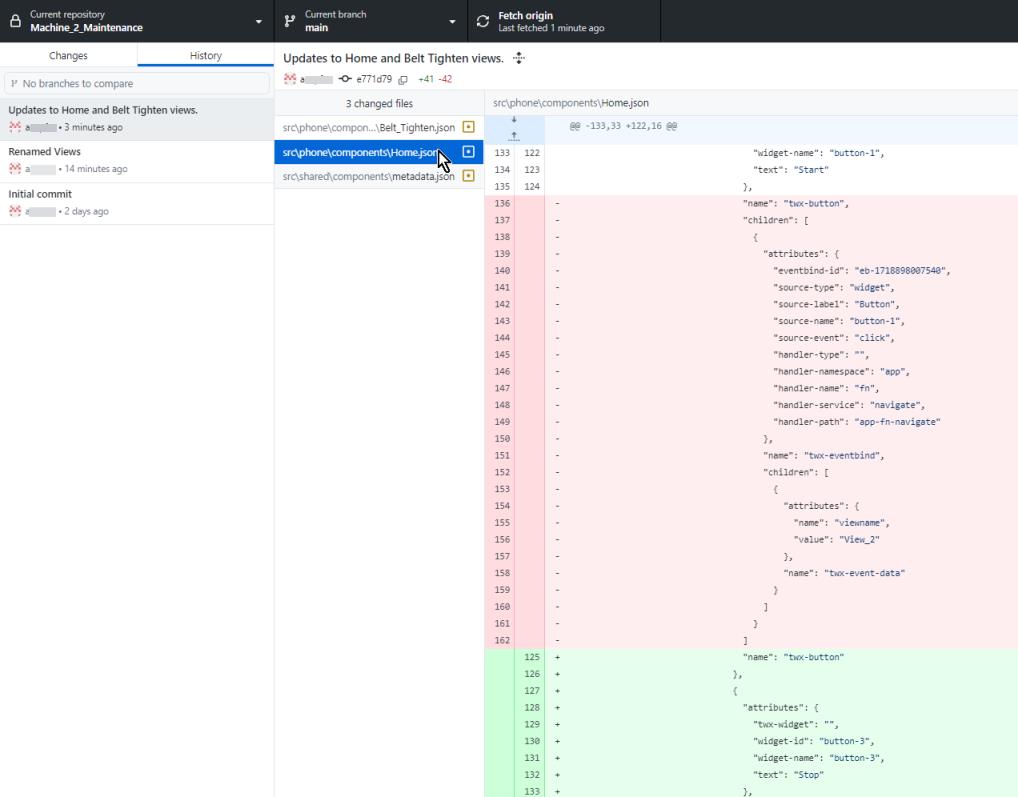
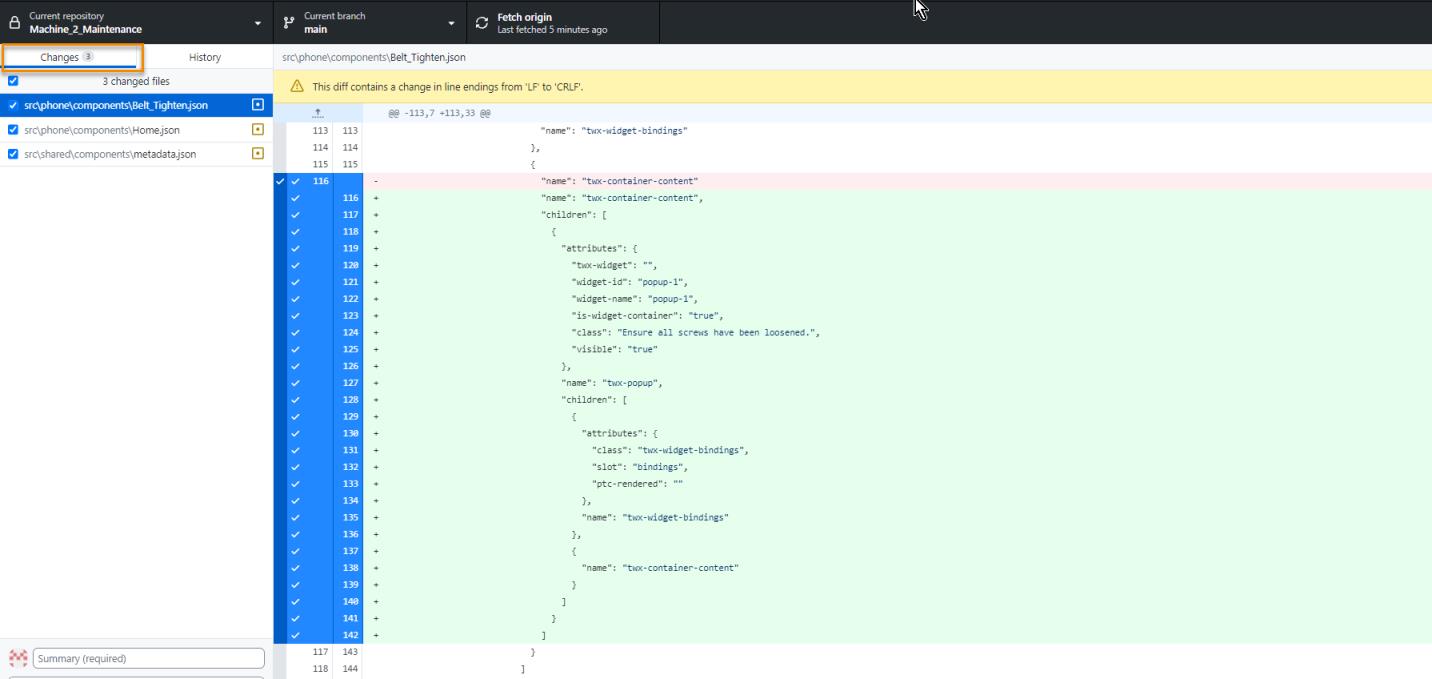
4. Open GitHub Desktop. You can review your changes in the Changes tab. You can click on each of the changes in the tab to view a more detailed view of the changes that were made. For more detailed information, see Choosing how to display diffs.

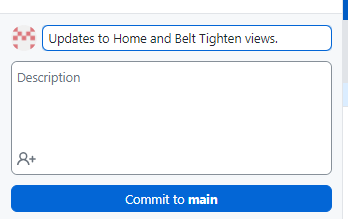
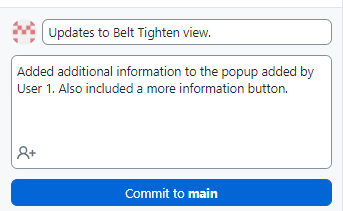
5. Next, add a short summary of the changes, an optional more detailed description, and then click Commit to main.
6. When you’re ready to move the changes to GitHub for others to view, click Push origin.

7. Other users should now be able to fetch the latest project files that contain your updates.
User 2
In the second part of the workflow, User 2 will fetch the changes that User 1 made to the project, view changes that were made by User 1 in GitHub Desktop, make their own changes, and then push the their updated files to GitHub.
1. Open GitHub Desktop.
2. Click Fetch origin to pull the latest project files from the repository in GitHub.

3. Once fetching has completed, select the History tab. From here, you can see a history of the changes made to the project which will include updates made by User 1. For more detailed information, see Viewing the branch history in GitHub Desktop.
4. Open Vuforia Studio, and then open the appropriate project.
5. Make your changes. Once you’re happy with the changes, click Save.
6. Open GitHub Desktop again.
7. You can review your changes in the Changes tab. You can click on each of the changes in the tab to view a more detailed view of the changes that you made.
8. Next, add a short summary of the changes, an optional more detailed description, and then click Commit to main.
9. When you’re ready to move the changes to GitHub for others to view, click Push origin.
