Capture Procedures with Vuforia Vantage (iOS Only)
Capture a Procedure
You can now capture a procedure with Vuforia Vantage on supported iOS mobile devices.
|
|
Below are a few things to keep in mind when capturing procedures using Vuforia Capture for iOS:
• Currently, iPhones only support portrait videos (iPads support both portrait and landscape). Rotate the device to the desired orientation before adding images or videos to avoid issues.
• Vuforia Capture for mobile devices allows one Area Target per capture and a single Area Target scan for up to 50 square meters (500 square feet). Multiple captures can be inserted into the same procedure, enabling coverage of much larger areas and multiple areas that are not directly connected and cannot be scanned together in one place. For information about adding multiple captures to a single procedure, see Add Locations from Multiple Captures to a Procedure.
|
1. Open Vuforia Vantage on your supported iOS device.
2. On the home page, tap My Captures. If you do not see the My Captures tab in Vuforia Vantage, check with your administrator, as they may have the feature disabled for your organization in Product Settings.
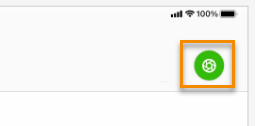
3. On the My Captures page, tap the new capture button in the upper-right corner. If one exists, you can also select a previous capture session and choose to resume capturing that procedure.
4. Now, you can start capturing your procedure.
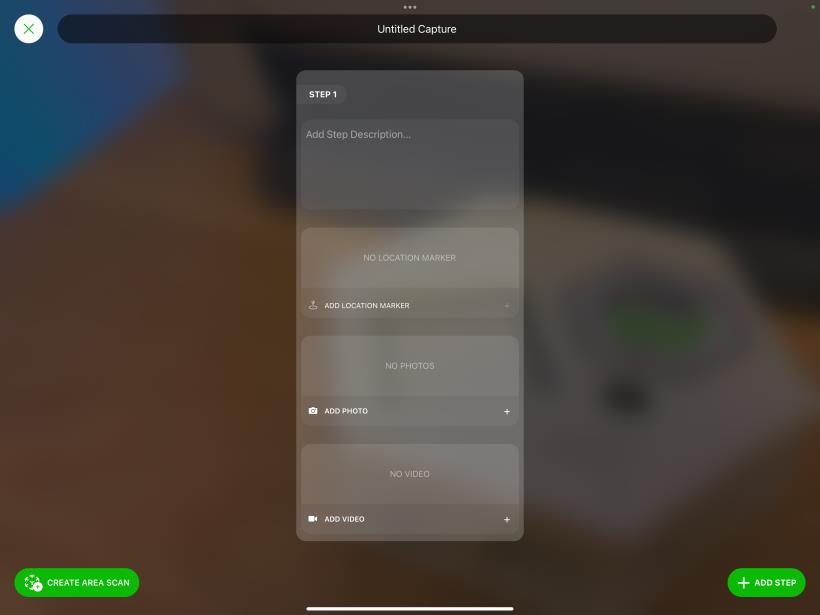
5. If you want to include location markers in your procedure, you will first need to create an area scan. Creating the area scan allows you to scan the area in which you will perform your procedure and place location markers at different points throughout. Once the area scan has been created, use the Add Location button to add location markers to important places in your environment while capturing your procedure.
6. Next, use the Add Video and Add Photo buttons to add media content to your step.
7. Use the ADD STEP button to add more steps to your procedure.
8. Once you’ve completed your procedure and are ready to save your capture session, give your capture an appropriate title, and press Enter.
9. To exit the capture, click the X icon in the upper-left corner.
10. Now, you’re ready to upload your capture file to your computer and start editing in Vuforia Editor. For more information about accessing your Capture folder and uploading it to Vuforia Editor, see the sections below on accessing your capture files and uploading them.
Supported Devices for Location Markers
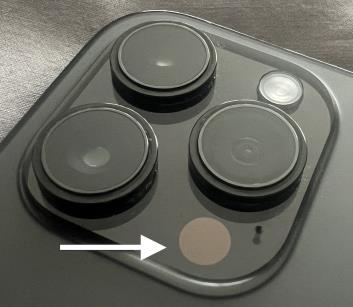
To include location markers in your capture, your iOS device must have LiDAR capability. To identify if a device has LiDAR technology, look for a black scanner among the rear cameras.
The following devices include LiDAR capability:
• Newer iPhone Pro, with LiDAR: iPhone 12, 13, 14, 15 (Pro or Pro Max)
• iPads with LiDAR including iPad Pro 2020, 2021, and 2022
If you do not have a device with LiDAR capabilities, you can still capture your procedures, but you will not be able to include location markers.
Access Capture Files
For information about accessing your capture files, see Access Capture Files on Your Device.
Upload Capture Files to Vuforia Editor
You can upload your capture to Vuforia Editor using one of the following methods:
• (Recommended) Upload the capture directly from Vuforia Vantage. Navigate to the My Captures tab, tap the three dot menu, and select Upload to Editor.
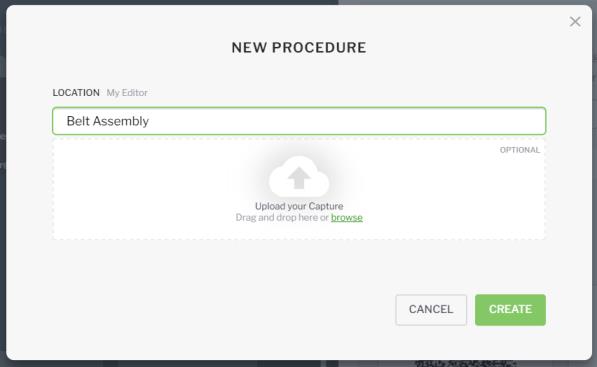
• Create a new procedure and upload it during the new procedure creation by dragging and dropping the capture folder into the Upload your Capture box, or browsing to the capture folder on your system.
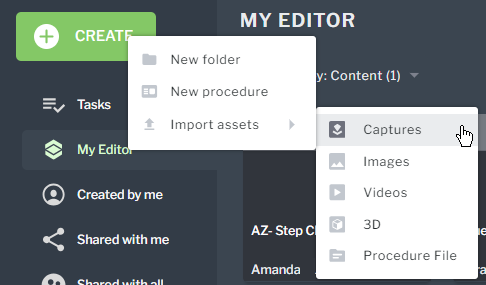
• Import the capture folder as an asset by navigating to > >
Once you’ve imported the capture file, you can include the steps from your capture in a procedure using the following steps.
1. Create or open a procedure that you want to add the steps to.
2. Open the capture, and click the Insert steps icon.
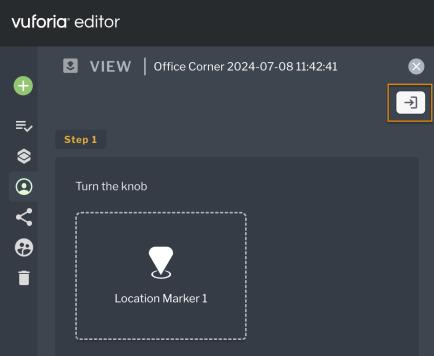
3. Once the steps are inserted, you’ll see that any videos, images, and location markers are present in the appropriate steps.