Configure SCIM in the Microsoft Entra ID Portal
1. In the Microsoft Azure portal, under the Microsoft Entra ID menu, select Enterprise applications and open your enterprise application.
2. Click 3. Provision User Accounts and then click Get started.
3. On the Provisioning page, set the Provisioning Mode to Automatic.
4. Extract Admin credentials and provide the following URL in Tenant URL:
https://<ThingWorx host>:<ThingWorx port>/Thingworx/SCIMProvider/SCIM/v2
5. Leave the Secret token field empty.
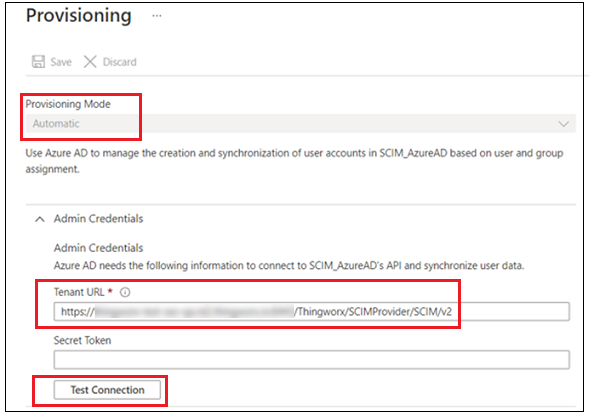
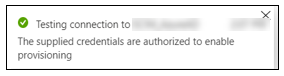
6. Click Test Connection and wait for a connection success message to appear at the top right corner of the screen
7. Click Save.
8. Expand the Mappings section and click Provision Azure Active Directory Users. Delete the following Microsoft Entra ID attributes:
◦ employeeId
◦ department
◦ manager
9. Edit the attribute mapping as follows:
◦ Click the active mapping attribute.

◦ In the Edit Attribute window, delete the existing expression.
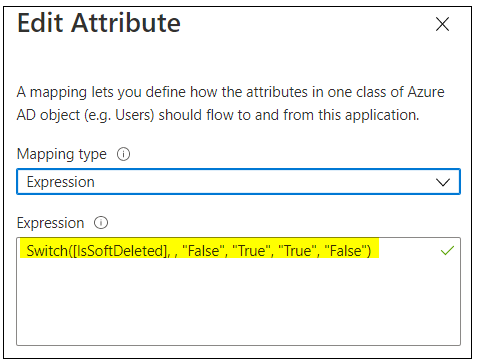
◦ Enter the following expression instead and click OK:
Not([IsSoftDeleted])
The attribute mapping is updated to include the new expression.
10. Click Save.
11. To continue updating attribute mapping, click the userPrincipalName attribute.
12. In the right pane that opens, set the Apply this mapping property to only during object creation.
13. Click Save to save all changes.
14. Set Provisioning Status to On.
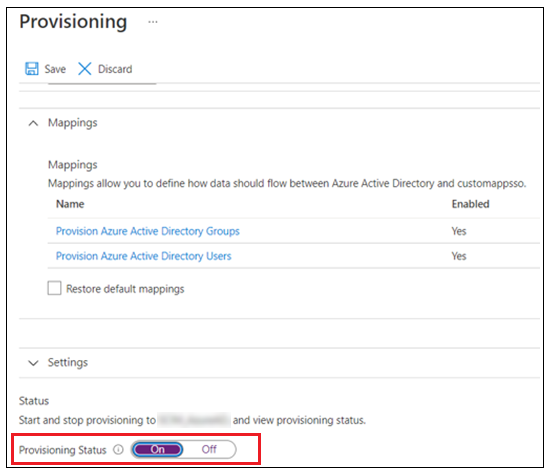
15. Click Save to save all changes.