Purge Data
Using the Purge Data option, you can remove data at regular intervals to ensure that only relevant data is stored in the ServiceMax Field Service Application. Else, locally stored data keeps growing in size over time, taking up space on the device.
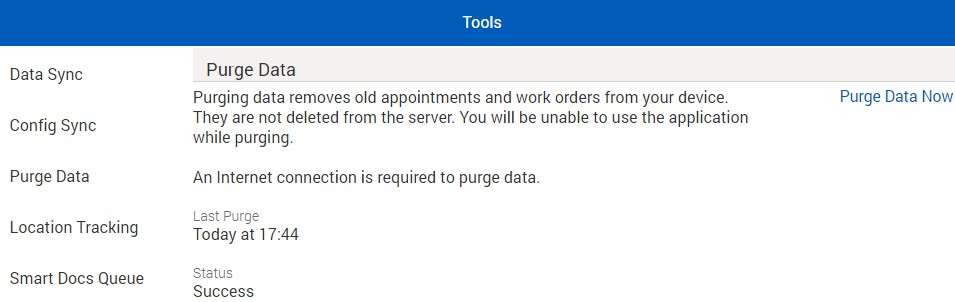
In the Tools page, tap Purge Data in the left panel of the page to view the Purge Data Now option. Click the Purge Data Now button to start manual data purge.
This screen also displays the Last Purge date time and Status. All date times displayed are as per the time zone, Region Format, and 24-Hour Time Settings configured in your mobile device/laptops.
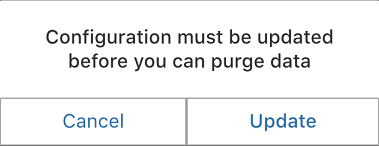
You must have connectivity in order to start data purge. When you initiate data purge, a check is made with the online app to see if there are any changes to mobile configuration settings since the last Configuration Sync. If there are any configuration changes, you will be prompted to perform a Configuration Sync and then initiate the Data Purge again. This is to prevent any data loss due to out-of-date configuration, and ensure that the data deleted and retained on the device matches the latest mobile configuration always.
When you Cancel performing the configuration sync, a conflict badge is displayed next to the Config Sync option in the left panel of the Tools screen. Similarly, you will also see a conflict badge on the Tools options in the navigation bar.
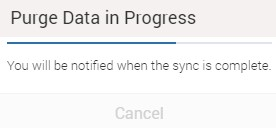
If there are no changes, on clicking Purge Data Now button, you will see a prompt. Click Start Purge to start data purge. During data purge, you will see the progress displayed as shown below and you will not be able perform any operations until it is completed. Upon successful completion, Status will be updated to Success. If Data Purge is canceled, the Status is updated to Canceled.
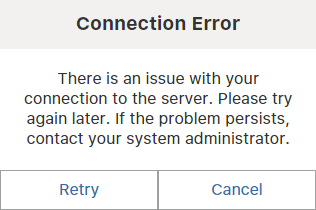
If you loose connectivity at any time during data purge, you will receive a connection error prompt as shown below. Click Cancel to abort the purge data operation and the status will be updated to NoConnectivity.