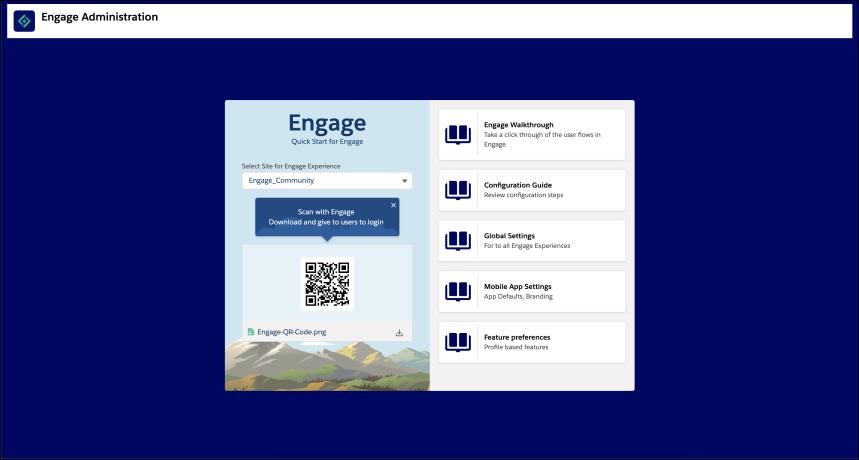
Configuring Engage Admin UI
The section describes the steps to configure:
• The ServiceMax Engage Extension Package.
• The Engage Admin UI.
Configuring the Engage Extension Package
Prerequisites
For a successful configuration, ensure that:
• ServiceMax Package is installed. For information on the compatible Server Package releases, see System Requirements.
• Experience Cloud Plus Licenses are available in the org.
• Request for a Sandbox ID, if required.
◦ The package is pushed to a production org that is synced to the sandbox or dev org.
Steps to Configure the Engage Admin UI
1. Install the Engage Extension Package. For information on installation steps, see Installing Engage Extension Package.
2. Clone Customer Experience Plus Profile.

3. Clone Engage Standard Permission Set or create your own permission set based on the correct license.

◦ Clone: Inherit all the required permissions and then add your own permission set. Add users to the cloned set. Whenever we release a new managed package that ‘Standard Permission Set’ you cloned is updated. For future versions, you should repeat the cloning process, reviewing and adding the new permissions.
◦ Create: Creating your own org-specific permission set, essentially holds any changes specific to your instance. You can add users to the Managed Package Permission Set and this new permission set. When you upgrade, users are upgraded with the new Managed Package set of permissions. You do not have to re-clone.
4. Add the following updates to the cloned permission set or profile.
◦ System Permissions>API Enabled
◦ System Permissions Access Activities (For the SFDC Event)
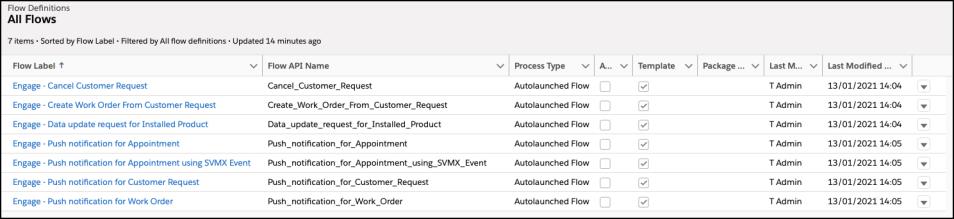
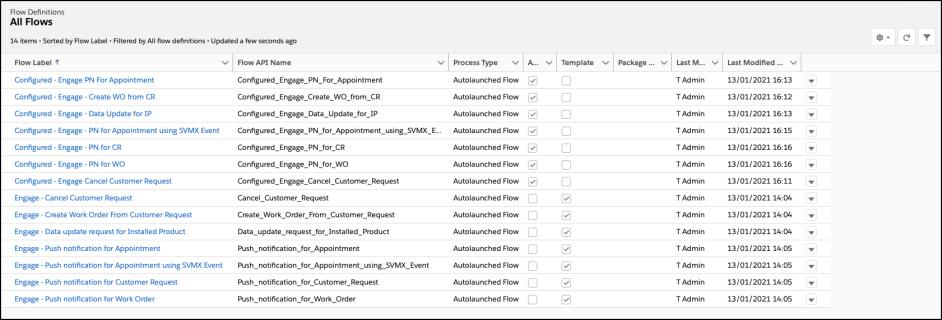
5. Launch each of the Provided Flow Templates and click Save As with a custom name.
6. Click Activate.
|
|
• Do not make any changes to the flow templates before you conduct initial testing.
• Flow templates should not be used or activated without making a copy as they are updated by the managed package and are updated during package upgrades.
|
7. Enable Experiences. Create New Experiences for Engage Site, if required.
|
|
• SFDC allows you to create up to 100 sites. Your license restricts the number of sites.
• You can create multiple sites for different use cases or customers control the experience for each site in the Admin UI and distribute the user licenses across different profiles.
|
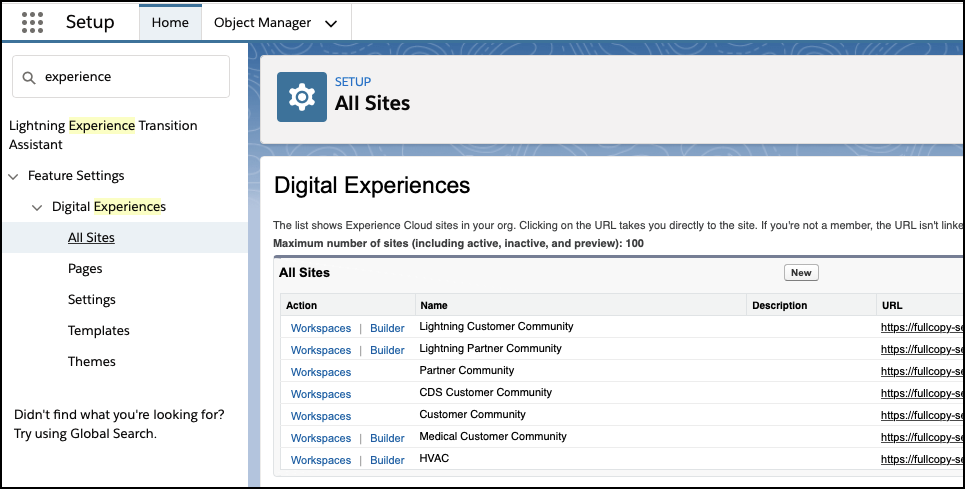
8. Navigate to Setup Home Platform Tools Digital Experience All Sites.
9. Click New.
Use the template. For example - Build Your Own template.
10. Click Get Started.
11. Enter the Name, URL, and click Create.
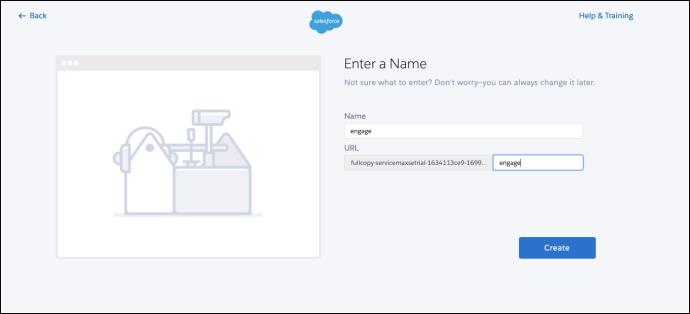
◦ You can add Optional Metrics for your Experience if required.
◦ It is recommended to publish your community once before you set the password on set up during the first login to avoid Internal Server Error.
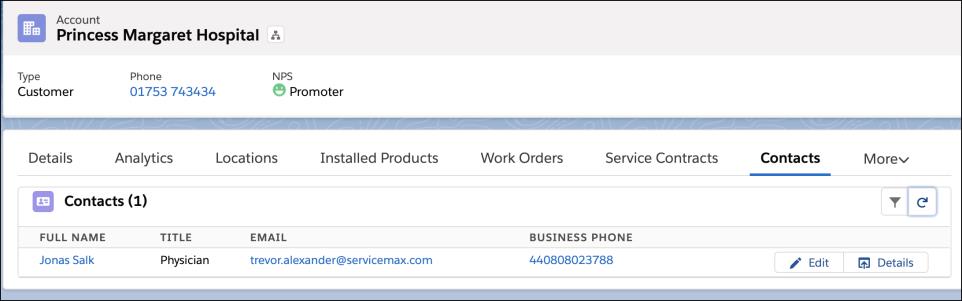
12. Find or create a contact with a valid email id.
a. Create a user account to log in for each account, you want to provide access to.
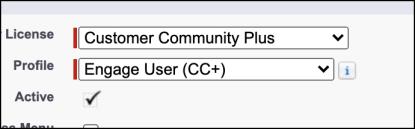
b. Enable as Experience User.
c. Choose User License - Customer Experience Plus.
d. Add the cloned Profile.
e. Update User Settings such as - Time Zone, Locale, and so on.
A welcome mail is sent out to the contact.
13. Apply the Engage Permission Set to the user.
14. Clone the Permission Set.
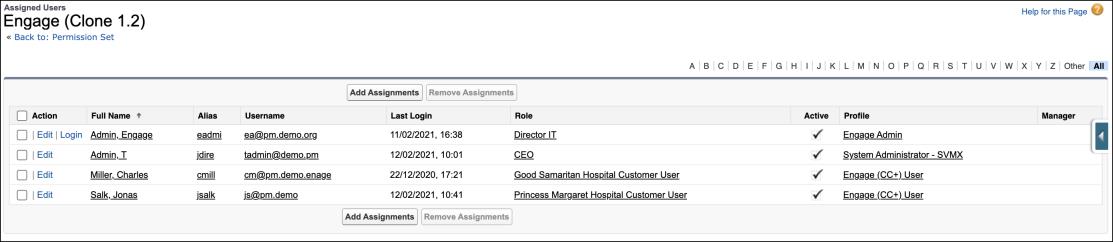
15. Click Manage Assignments.
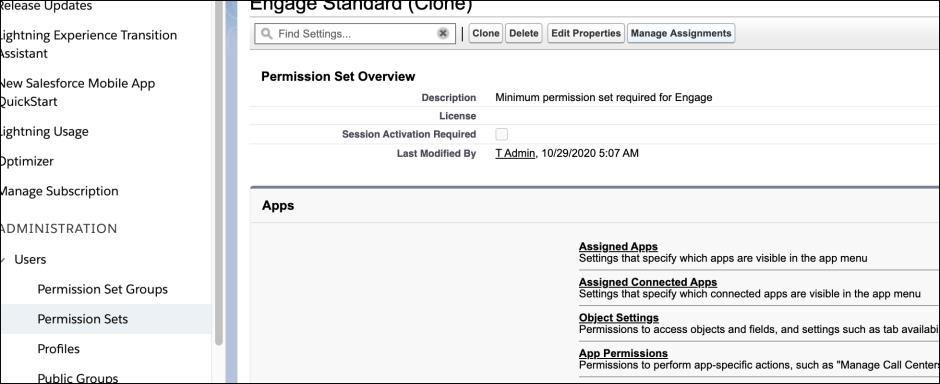
16. Add the created User and the Admin User to the Permission Set.
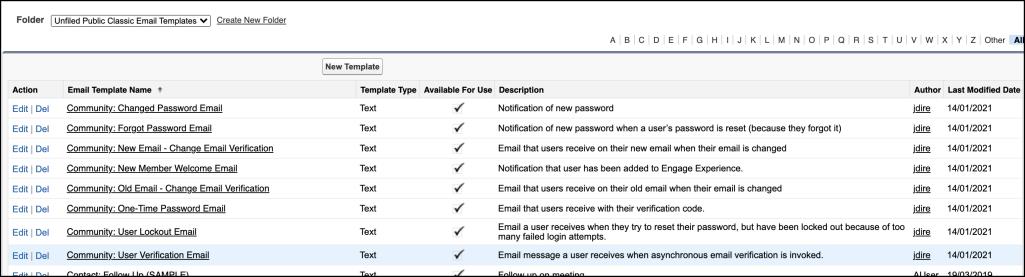
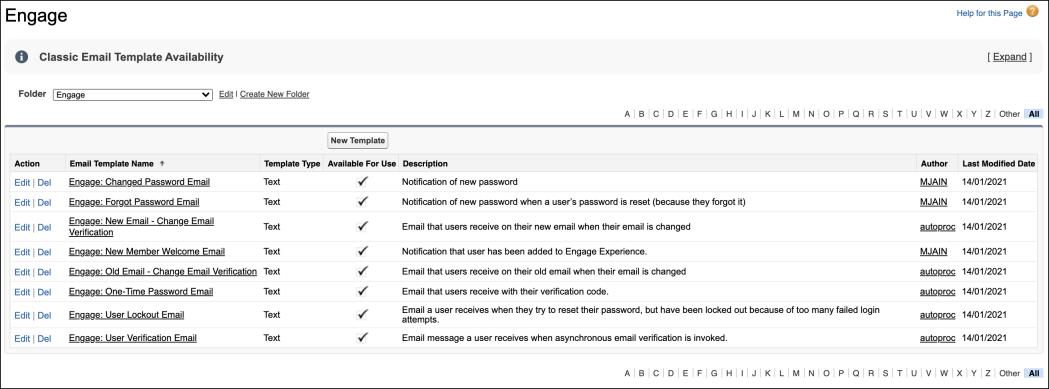
17. Clone the set of standard Experience email templates for use in Engage.
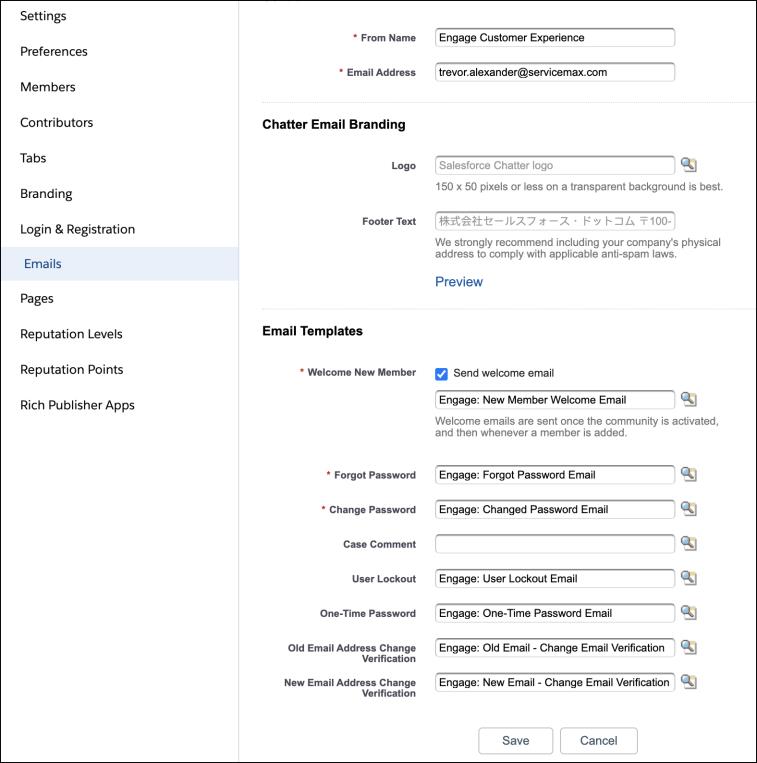
18. Navigate to Experience Workspaces Administration Emails.
19. Update the templates for each use case.
20. Navigate to Experience> Workspaces Administration Members.
21. Assign the cloned Profile.
22. Assign Standard Engage Permission Set.
◦ The Admin UI uses this Permission Set, clones can be added but not required.
◦ The Managed Package Permission Set is a minimum requirement.
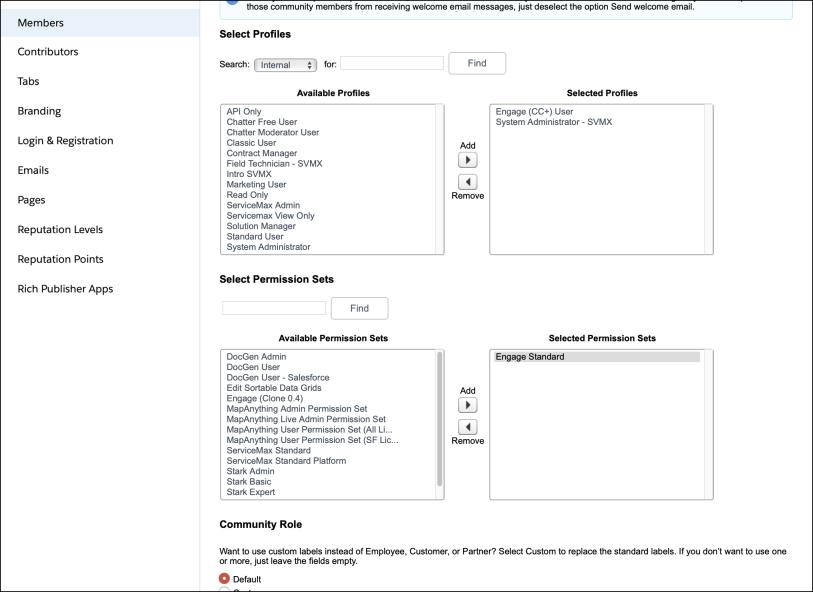
23. Click Save.
Welcome emails are sent to each user using the templates specified.
The Engage Admin Console is created.