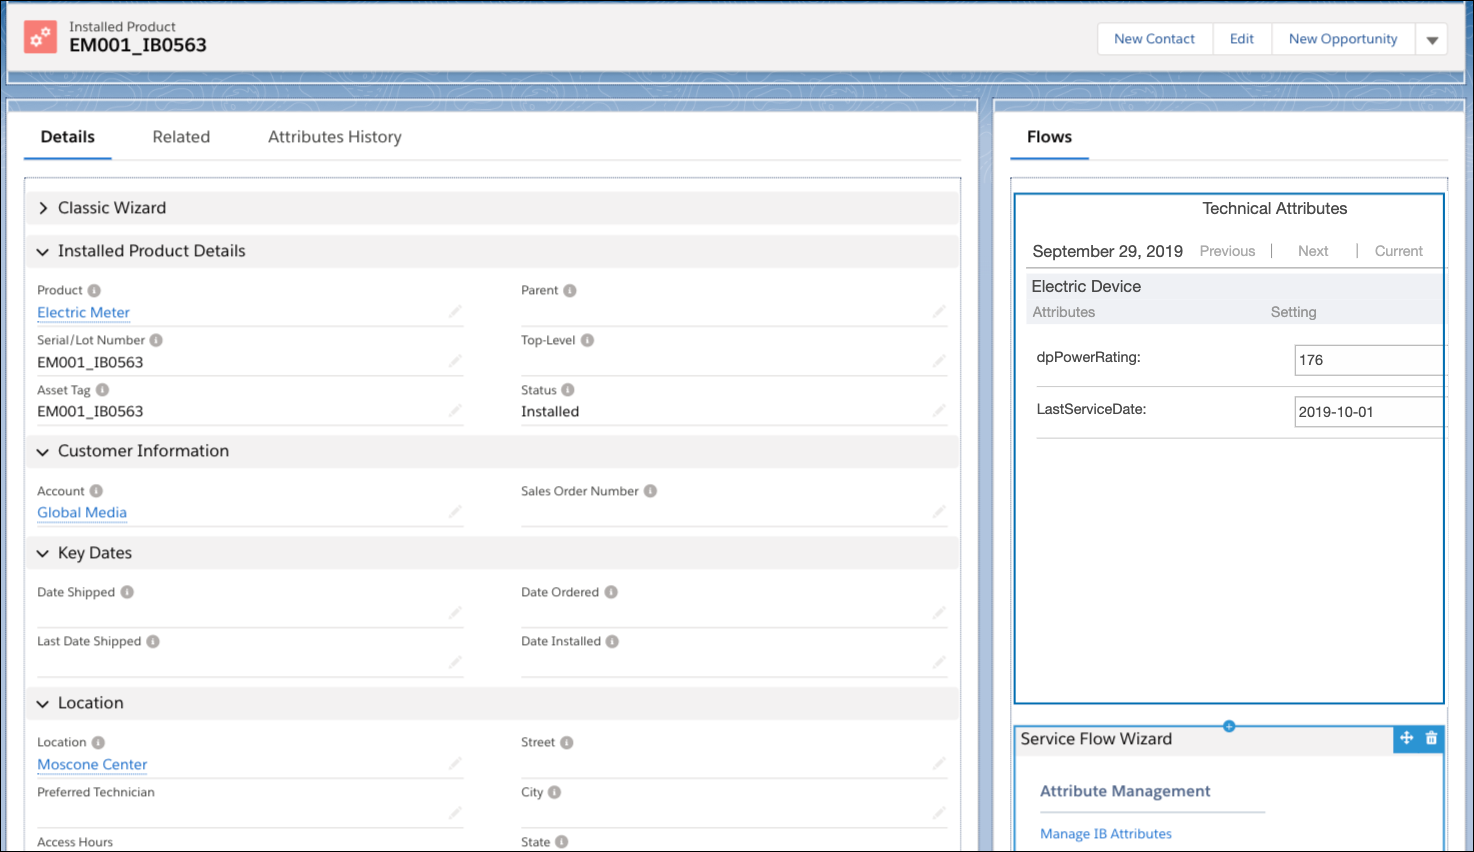
Enabling Technical Attributes in Lightning Pages
To enable Technical Attribute in lightning pages:
1. Click the Gear icon in the top right corner from the Salesforce home page.
2. Click the Developer Console. The Developer Console opens in a separate window.
3. Go to File > New > Lightning Component. The New Lightning Bundle screen is displayed.

4. Enter TechnicalAttribute in the Name field and click Submit.
5. Double-click Bundle Version Settings from the right pane.
a. Select the values of the components and click Save.
6. Paste the following code in the tab for TechnicalAttribute.cmp.
<aura:component implements="force:appHostable,flexipage:availableForAllPageTypes,force:hasRecordId" access="global">
<iframe src="{!'/apex/SVMXC__TechnicalAttribute?Id='+v.recordId }" width="100%" height="500px;" frameBorder="0"/>
</aura:component>
<iframe src="{!'/apex/SVMXC__TechnicalAttribute?Id='+v.recordId }" width="100%" height="500px;" frameBorder="0"/>
</aura:component>
7. Go to File > Save, and close the Developer Console.
8. Navigate to the Installed Products tab from the Home page.
9. Select All Installed Products under View and click Go.
10. Click any record from the displayed Installed Products list.
11. Navigate to the Gear icon on the top right corner and choose Edit Page.
12. Go to Page > Tab section from the right side of the screen, click Add Tab. Details tab is displayed.
13. Click Details tab and select Custom from the dropdown and enter Custom Tab Label as Technical Attribute.

14. Click the Technical Attribute tab from the screen.
15. Navigate to Components > Custom, select Technical Attribute that is the lightning component you created in the developer console.
16. Drag and drop into the area below the Technical Attribute tab.

17. Click Save.
18. After completion of save, click the <- Back button from the top right corner of the screen.
The new tab is displayed in the page layout.