Checklist Delivery
This section describes how a configured checklist is delivered to a technician for filling and submitting it in the Online app. Checklist is always displayed in the Classic theme, even when SET004 is set to Lightning in the Salesforce org.
1. Open any record of the object for which you have defined the Checklist SFM wizard step as described in Custom SFM Wizard Step section. Sample screenshot of wizard is shown below:
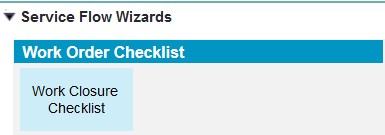
2. Click the Checklist wizard button. Checklists delivery landing page is displayed as shown below:

3. It lists all the checklists with matching Qualifying Criteria; these are the SFM transactions of type to generate a Checklist/Survey type of Process and status Complete. Not Started indicates that you have not yet started filling the checklist.
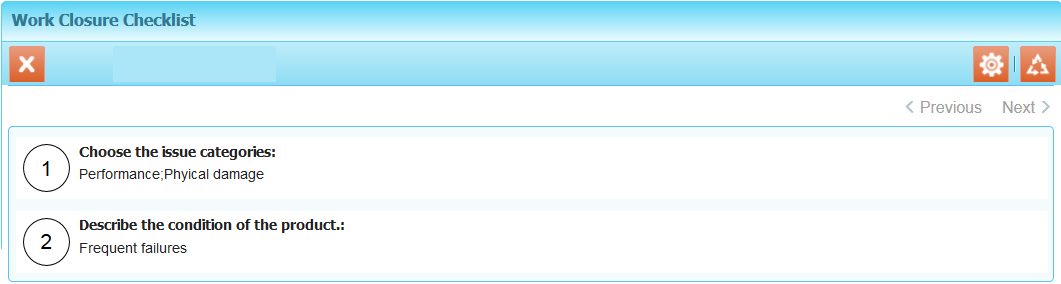
4. Click any checklist to launch the checklist form-fill page. Each section in the checklist is shown in a separate page, with Previous and Next buttons for navigation between sections, as shown below:
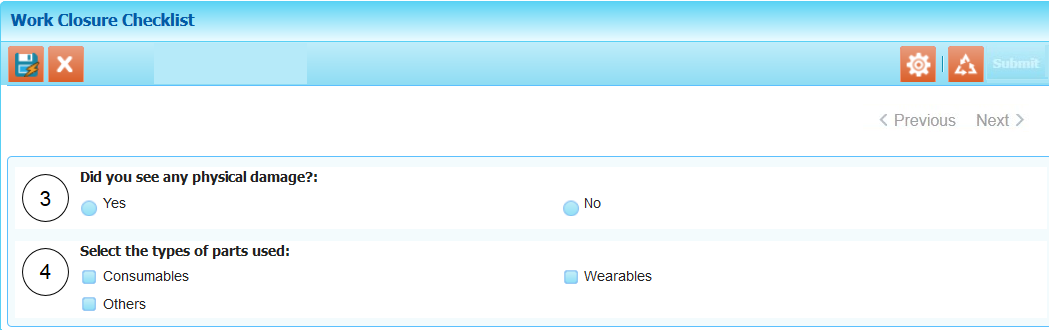
5. Choose / enter answers as appropriate.
a. Default Checklist Answers:If you have configured default answer value for each checklist question, then on SFM delivery, the question will be displayed with the default answer populated as shown in the following screenshot. You can edit this value. For more information about how to configure default values, see Setting Default Values.If you have configured literals as default answer value for each checklist question, then on SFM delivery, the question will be displayed with the value of the literals populated. You can edit this value. For more information about how to configure literals, see Setting Default Values - Literals.
b. Pre-fill with Work Order field values: If you have configured pre-fill work order field values for each checklist question, then on SFM delivery, the question will be displayed with the value from the work order field populated. You can edit this value. For more information on how to pre-fill checklist answers with work order field values, refer Pre-fill with Value from Work Order.
6. When you navigate between sections, all your answers get saved automatically.
7. Click Quick Save to save all your answers and stay in the same page to continue filling the checklist.
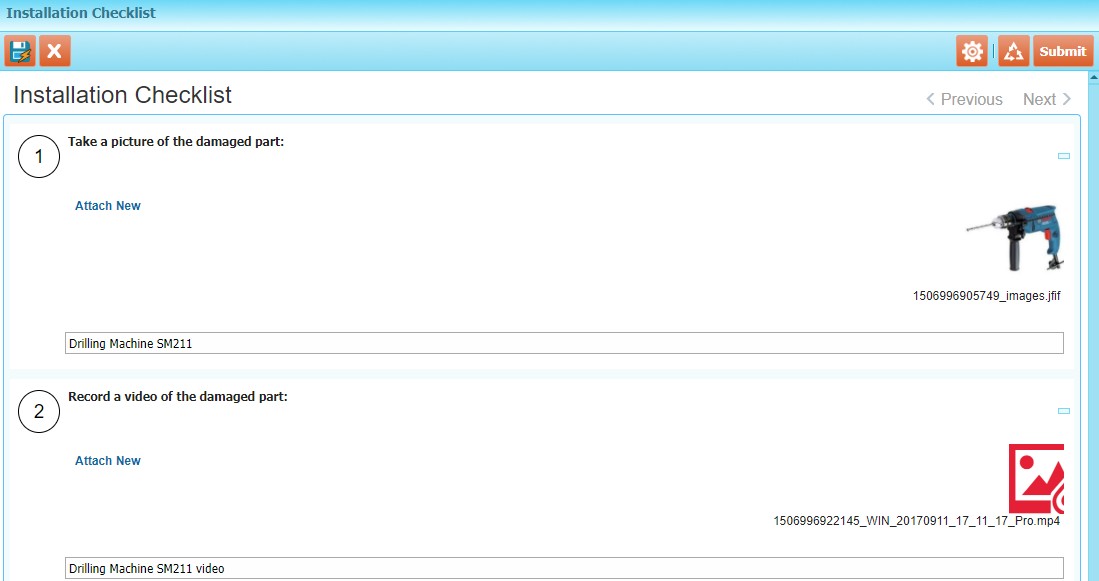
◦ Checklist Attachment Type Answers: When an Attachment answer type is configured, the SFM delivery page is displayed as shown in the following screenshot:
|
|
If you configure the setting GBL037 to True, then, the documents, videos, and images that you attach are stored as Salesforce Files in the web application. The Salesforce File support is currently not available in Mobile applications. If you configure the GBL037 setting to true, then the files you attach to the checklist in the web application will not get opened in the mobile applications. Also, the Salesforce Files version control feature is not supported for Checklist attachments.
|
◦ Click the Attach link to attach a photo, video, or document for each Attachment answer type of question.
◦ Browse and select the photo, video, or document. The file size is should not be more than 20 MB. If you attaching an image and if the resolution of the image is more than 595*842 px, the image might be display correctly in the output document. However, you can go ahead and attach such images. Images with greater resolution than 595*842 px will open in a new tab in the output document.
◦ In the text box, add the description for the photo, video, or document.
◦ Click the Attach New link to replace the existing attachment. You can attach only one attachment per question at a time. The Attach New link is displayed only when you attach at least one photo, video, or a document.
◦ Click the attachment to see a preview of the photo. For video and documents, Quick Save or Submit the checklist. Saving the checklist changes the video or document file name to a hyperlink. Click the hyperlink to preview the video or document in a new pop-up window.
◦ Click the attachment to open a pop-up to Delete the attachment.
|
|
• You can attach only one attachment per question at a time on SFM Delivery.
• All the attachment file types supported by Salesforce are supported.
• If the attached file size exceeds 20MB, an error message is displayed.
|
8. Help URLs and Data Validation Rules: When the checklist is launched, Help URL is displayed as a question mark icon as shown below:

Tap the question mark icon to open the help URL in a new window based on browser settings. Help URL works only if there is internet connectivity. If an invalid URL is entered, a "The page cannot be found" error message is displayed. If no Help URL is configured, then the question mark icon is not displayed.
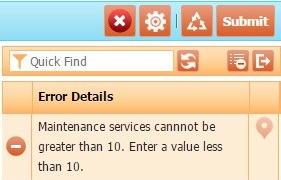
Checklist Data Validation Rules are triggered only on Submit button for in-progress checklist. When an error type message is configured as part of the Checklist Data Validation Rule in the Form Designer and while answering the checklist, the defined criteria is met, then an error type message is displayed as shown in the following screenshot. Tap the error message to correct the answer and then re-submit the checklist.
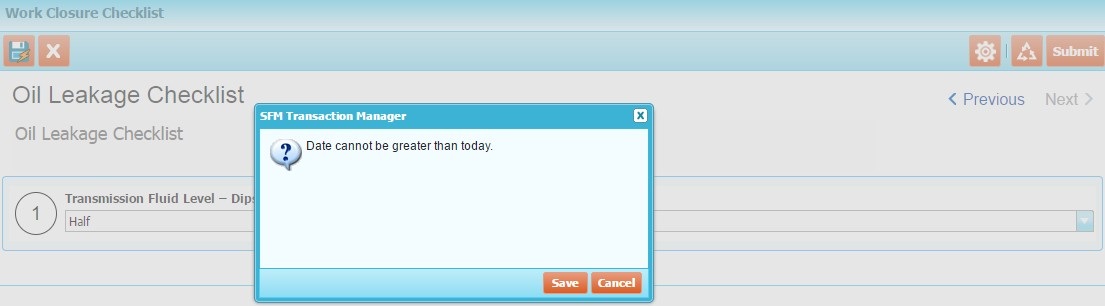
Similarly, when a confirmation type message is configured as part of the Checklist Data Validation Rule in the Form Designer and while answering the checklist, the defined criteria is met, then a confirmation type message is displayed as shown in the following screenshot. Tap Save to ignore the confirmation message and complete the checklist. Tap Cancel to remain on the current screen. You can then navigate to Previous or Next screen and try to edit the answer and re-submit the checklist.
|
|
• A Confirmation type message can be ignored and the checklist can be submitted, whereas an error type message cannot be ignored. The response to the appropriate checklist question has to be corrected to remove the error message and re-submit the checklist.
• When saving the record, mandatory field check is performed first, followed by checklist data validation.
|
9. Entry/Exit Criteria:When a technician starts a checklist process, the Entry Criteria is executed in the following way:
◦ A technician is able to exit the current checklist section and navigate to a different section based on the question response. If the response meets the exit criteria, then the relevant section is displayed.
◦ The sections in a checklist are not necessarily displayed in a sequence. They are based on the exit criteria met by the question responses.
◦ If there are multiple answers configured for a question in the Exit criteria, the first matched answer is given priority.
◦ If the response does not meet the exit criteria, then the next section in the sequence is displayed to the technician.
◦ If multiple answers are configured for one question, they are executed in the sequence in which they are listed in Form Designer. When a match is found, further processing is stopped.
◦ Similarly, if multiple questions are configured, they are executed in the sequence in which they are listed in Form Designer. When a match is found, further processing is stopped.
◦ If the technician comes back and edits previous responses, skips the next section and navigates to another section, then any data saved for the skipped section is lost and an alert message stating “Previously saved data will be lost” is shown. Similarly if any section which was answered earlier is skipped, then an alert message stating “Previously saved data will be lost” is shown.
◦ When the technician submits the checklist, data validation and required questions check is not performed for skipped sections.
|
|
Note:
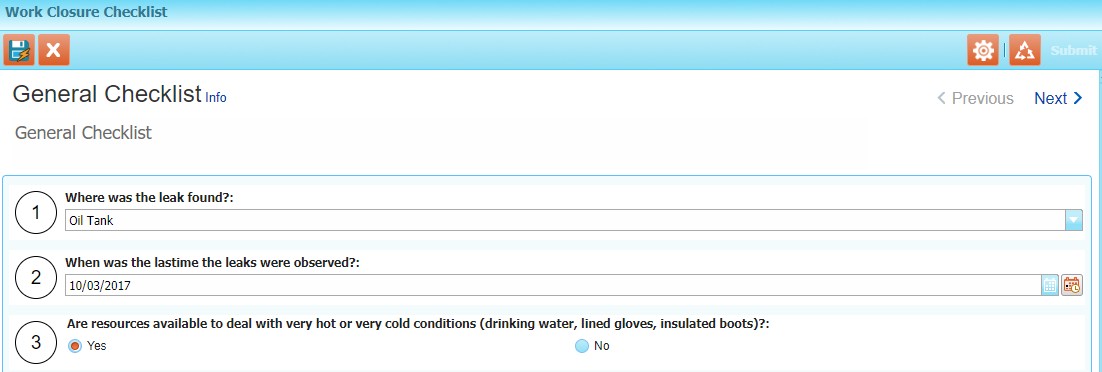
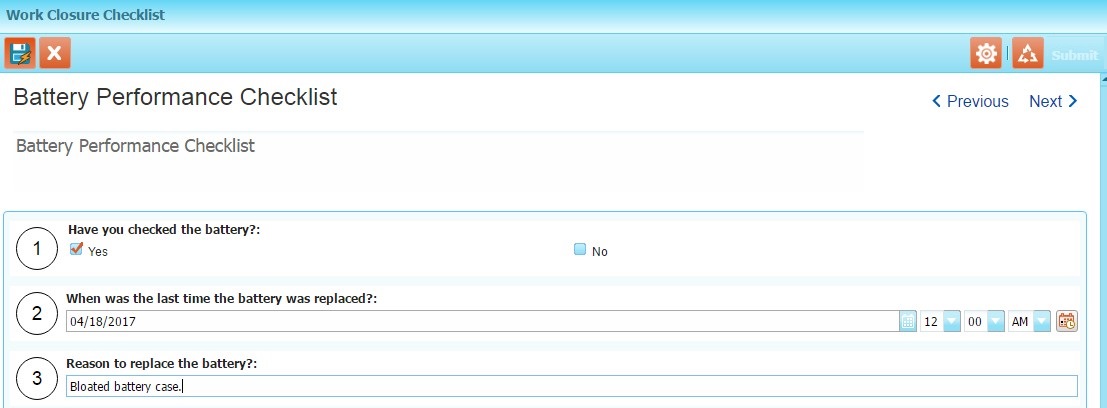
Entry criteria for General Checklist section is defined as Work Order Priority = High. Exit criteria for the same section and for the Question = Where was the leak found, is defined as follows: If answer value=Oil Tank, then skip to section=Oil Leakage Checklist;If answer value=Engine, then skip to section=Engine Checklist;If answer value=Battery, then skip to section=Battery Performance Checklist.When the technician taps on a High priority work order, the entry criteria is satisfied and the General Checklist section with the question "Where was the leak found", is displayed to the technician. When the technician selects the answer and the value matches with the value Battery, then the technician is directly taken to the Battery Performance Checklist section, skipping other sections, as per the exit criteria defined.The SFM delivery for the above example is displayed as follows:.
|
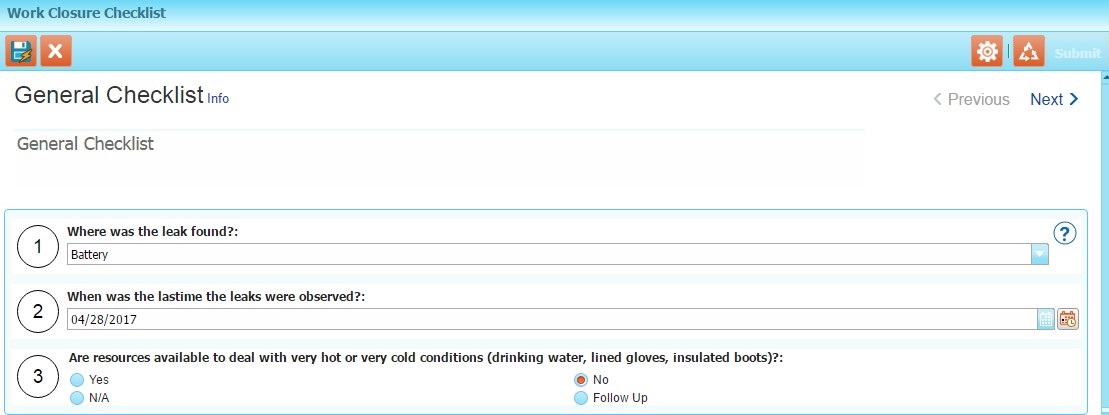
SFM Delivery - Exit Criteria
10. Click Submit to lock your answers, once you have completed answering all the questions.The screenshot below shows the Checklists launch page with updated status for each checklist, based on the actions taken:
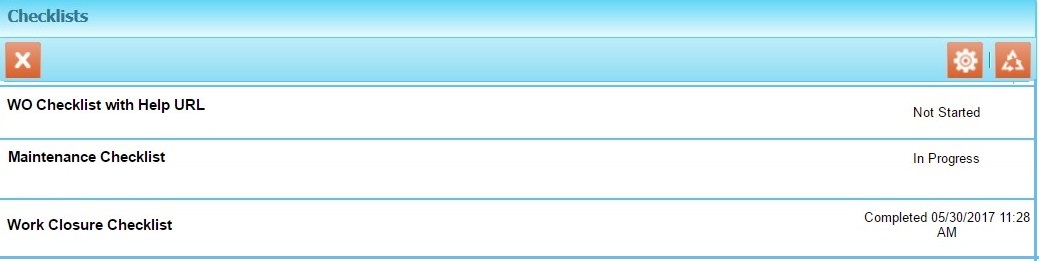
In Progress: You have started filling the checklist and have saved your answers, but have not yet submitted the checklist and will continue to work on it. Completed: You have completed filling the checklist and have submitted it. You will no longer be able to edit your answers. However, you will be able to view them.
11. If you need to create a new instance of the same checklist after submitting the checklist, you can click the Start New link. An example of such a scenario would be multiple installed products serviced using the same work order, and a checklist being required for each serviced installed product.
12. Click a checklist in Completed state, to view the answers selected/entered in read-only mode.
13. Click Cancel to go back to the Checklists Delivery landing page, discarding any unsaved answers.