Animate Attributes
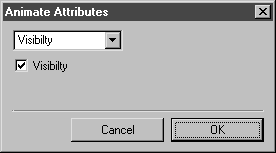
When you select this option, the following dialog box appears:
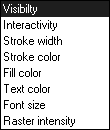
The pop-up menu offers a range of attributes that can be applied to an animated object. Each attribute that is selected is an action within a step. The action is implemented in the active sequence as a new step in line with the current time (the position of the timeline).
If the timeline is positioned at an existing step, the action is added on to this step. In this case, the attribute is animated. In other words, an area is gradually filled with a color throughout the duration of the step, for example.
If the timeline is outside the existing sequences, the action sets a new step as part of a new sequence.
Clicking OK confirms and adopts the attribute setting. Clicking Cancel returns you to the Edit Animation dialog box without any changes being adopted.
Visibility
In principle, an animated object is visible. If this attribute is implemented as an action when the Visibility box is unchecked, the object in question becomes invisible from the point during playback when the attribute was set. The invisible attribute continues to apply until a new action is generated with the attribute for visibility. If the box next to Visibility is checked, visibility has been selected.
While editing in Arbortext IsoDraw , the contour lines and the colors of filled areas that belong to invisible objects are depicted in the selected grid color.
| Any elements on the drawing sheet that have been hidden using the Hide command in the Element menu are also depicted in the selected grid color. |
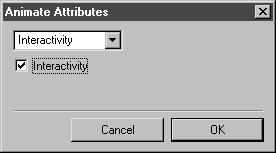
Interactivity
If a link exists for the animated object, this attribute can be used to switch the link on and off.
In principle, interactivity is applied to an animated object. If this attribute is implemented as an action when the Interactivity box is unchecked, interactivity for the object in question is switched off from the point during playback when the attribute was set. This attribute continues to apply until a new action is generated with the attribute for interactivity. If the box next to Interactivity is checked, the attribute will switch interactivity back on.
Stroke Width
This option involves converting the selected object’s original contour line widths to a new value. Enter the value for the width of the contour lines next to Value in the dialog box. The width of all the lines are converted to the value entered here. If you click the box next to as percentage, the setting next to Value changes from mm to %. The numerical value entered indicates the percentage change of each original line width.
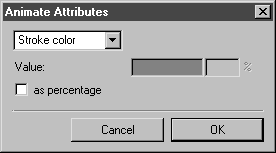
Stroke Color
This option involves converting the original color(s) of the object’s contour lines to one new color. Click on the color field in the dialog box. Select the color from the subsequent Color dialog box. If no color is selected, the original color(s) are retained. If you click the box next to as percentage, you can specify the color’s tone. Enter the percentage value in the entry field next to the color field.
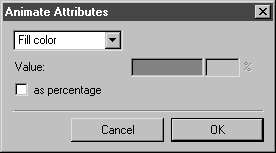
Fill Color
This option involves converting the original color(s) of the object’s filled areas to one new color. Click on the color field in the dialog box. Select the color from the subsequent Color dialog box. If no color is selected, the original color(s) are retained. If you click the box next to as percentage, you can specify the color’s tone. Enter the percentage value in the entry field next to the color field.
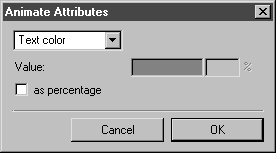
Text Color
This option involves converting the original color(s) of the object’s text elements to one new color. Click on the color field in the dialog box. Select the color from the subsequent Color dialog box. If no color is selected, the original color(s) are retained. If you click the box next to as percentage, you can specify the color’s tone. Enter the percentage value in the entry field next to the color field.
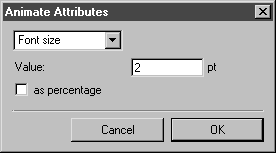
Font Size
This option involves converting the selected object’s original font sizes to a new value. Enter the value for the font size next to Value in the dialog box. The font sizes of all the text elements are converted to the value entered here. If you click the box next to as percentage, the setting next to Value changes from pt to %. The numerical value that is entered will then set the percentage change of the original font size(s) of the text elements in the object.
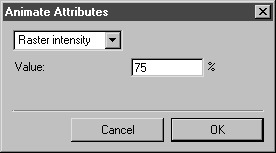
Raster Intensity
In the case of objects with raster data, this option can be used to reduce intensity. Enter the degree to which intensity is to be reduced as a percentage in the entry field next to Value. Intensity is reduced in line with the percentage entered. Entries exceeding 100 (%) are not adopted.