Task 6. Create a Fill Pattern of protrusions.
-
Select Saved View List
 icon from the main toolbar to reorient the model to a better view and select BACK_PATTERN.
 -
If Axes are showing from the holes on the other side, hide them by choosing Datum Axes
 .
. -
Right click on PROTRUSION1 in the Model Tree and choose Pattern.
-
In the Dashboard, change the Dimension pattern option to Fill as in the previous task.
-
Select the curve SKETCH_FOR_PROTRUSION in the model tree and select the Complete Feature
 icon at the right side of the dashboard to complete the pattern.
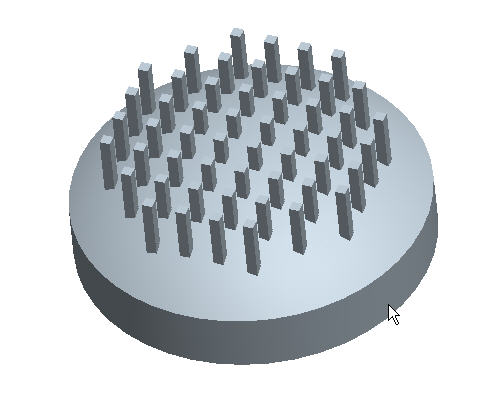

Rotate the model by holding the middle mouse button and dragging. Notice how all of the protrusions start at the same plane.