建立及繫結播放和重設按鈕
在
3D-導件服務指示 101 中,您已為模型建立插圖序列,並將插圖屬性新增至與序列相關聯的零件。此屬性將用來告訴
Vuforia Studio 要在模型上顯示哪個拆解序列。在此體驗中,如果所選零件有與其相關聯的插圖序列,
Vuforia Studio 會收集該插圖屬性值,而且您會獲得播放插圖序列的選項。您也會在體驗上新增一個
Reset 按鈕,以便隨時重設模型。這些按鈕會新增至體驗的 2D 畫布。
|
|
如果您要比較您的進度與此部份的完整編碼,您可以在 GitHub 中的 Appendix 6 中找到它。 |
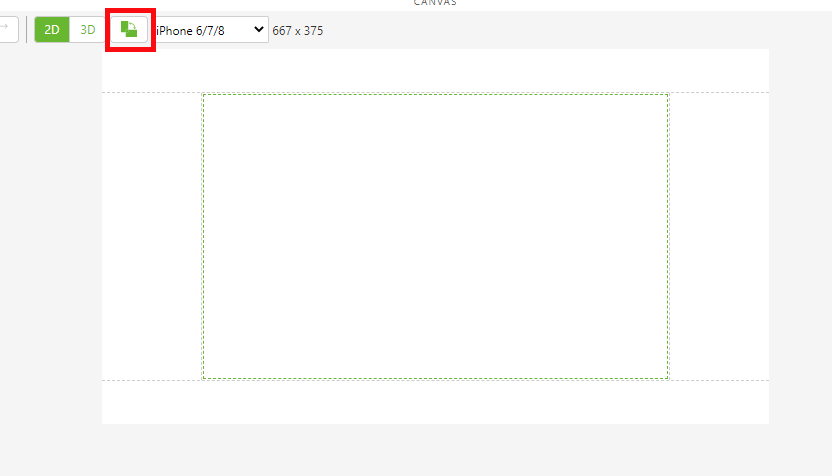
1. 導覽至「首頁」檢視並開啟「2D」畫布。
2. 翻轉 2D 畫布的定向。
| 建議檢視體驗的使用者以橫向定向拿著電話或行動裝置。 |
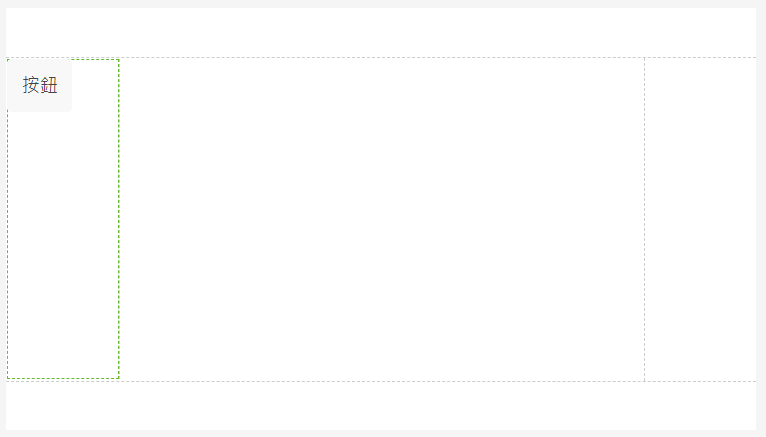
3. 將「按鈕」小工具新增至畫布的左側面板。
4. 在按鈕的「屬性」下,更新下列內容:
◦ 「Text」 - 從此欄位中移除文字,並將欄位保留空白。
◦ 「Studio ID」 - 變更為「playButton」。
◦ 按一下「Click」事件旁邊的「JS」並輸入「playit()」。這會將按鈕繫結至「Home.js」部份中的函數,該部份在稍後步驟中才會建立。
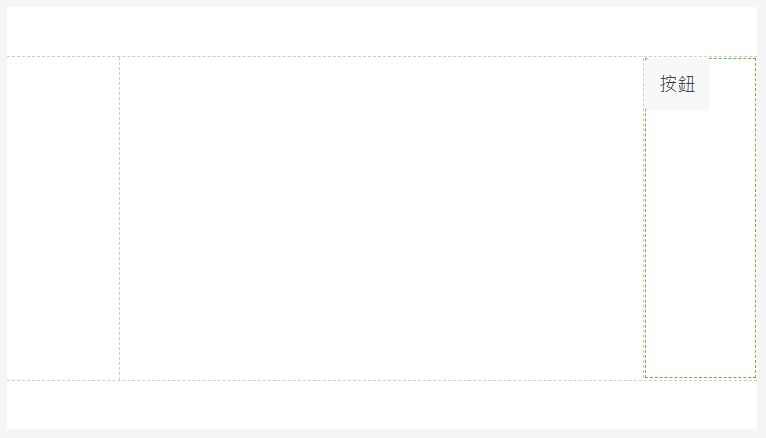
5. 將另一個「按鈕」小工具新增至右側面板。
6. 在按鈕的「屬性」下,更新下列內容:
◦ 「Text」 - 變更為「Reset」。
◦ 「Studio ID」 - 變更為「resetButton」。
◦ 按一下「點擊」事件旁邊的「JS」並輸入「resetit()」。這會將按鈕繫結至「Home.js」部份中的函數,該部份在稍後步驟中才會建立。
7. 之前,您已建立 Ionic 快顯視窗,以顯示指定零件的名稱與零件編號。某些零件也會有一個名為
illustration 的屬性,此屬性已新增到
3D-導件服務指示 101中。此
illustration 屬性包含在 Creo Illustrate 中建立之動畫序列的名稱。序列是執行某一程式所需步驟的組合。序列包含在上載至
Vuforia Studio 的
.pvz 檔案中。
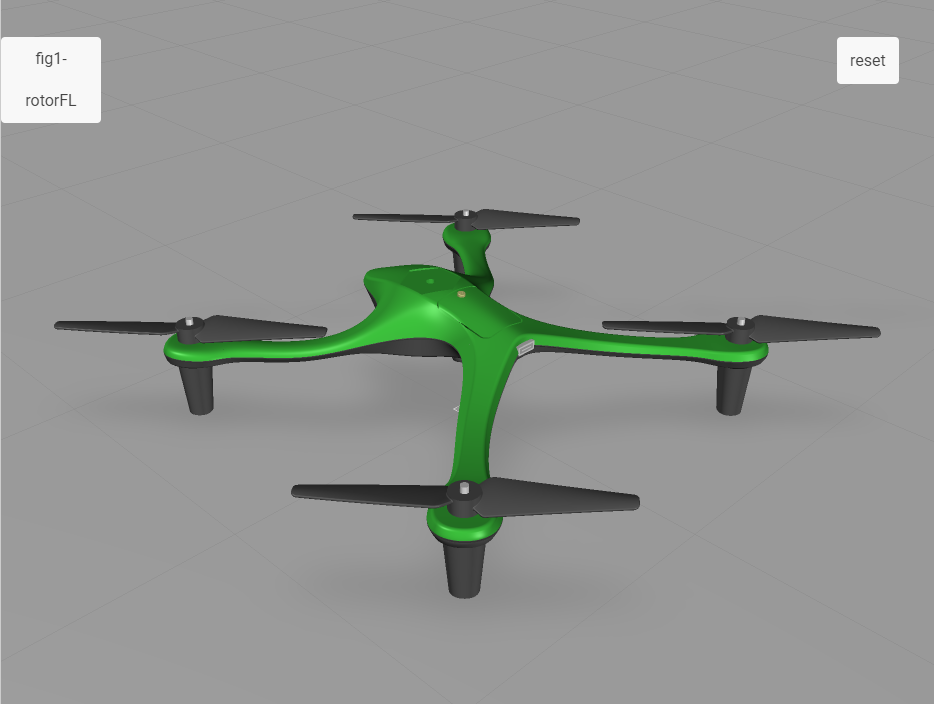
「播放」與
「重設」按鈕可讓您啟動或重設與 quadcopter 模型相關聯的序列的播放。
| 此部分中的資訊只有在已正確填入模型的 illustration 屬性時才會起作用。任何沒有 illustration 屬性的零件都會無法播放序列。 |
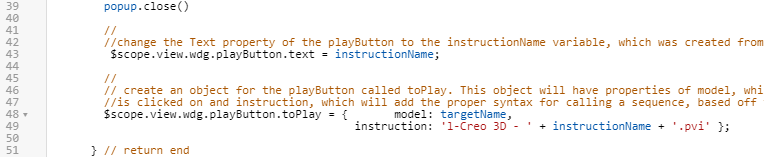
a. 快顯視窗消失後,playButton 小工具會顯示所選零件的序列名稱 (如果適用)。在執行 popup.close() 以變更PlayButton 的 「文字」 內容後,將下面的編碼新增至 closePopup 函數內,並編輯名為 toPlay 的物件,其中保留有關模型的資訊。
toPlay 物件儲存以 targetName 引數命名的模型名稱,以及模型的插圖序列。 插圖序列會以 .pvi 檔案的形式,儲存在以 Creo Illustrate 建立的 .pvz 檔案中,然後與插圖中已完成的模型匯入 Vuforia Studio。這些檔案的格式為 1-Creo 3D- (figure name).pvi (除非您變更了發佈選項,若是如此,Creo 3D 可能不是檔案格式的字串)。在此體驗中,instructionName 變數的值來自插圖屬性,且用於具有動畫序列的 Creo Illustrate 的圖中已選取的部分。然後,instructionName 值會呼叫來用於在 toPlay 物件中建立指示內容的文字字串。
//
//change the Text property of the playButton to the instructionName variable, which was created from the JSON data of the model
$scope.view.wdg.playButton.text = instructionName;
//
// create an object for the playButton called toPlay. This object will have properties of model, which will be the name of the object that
//is clicked on and instruction, which will add the proper syntax for calling a sequence, based off the instructionName variable, into Studio
$scope.view.wdg.playButton.toPlay = { model: targetName,
instruction: 'l-Creo 3D - ' + instructionName + '.pvi' };
b. 按一下「預覽」。預覽標籤開啟後,請在 quadcopter 出現時按一下其左前的軸輪。快顯視窗消失後,您會注意到 playButton 的變更。在其他零件上嘗試,看看與序列相關聯和序列無關聯的零件之間有什麼差異。
c. 現在按鈕的文字已變更,必須將函數繫結至按鈕以播放序列。如果您還記得,名為 playit() 的函數已經成為為 playButton 小工具而新增的 點擊 JS 事件。playit() 函數會將 quadcopter 模型的「序列」內容值設定為等於 playButton 的 toPlay 物件的 instruction 內容。在此情況下,下列編碼中的 quadcopter 會參照已新增的模型小工具的名稱。
| 如果稍早在專案中,小工具的「Studio ID」沒有變更為 quadcopter,則此編碼無法使用,且此編碼中的模型名稱會需要變更。 |
將下列置於編碼的底部,因為它是與 userpick 不同的函數。
//
//create the playit function to bind a sequence for the model to the play button
$scope.playit = function () {
//
// if there is information in the created toPlay object to say that there is an illustration attribute for the part
if ($scope.view.wdg.playButton.toPlay != undefined)
//
// set the sequence property for the quadcopter model to be equal to the value of the instruction property of the toPlay object
$scope.view.wdg.quadcopter.sequence = $scope.view.wdg.playButton.toPlay.instruction;
} // playit function end
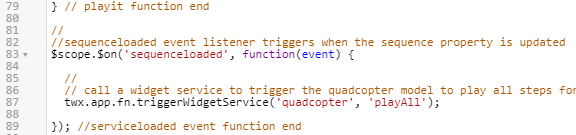
d. 在為模型設定 「序列」 內容之後,playButton 小工具必須發出信號以開始序列。這可以透過使用名為 sequenceloaded 的新事件接聽程式,以及小工具服務呼叫來完成,這會開始播放序列。如同最後一個步驟,模型小工具的「Studio ID」必須設定為 quadcopter,否則編碼會需要編輯。直接在您剛剛建立的 playit 函數下方新增下列程式碼。
//
//sequenceloaded event listener triggers when the sequence property is updated
$scope.$on('sequenceloaded', function(event) {
//
// call a widget service to trigger the quadcopter model to play all steps for the given sequence
twx.app.fn.triggerWidgetService('quadcopter', 'playAll');
}); //serviceloaded event function end
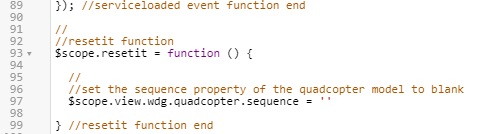
e. 與 playButton 小工具類似,resetButton 也會附加 JS 事件。此 JS 事件稱為 resetit()。此獨立函數會將模型重設回其原始狀態,不論它是在播放中還是已完成序列。這必須透過更新 quadcopter 模型的「序列」內容來進行,以使其空白。將下列編碼放在 sequenceloaded 事件接聽程式之下。
//
//resetit function
$scope.resetit = function () {
//
//set the sequence property of the quadcopter model to blank
$scope.view.wdg.quadcopter.sequence = ''
} //resetit function end
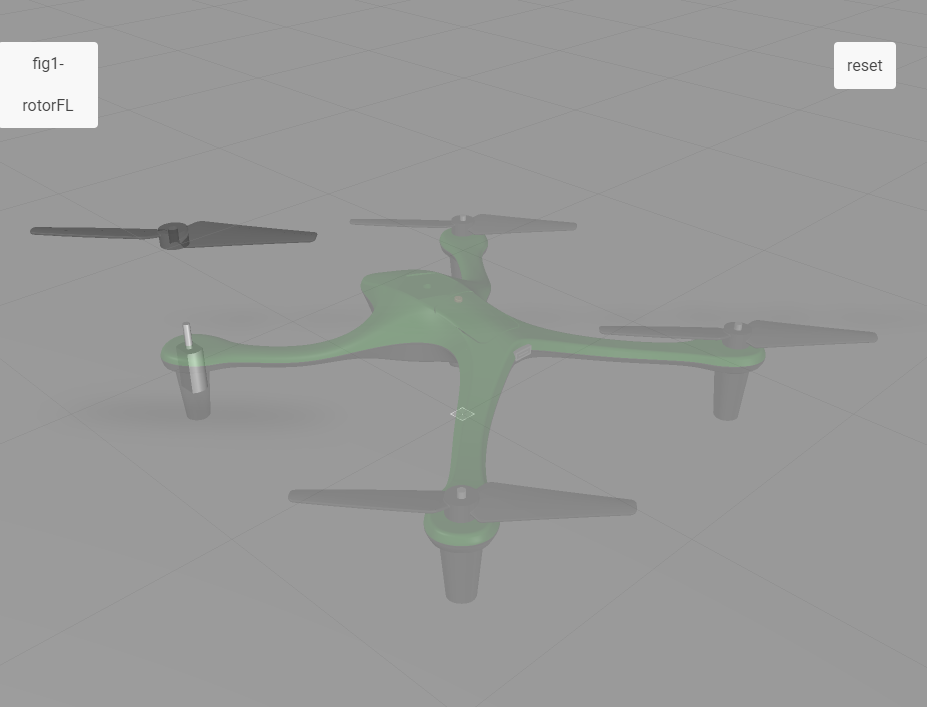
f. 在將編碼完全新增至 Home.js 之後,按一下「預覽」。預覽標籤開啟後,按一下左前的軸輪。如果此部分已成功完成,快顯視窗會出現,播放按鈕會填入文字,修復序列會在按一下按鈕時啟動。